Register Identity Provider in Hopsworks#
Introduction#
Before registering your identity provider in Hopsworks you need to create a client application in your identity provider and acquire a client id and a client secret. An example on how to create a client using Okta and Azure Active Directory identity providers can be found here and here respectively.
Prerequisites#
Acquired a client id and a client secret from your identity provider.
Step 1: Register a client#
After acquiring the client id and client secret create the client in Hopsworks by enabling OAuth2 and clicking on add another identity provider in the Authentication configuration page. Then set base uri of your identity provider in Connection URL give a name to your identity provider (the name will be used in the login page as an alternative login method) and set the client id and client secret in their respective fields, as shown in the figure below.
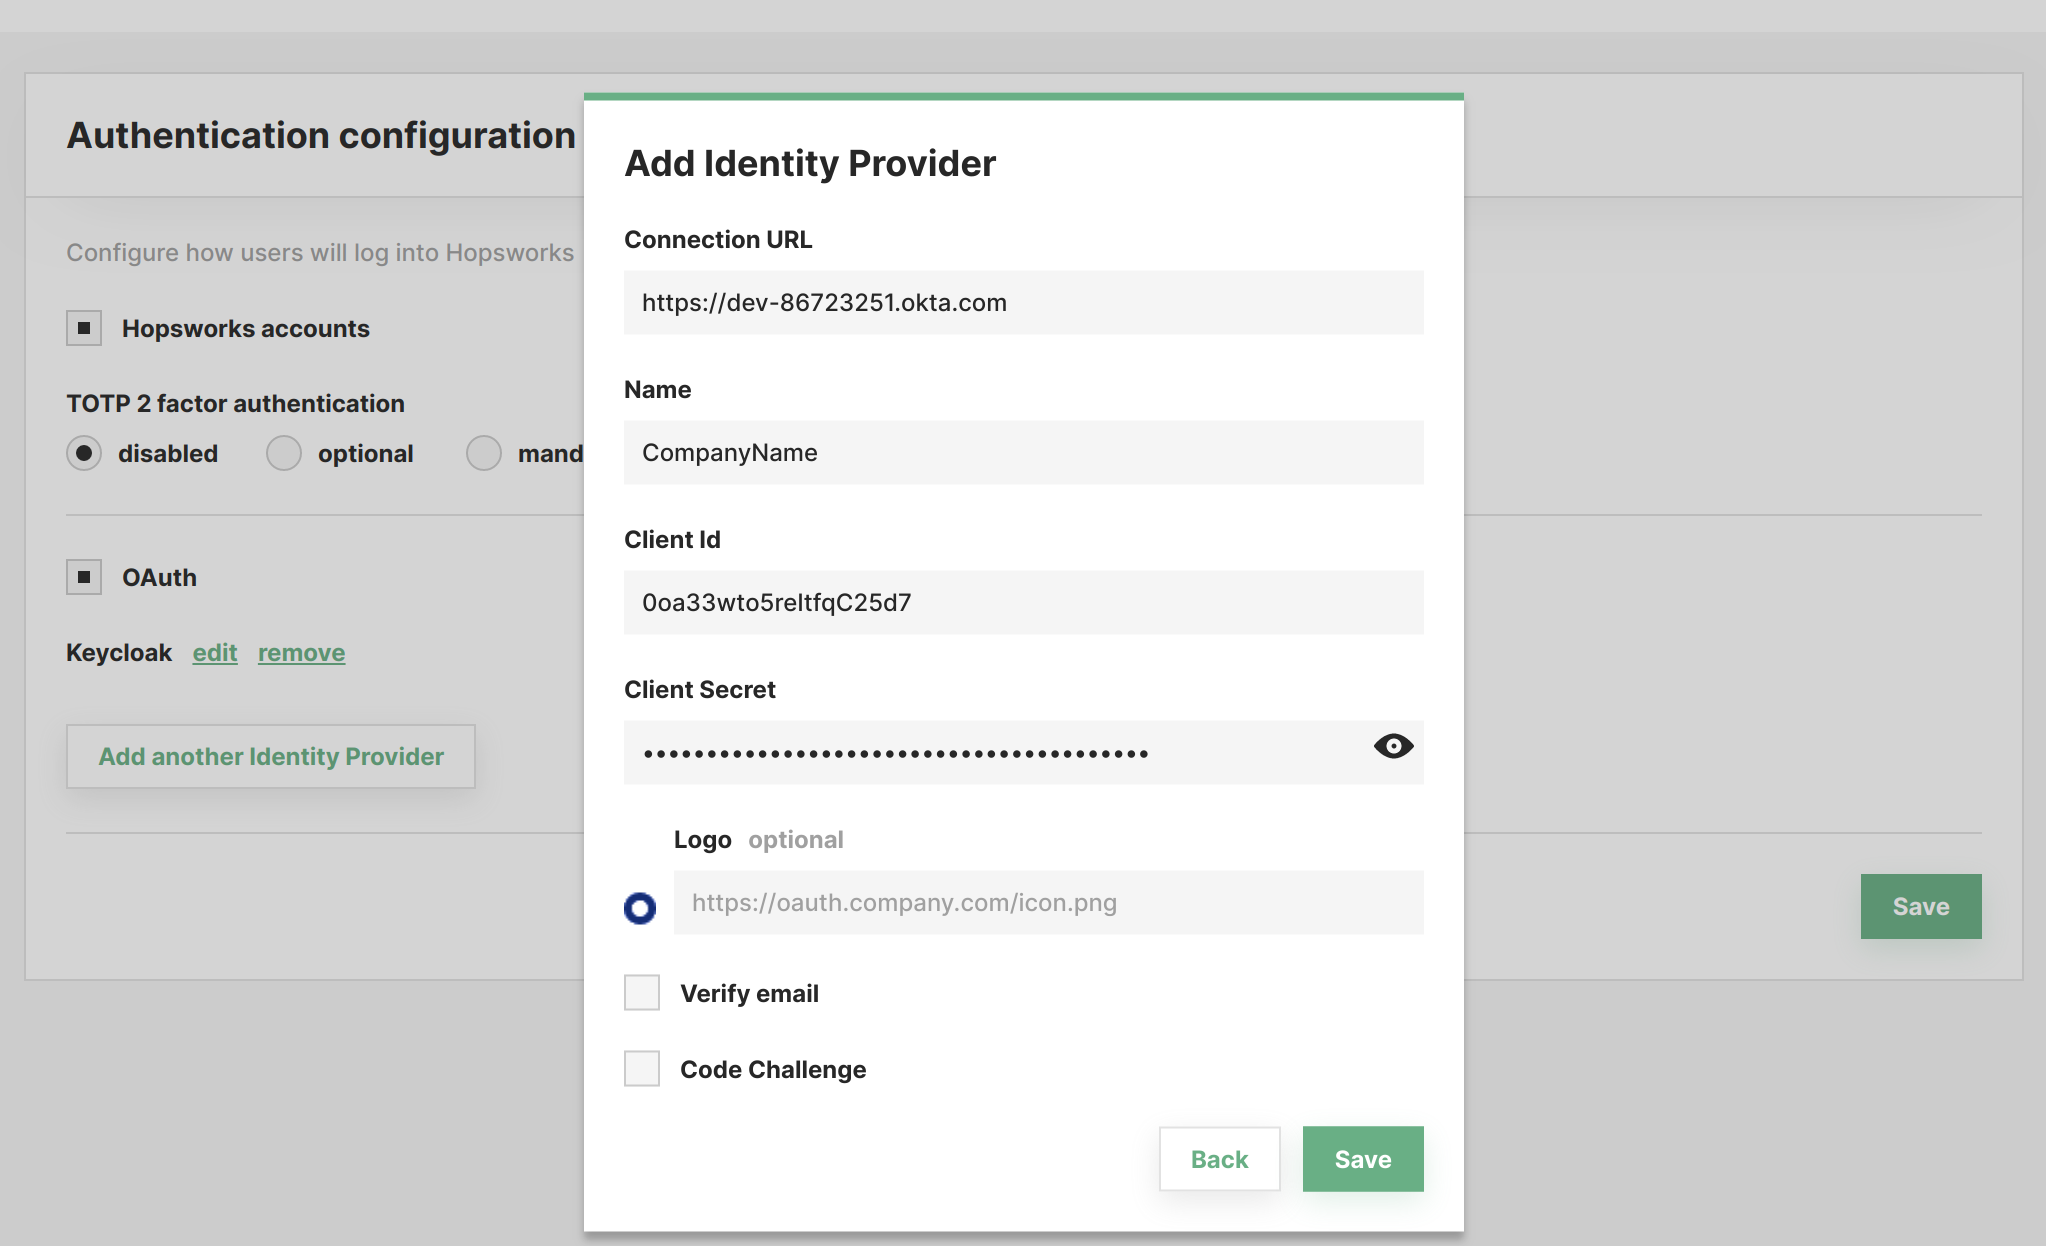
- Connection URL: (provider Uri) is the base uri of the identity provider's API (URI should contain scheme http:// or https://).
Additional configuration can be set here:
- Verify email: if checked only users with verified email address (in the identity provider) can log in to Hopsworks.
- Code challenge: if your identity provider requires code challenge for authorization request check the code challenge check box. This will allow you to choose code challenge method that can be either plain or S256.
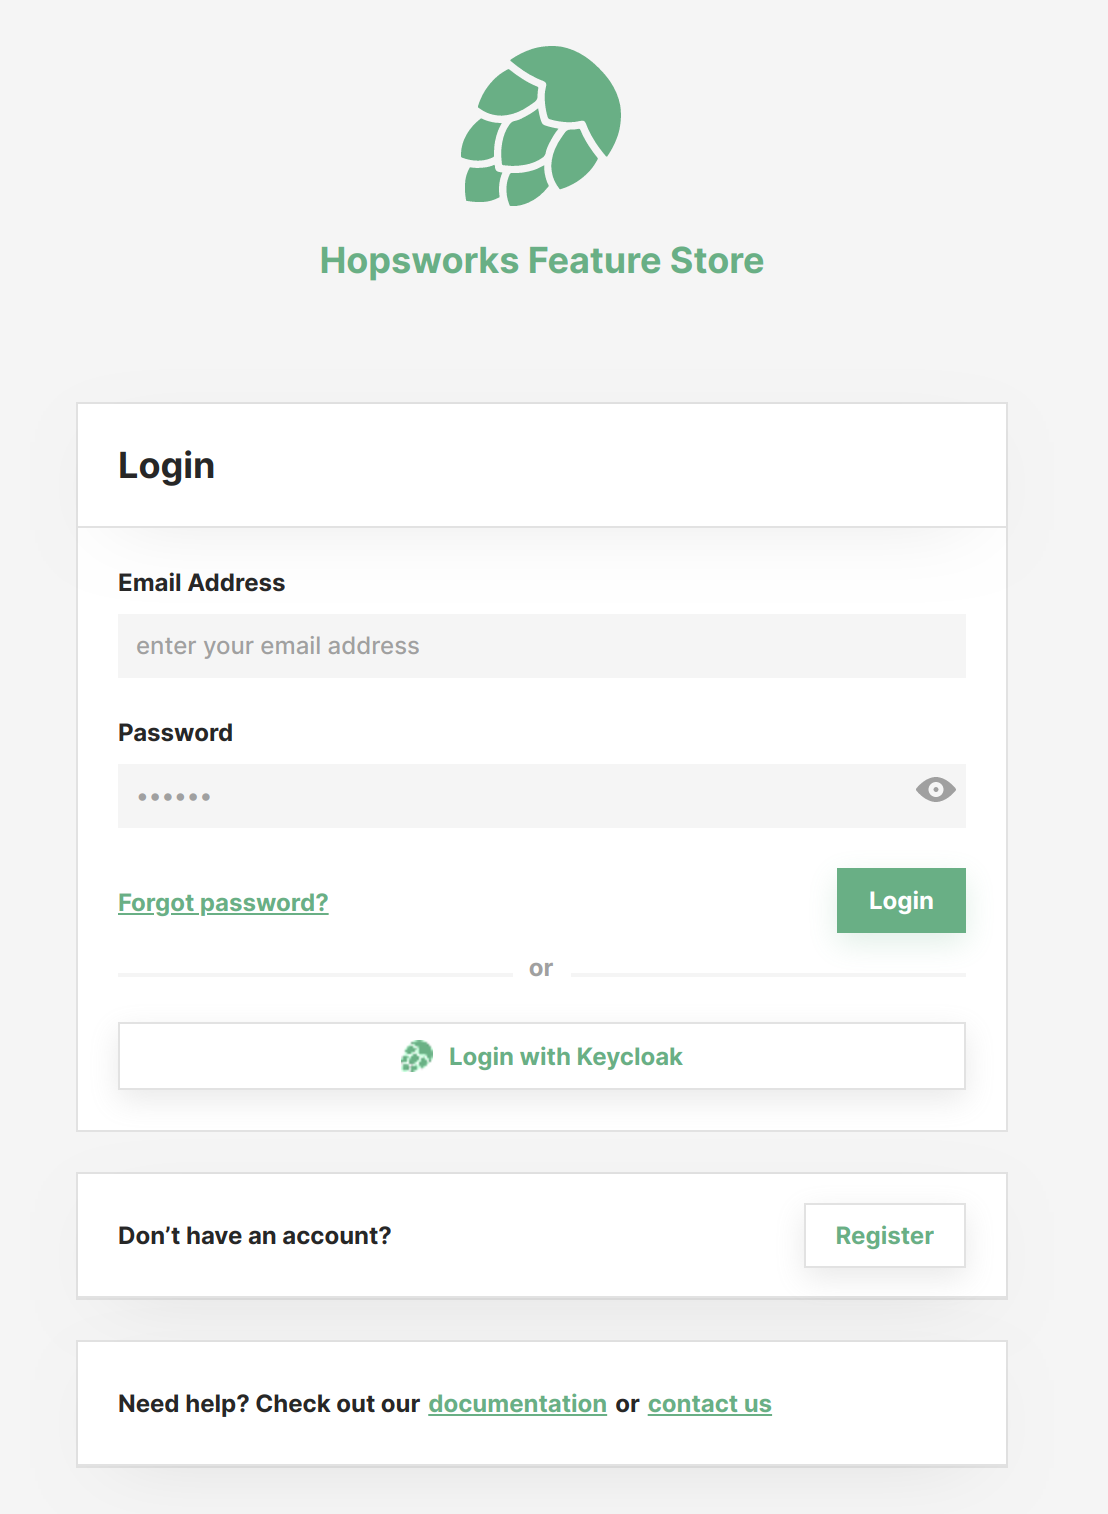
- Logo URL: optionally a logo URL to an image can be added. The logo will be shown on the login page with the name as shown in the figure below.
Step 2: Add Group mappings#
Optionally you can add a group mapping from your identity provider to Hopsworks groups, by clicking on your name in the top right corner of the navigation bar and choosing Cluster Settings from the dropdown menu. In the Cluster Settings Configuration tab search for oauth_group_mapping and click on the edit button.

Note
Setting oauth_group_mapping to ANY_GROUP->HOPS_USER will assign the role user to any user from any group in your identity provider when they log into Hopsworks with OAuth for the first time. You can replace ANY_GROUP with the group of your choice in the identity provider. You can replace HOPS_USER by HOPS_ADMIN if you want the users of that group to be admins in Hopsworks. You can do several mappings by separating them with a semicolon.
Users will now see a new button on the login page. The button has the name you set above for Name and will redirect to your identity provider.
Note
When creating a client make sure you can access the provider metadata by making a GET request on the well known endpoint of the provider. The well-known URL, will typically be the Connection URL plus .well-known/openid-configuration. For the above client it would be https://dev-86723251.okta.com/.well-known/openid-configuration.
Conclusion#
In this guide you learned how to register an identity provider in Hopsworks.