Limiting Azure permissions#
Managed.hopsworks.ai requires a set of permissions to be able to manage resources in the user’s Azure resource group. By default, these permissions are set to easily allow a wide range of different configurations and allow us to automate as many steps as possible. While we ensure to never access resources we shouldn’t, we do understand that this might not be enough for your organization or security policy. This guide explains how to lock down access permissions following the IT security policy principle of least privilege.
Default permissions#
This is the list of default permissions that are required by managed.hopsworks.ai. If you prefer to limit these permissions, then proceed to the next section.
{
    "Name": "hopsworks.ai",
    "IsCustom": true,
    "Description": "Allows hopsworks.ai to start and manage clusters",
    "Actions": [
      "Microsoft.Compute/virtualMachines/write",
      "Microsoft.Compute/virtualMachines/start/action",
      "Microsoft.Compute/virtualMachines/delete",
      "Microsoft.Compute/virtualMachines/read",
      "Microsoft.Compute/virtualMachines/deallocate/action",
      "Microsoft.Compute/disks/write",
      "Microsoft.Compute/disks/delete",
      "Microsoft.Network/networkInterfaces/read",
      "Microsoft.Network/networkInterfaces/join/action",
      "Microsoft.Network/networkInterfaces/write",
      "Microsoft.Network/networkInterfaces/delete",
      "Microsoft.Network/networkSecurityGroups/read",
      "Microsoft.Network/networkSecurityGroups/join/action",
      "Microsoft.Network/networkSecurityGroups/write",
      "Microsoft.Network/networkSecurityGroups/delete",
      "Microsoft.Network/publicIPAddresses/join/action",
      "Microsoft.Network/publicIPAddresses/read",
      "Microsoft.Network/publicIPAddresses/write",
      "Microsoft.Network/publicIPAddresses/delete",
      "Microsoft.Network/virtualNetworks/write",
      "Microsoft.Network/virtualNetworks/delete",
      "Microsoft.Network/virtualNetworks/read",
      "Microsoft.Network/virtualNetworks/subnets/read",
      "Microsoft.Network/virtualNetworks/subnets/join/action",
      "Microsoft.Resources/subscriptions/resourceGroups/read",
      "Microsoft.Compute/sshPublicKeys/read",
      "Microsoft.ManagedIdentity/userAssignedIdentities/assign/action",
      "Microsoft.ManagedIdentity/userAssignedIdentities/read",
      "Microsoft.Storage/storageAccounts/read",
      "Microsoft.Compute/snapshots/write",
      "Microsoft.Compute/snapshots/read",
      "Microsoft.Compute/snapshots/delete",
      "Microsoft.Compute/disks/beginGetAccess/action",
      "Microsoft.Compute/disks/read",
      "Microsoft.Authorization/roleAssignments/read"
    ],
    "NotActions": [],
    "AssignableScopes": ["/subscriptions/SUBSCRIPTION_ID/resourceGroups/RESOURCE_GROUP"]
  }
Limiting the cross-account role permissions#
Step 1: Create a virtual network and subnet#
To restrict managed.hopsworks.ai from having write and delete access on virtual networks and subnet you need to create them manually. This can be achieved in the Azure portal following this guide: Create a virtual network. Make sure to use the resource group and location in which you intend to deploy your Hopsworks cluster. For the remaining of the configuration, the default options proposed by the portal should work out of the box. Note the names of the virtual network and subnet you want to use for the following steps.
Step 2: Create a network security group#
To restrict managed.hopsworks.ai from having write and delete access on network security groups you need to create it manually. This can be achieved in the Azure portal following this guide: Create a network security group. Make sure to use the resource group and location in which you intend to deploy your Hopsworks cluster.
Inbound traffic#
For managed.hopsworks.ai to create the SSL certificates the network security group needs to allow inbound traffic on port 80. For this, you need to add an inbound security rule to your network security group. This can be achieved in the Azure portal following this guide: Create a security rule. Setting the destination port ranges to 80 and letting the default values for the other fields should work out of the box.
Note
If you intend to use the managed users option on your Hopsworks cluster you should also add a rule to open port 443.
Outbound traffic#
Clusters created on managed.hopsworks.ai need to be able to send http requests to api.hopsworks.ai. The api.hopsworks.ai domain use a content delivery network for better performance. This result in the impossibility to predict which IP the request will be sent to. If you require a list of static IPs to allow outbound traffic from your security group, use the static IPs option during cluster creation.
Note
If you intend to use the managed users option on your Hopsworks cluster you should also allow outbound traffic to cognito-idp.us-east-2.amazonaws.com and managedhopsworks-prod.auth.us-east-2.amazoncognito.com.
Step 3: Set permissions of the cross-account role#
During the account setup for managed.hopsworks.ai, you were asked to create create a custom role for your resource group. Edit this role in the Azure portal by going to your resource group, clicking on Access control (IAM), opening the tab Roles, searching for the role you created, clicking on the three dots at the end of the role line and clicking on edit. You can then navigate to the JSON tab and overwrite the "action" field with the following:
"actions": [
    "Microsoft.Compute/virtualMachines/write",
      "Microsoft.Compute/virtualMachines/start/action",
      "Microsoft.Compute/virtualMachines/delete",
      "Microsoft.Compute/virtualMachines/read",
    "Microsoft.Compute/virtualMachines/deallocate/action",
    "Microsoft.Compute/disks/write",
    "Microsoft.Compute/disks/delete",
    "Microsoft.Network/networkInterfaces/read",
    "Microsoft.Network/networkInterfaces/join/action",
    "Microsoft.Network/networkInterfaces/write",
    "Microsoft.Network/networkInterfaces/delete",
    "Microsoft.Network/networkSecurityGroups/read",
    "Microsoft.Network/networkSecurityGroups/join/action",
    "Microsoft.Network/publicIPAddresses/join/action",
    "Microsoft.Network/publicIPAddresses/read",
    "Microsoft.Network/publicIPAddresses/write",
    "Microsoft.Network/publicIPAddresses/delete",
    "Microsoft.Network/virtualNetworks/read",
    "Microsoft.Network/virtualNetworks/subnets/read",
    "Microsoft.Network/virtualNetworks/subnets/join/action",
    "Microsoft.Resources/subscriptions/resourceGroups/read",
    "Microsoft.Compute/sshPublicKeys/read",
    "Microsoft.ManagedIdentity/userAssignedIdentities/assign/action",
    "Microsoft.ManagedIdentity/userAssignedIdentities/read",
    "Microsoft.Storage/storageAccounts/read",
    "Microsoft.Compute/snapshots/write",
    "Microsoft.Compute/snapshots/read",
    "Microsoft.Compute/snapshots/delete",
    "Microsoft.Compute/disks/beginGetAccess/action",
    "Microsoft.Compute/disks/read"

  ]
Step 4: Create your Hopsworks instance#
You can now create a new Hopsworks instance in managed.hopsworks.ai by selecting the virtual network, subnet, and network security group during the instance configuration.
Backup permissions#
The following permissions are only needed for the backup feature:
"actions": [
    "Microsoft.Compute/snapshots/write",
    "Microsoft.Compute/snapshots/read",
    "Microsoft.Compute/snapshots/delete",
    "Microsoft.Compute/disks/beginGetAccess/action",
  ]
If you are not going to create backups or if you do not have access to this Enterprise feature, you can further limit the permission of the cross-account role to the following:
"actions": [
    "Microsoft.Compute/virtualMachines/write",
      "Microsoft.Compute/virtualMachines/start/action",
      "Microsoft.Compute/virtualMachines/delete",
      "Microsoft.Compute/virtualMachines/read",
    "Microsoft.Compute/virtualMachines/deallocate/action",
    "Microsoft.Compute/disks/write",
    "Microsoft.Compute/disks/delete",
    "Microsoft.Network/networkInterfaces/read",
    "Microsoft.Network/networkInterfaces/join/action",
    "Microsoft.Network/networkInterfaces/write",
    "Microsoft.Network/networkInterfaces/delete",
    "Microsoft.Network/networkSecurityGroups/read",
    "Microsoft.Network/networkSecurityGroups/join/action",
    "Microsoft.Network/publicIPAddresses/join/action",
    "Microsoft.Network/publicIPAddresses/read",
    "Microsoft.Network/publicIPAddresses/write",
    "Microsoft.Network/publicIPAddresses/delete",
    "Microsoft.Network/virtualNetworks/read",
    "Microsoft.Network/virtualNetworks/subnets/read",
    "Microsoft.Network/virtualNetworks/subnets/join/action",
    "Microsoft.Resources/subscriptions/resourceGroups/read",
    "Microsoft.Compute/sshPublicKeys/read",
    "Microsoft.ManagedIdentity/userAssignedIdentities/assign/action",
    "Microsoft.ManagedIdentity/userAssignedIdentities/read",
    "Microsoft.Storage/storageAccounts/read",
  ]
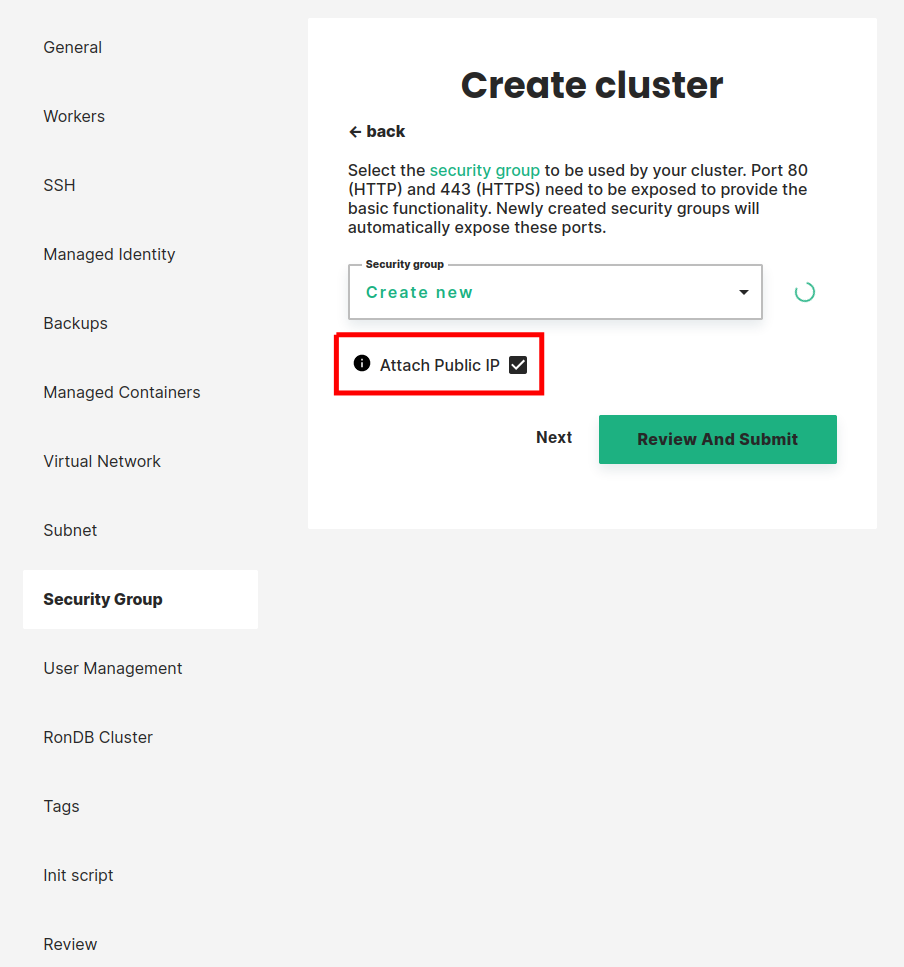
Public IP Addresses permissions#
The following permissions are used to create and attach a public IP Address to the head node. If you do not want to use a public IP Address for the head node, you can remove them:
"actions": [
    "Microsoft.Network/publicIPAddresses/join/action",
    "Microsoft.Network/publicIPAddresses/read",
    "Microsoft.Network/publicIPAddresses/write",
    "Microsoft.Network/publicIPAddresses/delete",
  ]
Other removable permissions#
The following permission is only needed to select the Azure Storage account through a drop-down during cluster creation. You can remove it from the cross-account role and enter the value manually
"actions": [
    "Microsoft.Storage/storageAccounts/read",
  ]
The following permission is only needed, during cluster creation, to check that the managed identity has the proper permission. If you remove it, this check will not be done and the deployment may fail later if the managed identity does not have the proper permissions
"actions": [
    "Microsoft.Authorization/roleAssignments/read"
]
Limiting the User Assigned Managed Identity permissions#
Backups#
If you do not intend to take backups or if you do not have access to this Enterprise feature you can remove the permissions that are only used by the backup feature when configuring your managed identity storage permissions. For this remove the following actions from your user assigned managed identity:
  "actions": [
    "Microsoft.Storage/storageAccounts/blobServices/write",
    "Microsoft.Storage/storageAccounts/listKeys/action"
  ]