How-To set up a HopsFS Storage Connector#
Introduction#
HopsFS is a HDFS-compatible filesystem on AWS/Azure/on-premises for data analytics. HopsFS stores its data on object storage in the cloud (S3 in AWs and Blob storage on Azure) and on commodity servers on-premises, ensuring low-cost storage, high availability, and disaster recovery. In Hopsworks, you can access HopsFS natively in programs (Spark, TensorFlow, etc) without the need to define a Storage Connector. By default, every Project has a Storage Connector for Training Datasets. When you create training datasets from features in the Feature Store the HopsFS connector is the default Storage Connector. However, if you want to output data to a different dataset, you can define a new Storage Connector for that dataset.
In this guide, you will configure a HopsFS Storage Connector in Hopsworks which points at a different directory on the file system than the Training Datasets directory. When you're finished, you'll be able to write training data to different locations in your cluster through HSFS APIs.
Note
Currently, it is only possible to create storage connectors in the Hopsworks UI. You cannot create a storage connector programmatically.
Prerequisites#
Before you begin this guide you'll need to identify a directory on the filesystem of Hopsworks, to which you want to point the Storage Connector that you are going to create.
Creation in the UI#
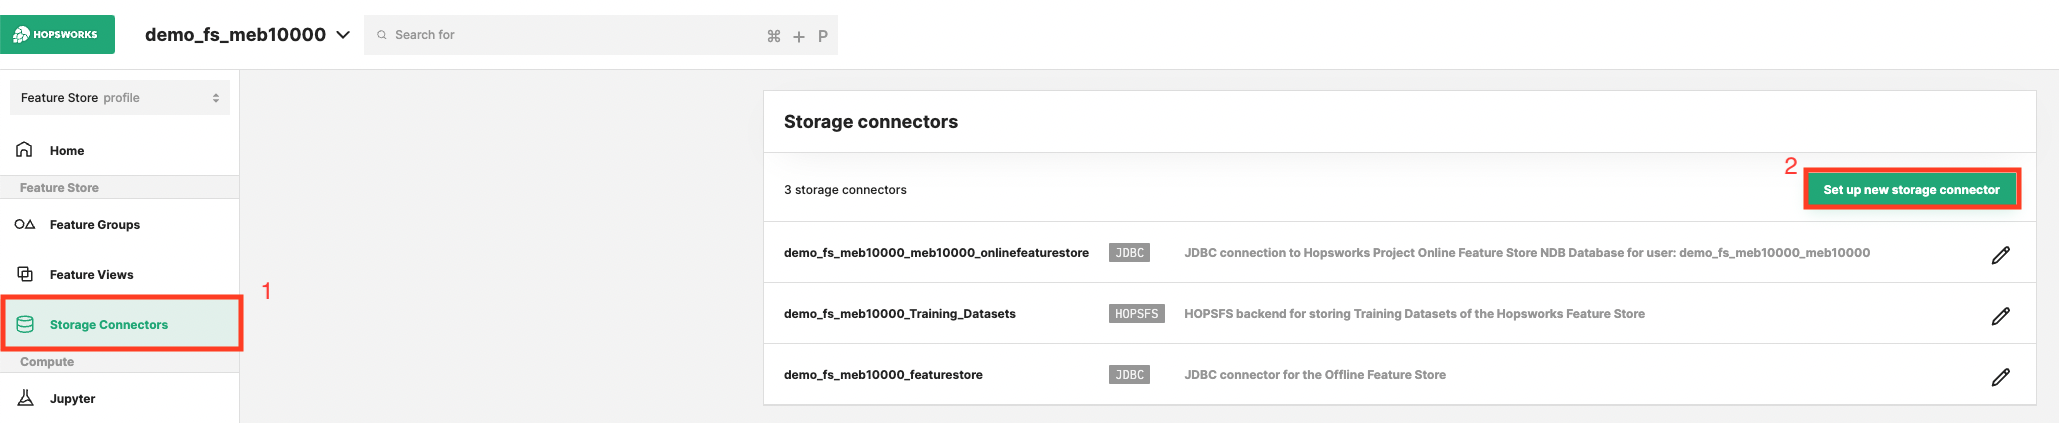
Step 1: Set up new storage connector#
Head to the Storage Connector View on Hopsworks (1) and set up a new storage connector (2).
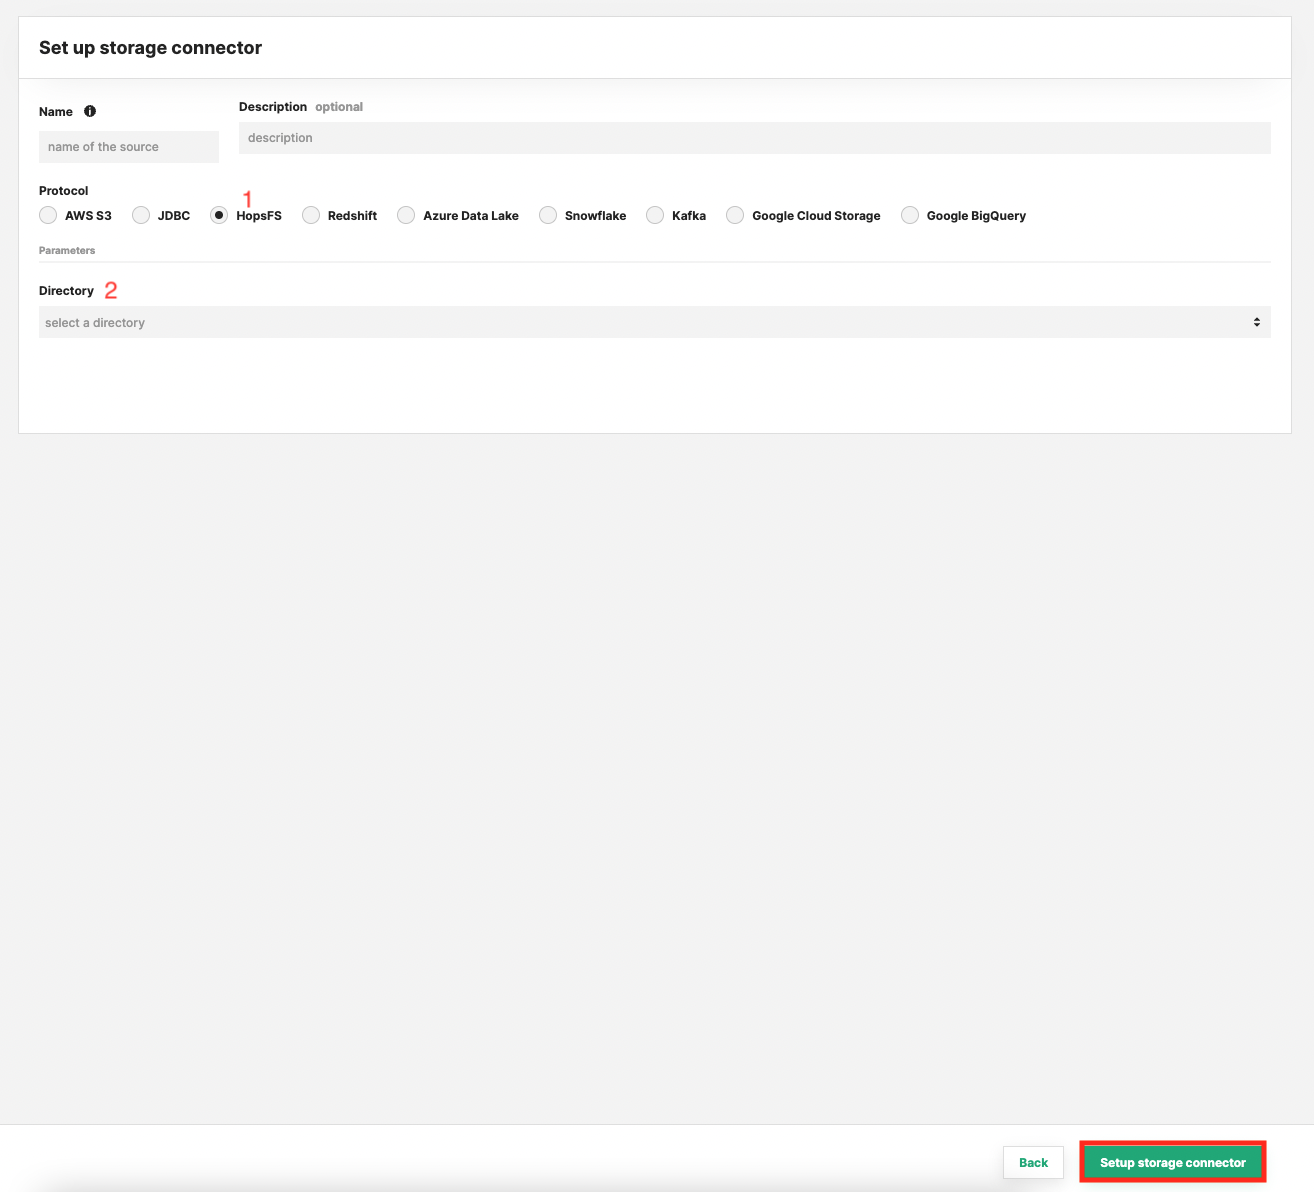
Step 2: Enter HopsFS Settings#
Enter the details for your HopsFS connector. Start by giving it a name and an optional description.
- Select "HopsFS" as connector protocol.
- Select the top-level directory to point the connector to.
- Click "Setup storage connector".
Next Steps#
Move on to the usage guide for storage connectors to see how you can use your newly created HopsFS connector.