How To Create A Deployment#
Introduction#
In this guide, you will learn how to create a new deployment for a trained model.
Warning
This guide assumes that a model has already been trained and saved into the Model Registry. To learn how to create a model in the Model Registry, see Model Registry Guide
Deployments are used to unify the different components involved in making one or more trained models online and accessible to compute predictions on demand. In each deployment, there are three main components to consider:
GUI#
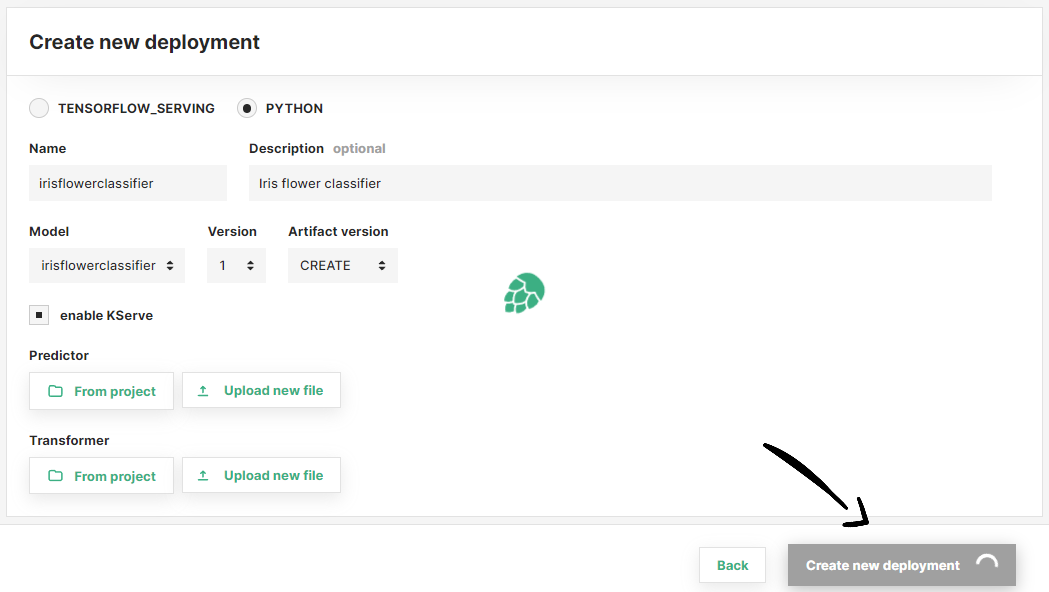
Step 1: Create a deployment#
If you have at least one model already trained and saved in the Model Registry, navigate to the deployments page by clicking on the Deployments tab on the navigation menu on the left.
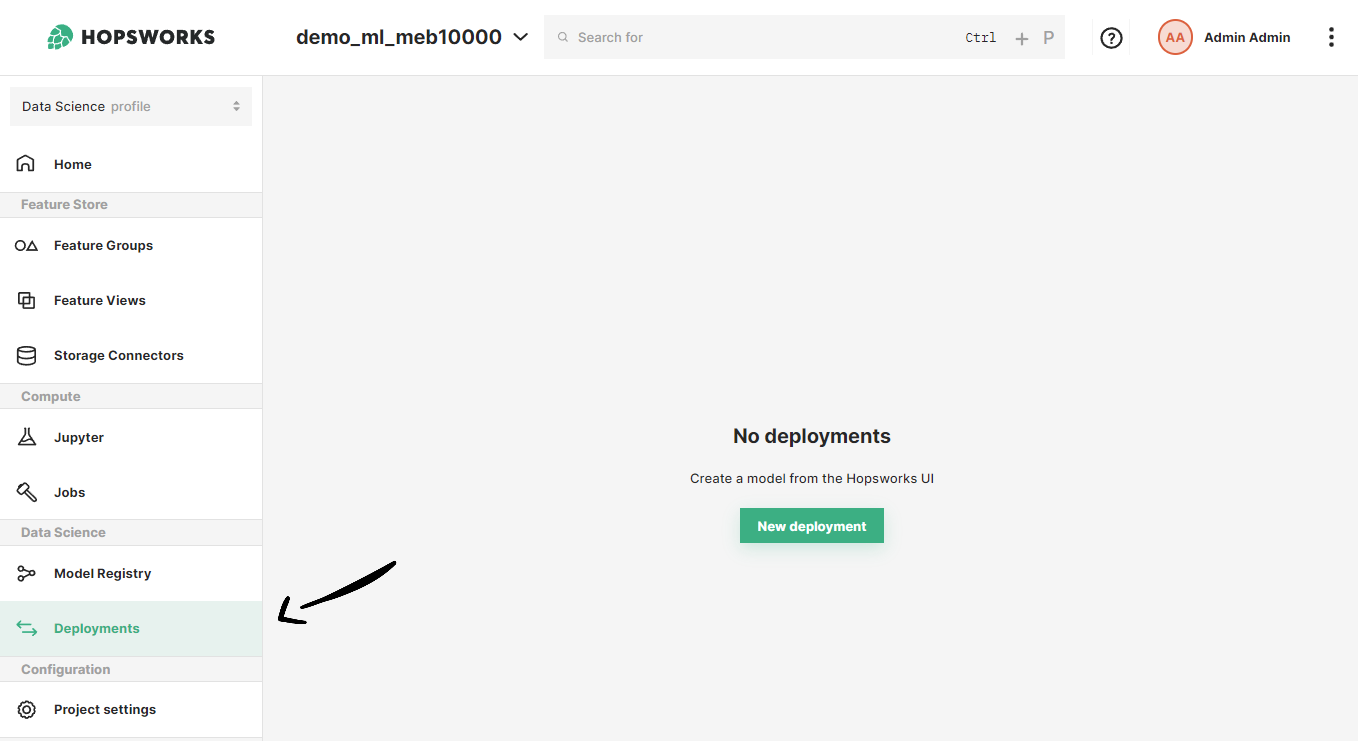
Once in the deployments page, click on New deployment if there are not existing deployments or on Create new deployment at the top-right corner to open the deployment creation form.
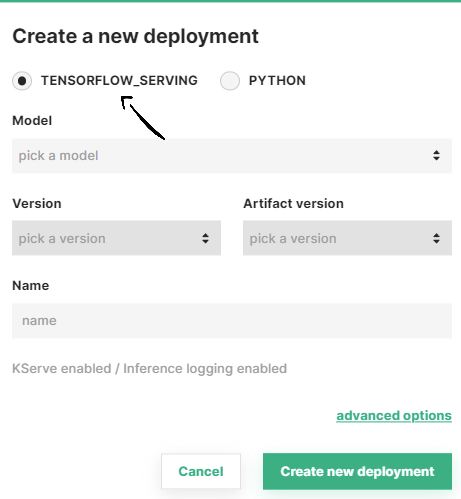
Step 2: Basic deployment configuration#
A simplified creation form will appear including the most common deployment fields among all the configuration possible. We provide default values for the rest of the fields, adjusted to the type of deployment you want to create.
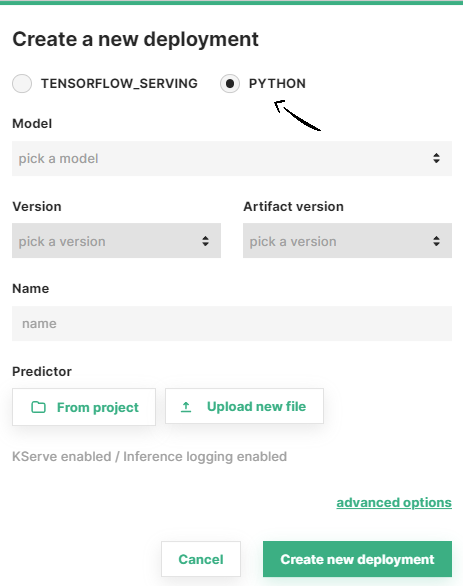
In the simplified form, select the model framework used to train your model (i.e., TensorFlow Serving or Python). Then, select the model you want to deploy from the list of available models under pick a model.
After selecting the model, the rest of fields are filled automatically. We pick the last model version and model artifact version available in the Model Registry. Moreover, we infer the deployment name from the model name.
Deployment name validation rules
A valid deployment name can only contain characters a-z, A-Z and 0-9.
Predictor script for Python models
For Python models, you can select a custom predictor script to load and run the trained model by clicking on From project or Upload new file, to choose an existing script in the project file system or upload a new script, respectively.
If you prefer, change the name of the deployment, model version or artifact version. Then, click on Create new deployment to create the deployment for your model.
Step 3 (Optional): Advanced configuration#
Optionally, you can access and adjust other parameters of the deployment configuration by clicking on Advanced options.
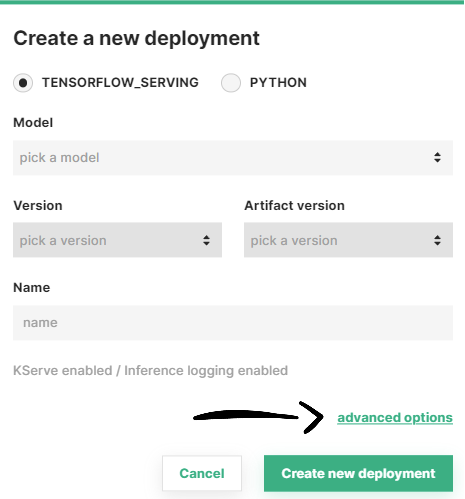
You will be redirected to a full-page deployment creation form where you can see all the default configuration values we selected for your deployment and adjust them according to your use case. Apart from the aforementioned simplified configuration, in this form you can setup the following components:
Deployment advanced options
Once you are done with the changes, click on Create new deployment at the bottom of the page to create the deployment for your model.
Step 4: Deployment creation#
Wait for the deployment creation process to finish.
Step 5: Deployment overview#
Once the deployment is created, you will be redirected to the list of all your existing deployments in the project. You can use the filters on the top of the page to easily locate your new deployment.
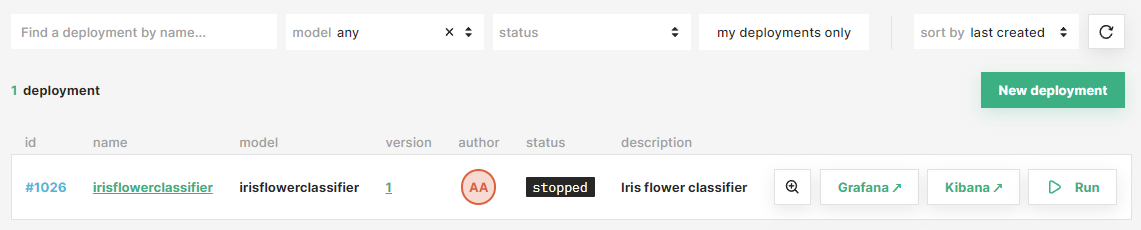
After that, click on the new deployment to access the overview page.

Code#
Step 1: Connect to Hopsworks#
import hopsworks

project = hopsworks.login()

# get Hopsworks Model Registry handle
mr = project.get_model_registry()
Step 2: Create deployment#
Retrieve the trained model you want to deploy.
my_model = mr.get_model("my_model", version=1)
Option A: Using the model object#
my_deployment = my_model.deploy()
Option B: Using the Model Serving handle#
# get Hopsworks Model Serving handle
ms = project.get_model_serving()

my_predictor = ms.create_predictor(my_model)
my_deployment = my_predictor.deploy()

# or
my_deployment = ms.create_deployment(my_predictor)
my_deployment.save()
API Reference#
Model Artifact#
A model artifact is a package containing all of the necessary files for the deployment of a model. It includes the model file(s) and/or custom scripts for loading the model (predictor script) or transforming the model inputs at inference time (the transformer script).
When a new deployment is created, a model artifact is generated in two cases:
- the artifact version in the predictor is set to
CREATE(see Artifact Version) - no model artifact with the same files has been created before.
Predictor#
Predictors are responsible for running the model server that loads the trained model, listens to inference requests and returns prediction results. To learn more about predictors, see the Predictor Guide
Note
Currently, only one predictor is supported in a deployment. Support for multiple predictors (the inference graphs) is coming soon.
Info
Model artifacts are assigned an incremental version number, being 0 the version reserved for model artifacts that do not contain predictor or transformer scripts (i.e., shared artifacts containing only the model files).
Transformer#
Transformers are used to apply transformations on the model inputs before sending them to the predictor for making predictions using the model. To learn more about transformers, see the Transformer Guide.
Warning
Transformers are only supported in KServe deployments.
Inference logger#
Inference loggers are deployment components that log inference requests into a Kafka topic for later analysis. To learn about the different logging modes, see the Inference Logger Guide
Inference batcher#
Inference batcher are deployment component that apply batching to the incoming inference requests for a better throughput-latency trade-off. To learn about the different configuration available for the inference batcher, see the Inference Batcher Guide.
Resources#
Resources include the number of replicas for the deployment as well as the resources (i.e., memory, CPU, GPU) to be allocated per replica. To learn about the different combinations available, see the Resources Guide.
Conclusion#
In this guide you learned how to create a deployment.