How To Allocate Resources For A Deployment#
Introduction#
Depending on the serving tool used to deploy a trained model, resource allocation can be configured at different levels. While deployments on Docker containers only support a fixed number of resources (CPU and memory), using Kubernetes or KServe allows a better exploitation of the resources available in the platform, by enabling you to specify how many CPUs, GPUs, and memory are allocated to a deployment. See the compatibility matrix.
GUI#
Step 1: Create new deployment#
If you have at least one model already trained and saved in the Model Registry, navigate to the deployments page by clicking on the Deployments tab on the navigation menu on the left.
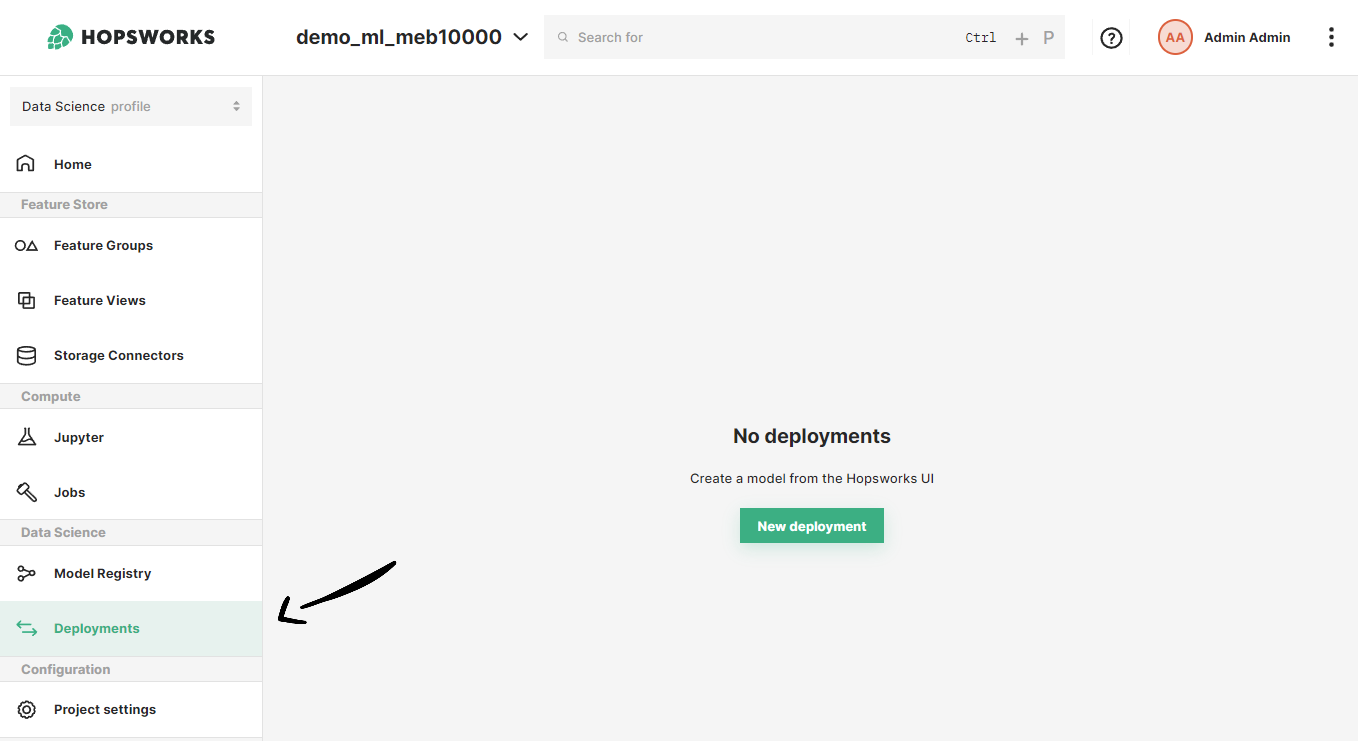
Once in the deployments page, click on New deployment if there are not existing deployments or on Create new deployment at the top-right corner to open the deployment creation form.
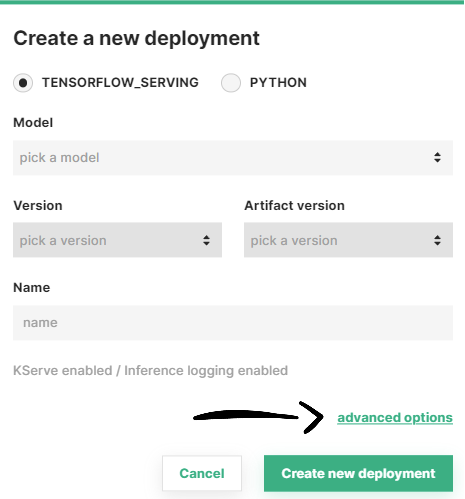
Step 2: Go to advanced options#
A simplified creation form will appear including the most common deployment fields among all the configuration possible. Resource allocation is part of the advanced options of a deployment. To navigate to the advanced creation form, click on Advanced options.
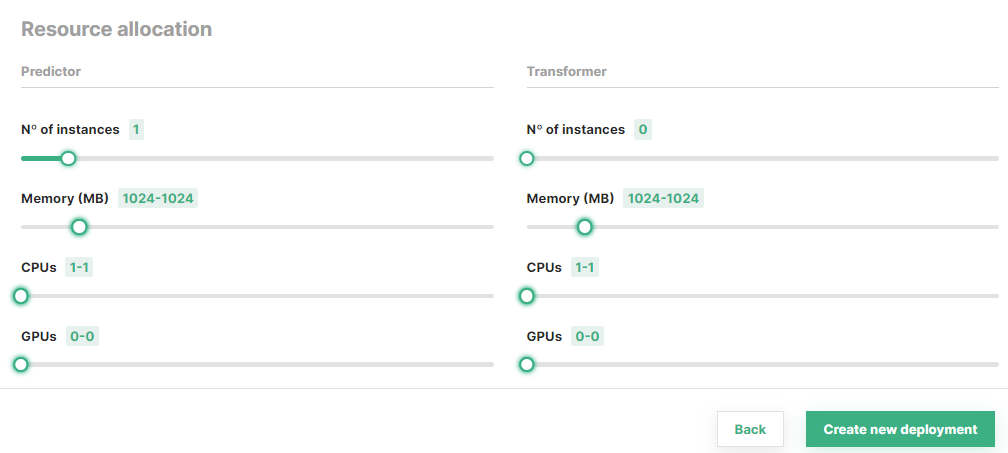
Step 3: Configure resource allocation#
In the Resource allocation section of the form, you can optionally set the resources to be allocated to the predictor and/or the transformer (if available). Moreover, you can choose the minimum number of replicas for each of these components.
Scale-to-zero capabilities
Deployments with KServe enabled can scale to zero by choosing 0 as the number of instances.
Once you are done with the changes, click on Create new deployment at the bottom of the page to create the deployment for your model.
Code#
Step 1: Connect to Hopsworks#
import hopsworks

project = hopsworks.login()

# get Hopsworks Model Registry handle
mr = project.get_model_registry()

# get Hopsworks Model Serving handle
ms = project.get_model_serving()
Step 2: Define the predictor resource configuration#
from hsml.resources import PredictorResources, Resources

minimum_res = Resources(cores=1, memory=128, gpus=1)
maximum_res = Resources(cores=2, memory=256, gpus=1)

predictor_res = PredictorResources(num_instances=1, requests=minimum_res, limits=maximum_res)
Step 3 (Optional): Define the transformer resource configuration#
from hsml.resources import TransformerResources

minimum_res = Resources(cores=1, memory=128, gpus=1)
maximum_res = Resources(cores=2, memory=256, gpus=1)

transformer_res = TransformerResources(num_instances=2, requests=minimum_res, limits=maximum_res)
Step 4: Create a deployment with the resource configuration#
my_model = mr.get_model("my_model", version=1)

my_predictor = ms.create_predictor(my_model,
                                   resources=predictor_res,
                                   # transformer=Transformer(script_file,
                                   #                         resources=transformer_res)
                                   )
my_predictor.deploy()

# or

my_deployment = ms.create_deployment(my_predictor)
my_deployment.save()
API Reference#
Compatibility matrix#
Show supported resource allocation configuration
| Serving tool | Component | Resources |
|---|---|---|
| Docker | Predictor | Fixed |
| Transformer | ❌ | |
| Kubernetes | Predictor | Minimum resources |
| Transformer | ❌ | |
| KServe | Predictor | Minimum / maximum resources |
| Transformer | Minimum / maximum resources |