How To Run A Spark Job#
Introduction#
All members of a project in Hopsworks can launch the following types of applications through a project's Jobs service:
- Python (Hopsworks Enterprise only)
- Apache Spark
Launching a job of any type is very similar process, what mostly differs between job types is the various configuration parameters each job type comes with. After following this guide you will be able to create a Spark job.
UI#
Step 1: Jobs overview#
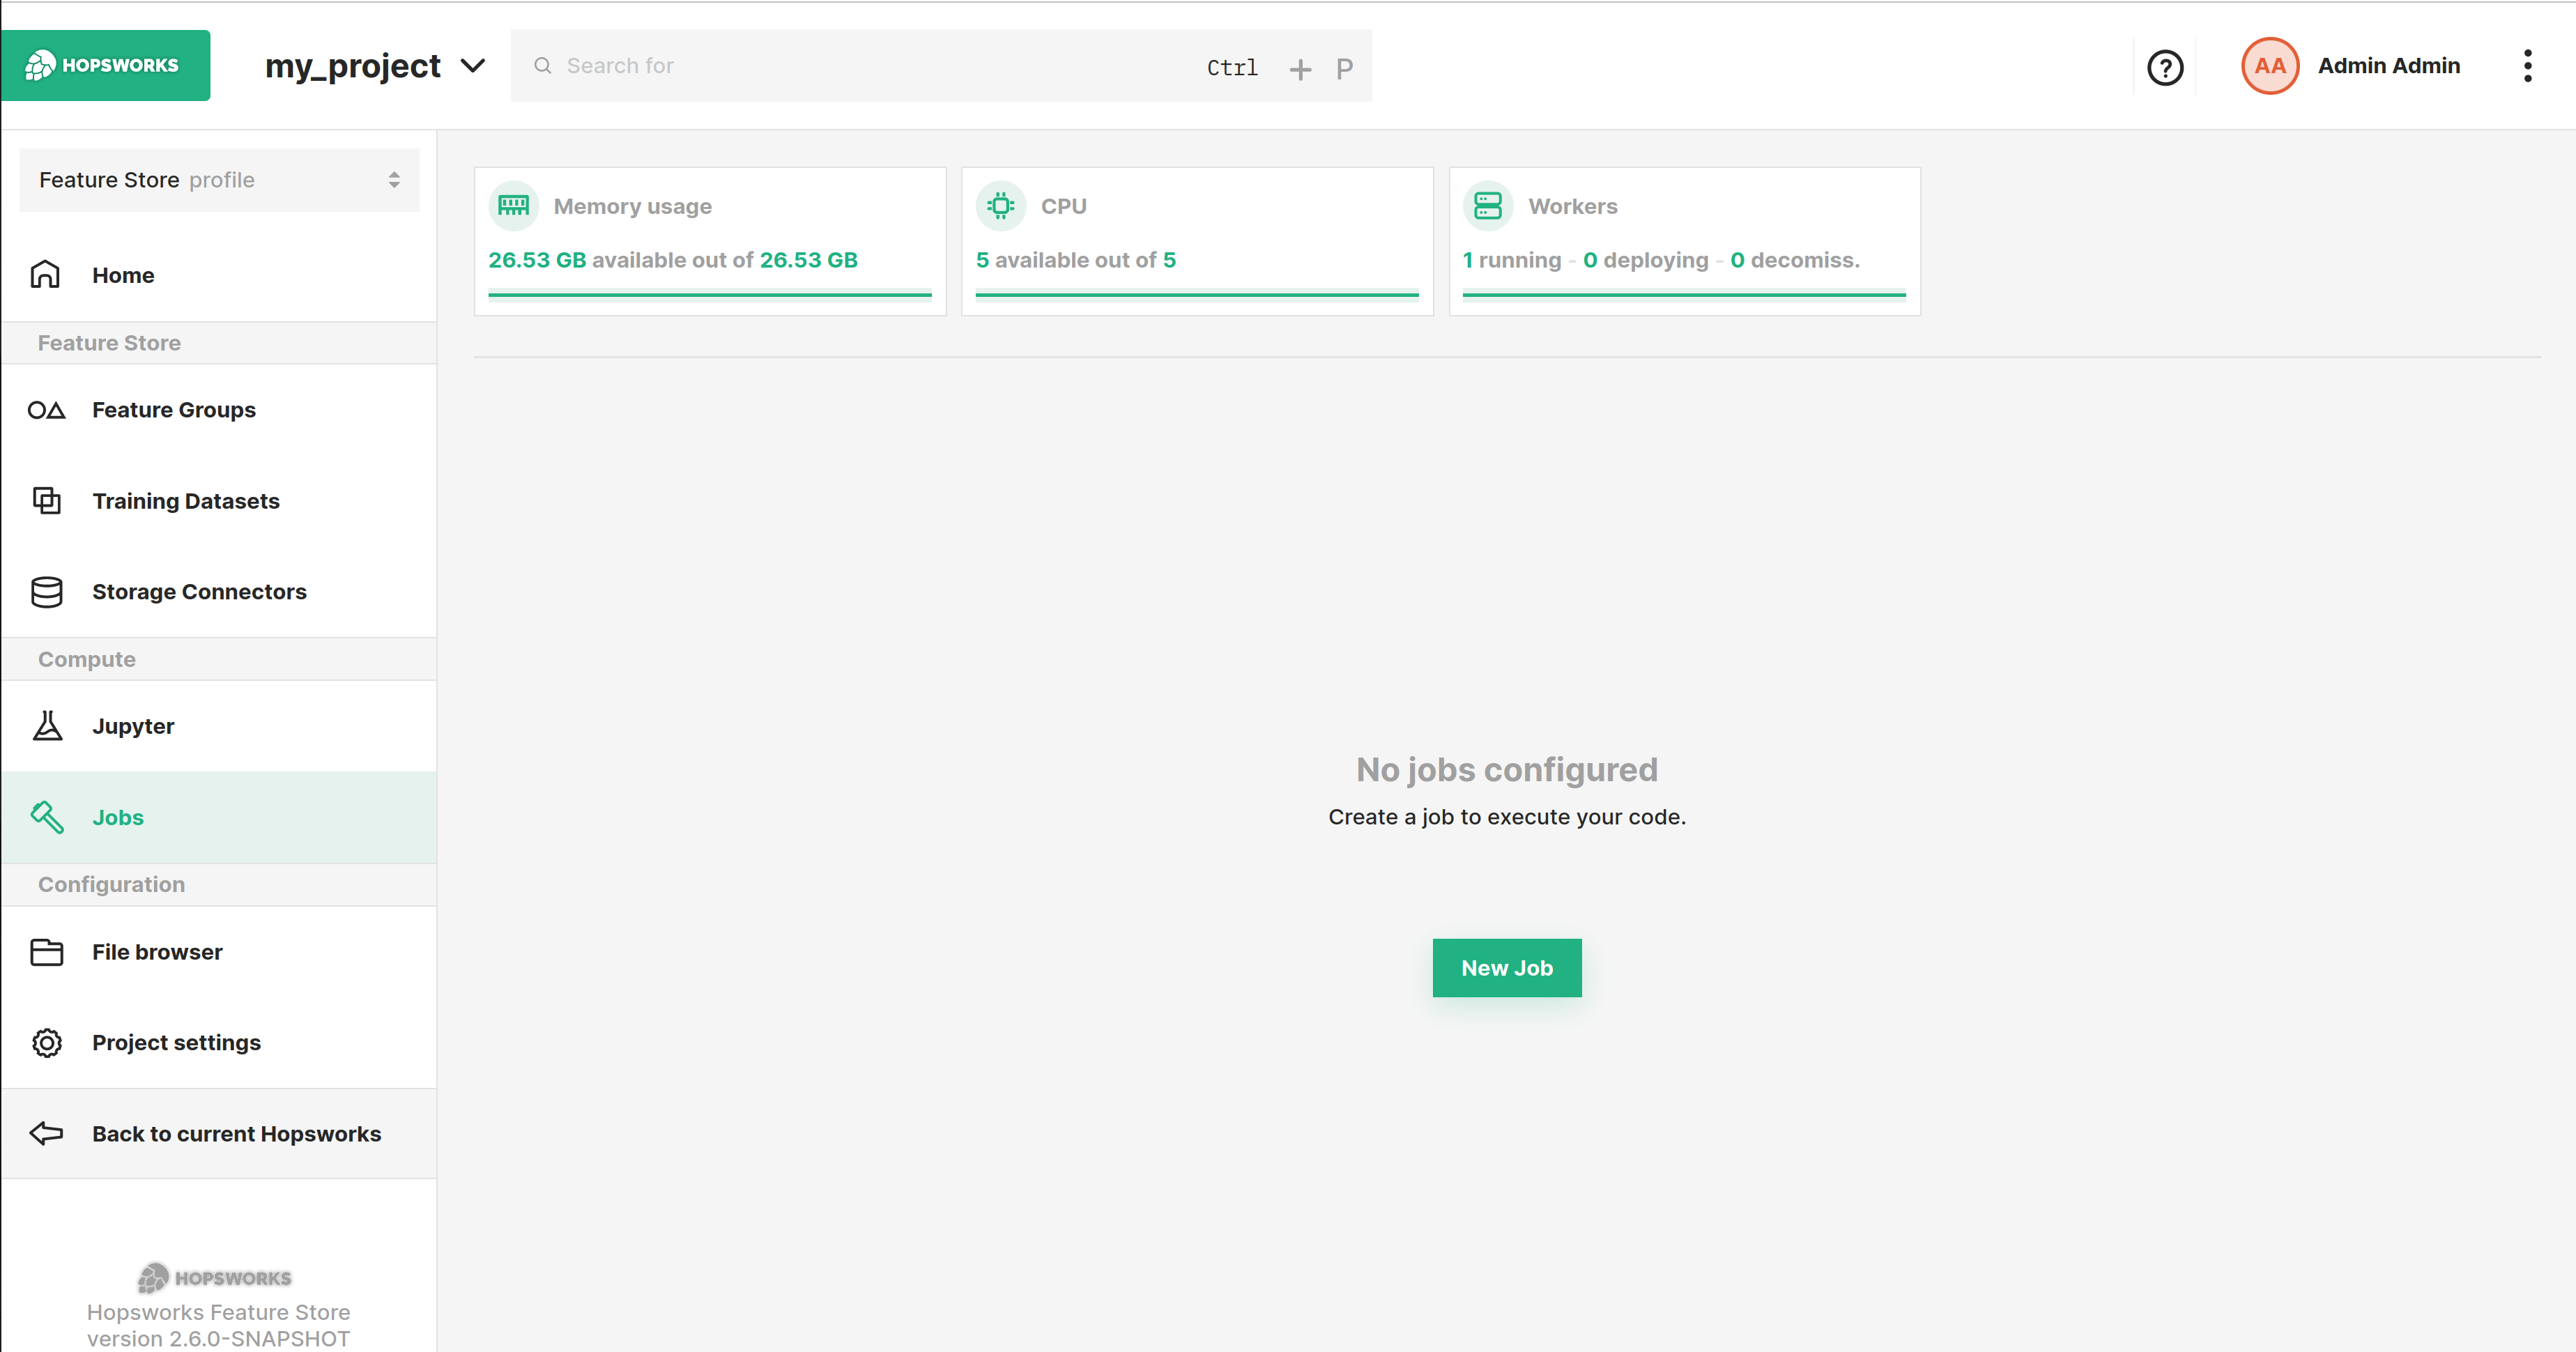
The image below shows the Jobs overview page in Hopsworks and is accessed by clicking Jobs in the sidebar.
Step 2: Create new job dialog#
To configure a job, click Advanced options, which will open up the advanced configuration page for the job.

Step 3: Set the jar#
Next step is to select the program to run. You can either select From project, if the file was previously uploaded to Hopsworks, or Upload new file which lets you select a file from your local filesystem as demonstrated below. After that set the name for the job.
Step 4: Set the job type#
Next step is to set the job type to SPARK to indicate it should be executed as a spark job. Then specify additional configuration or click Create New Job to create the job.
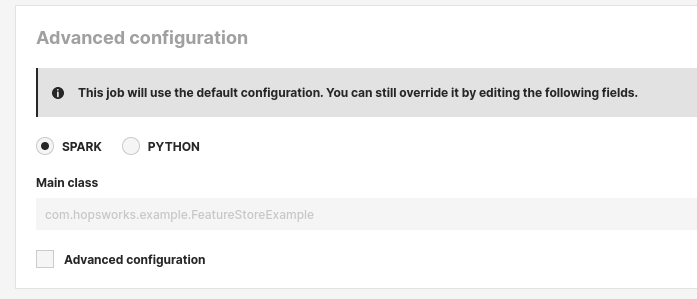
Step 5: Set the main class#
Next step is to set the main class for the application. Then specify advanced configuration or click Create New Job to create the job.
Step 6 (optional): Advanced configuration#
Resource allocation for the Spark driver and executors can be configured, also the number of executors and whether dynamic execution should be enabled.
-
Driver memory: Number of cores to allocate for the Spark driver -
Driver virtual cores: Number of MBs to allocate for the Spark driver -
Executor memory: Number of cores to allocate for each Spark executor -
Executor virtual cores: Number of MBs to allocate for each Spark executor -
Dynamic/Static: Run the Spark application in static or dynamic allocation mode (see spark docs for details).

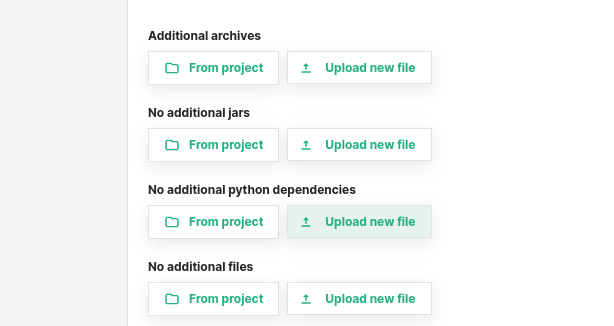
Additional files or dependencies required for the Spark job can be configured.
-
Additional archives: List of archives to be extracted into the working directory of each executor. -
Additional jars: List of jars to be placed in the working directory of each executor. -
Additional python dependencies: List of python files and archives to be placed on each executor and added to PATH. -
Additional files: List of files to be placed in the working directory of each executor.
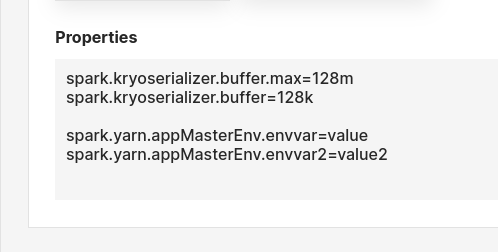
Line-separates properties to be set for the Spark application. For example, changing the configuration variables for the Kryo Serializer or setting environment variables for the driver, you can set the properties as shown below.
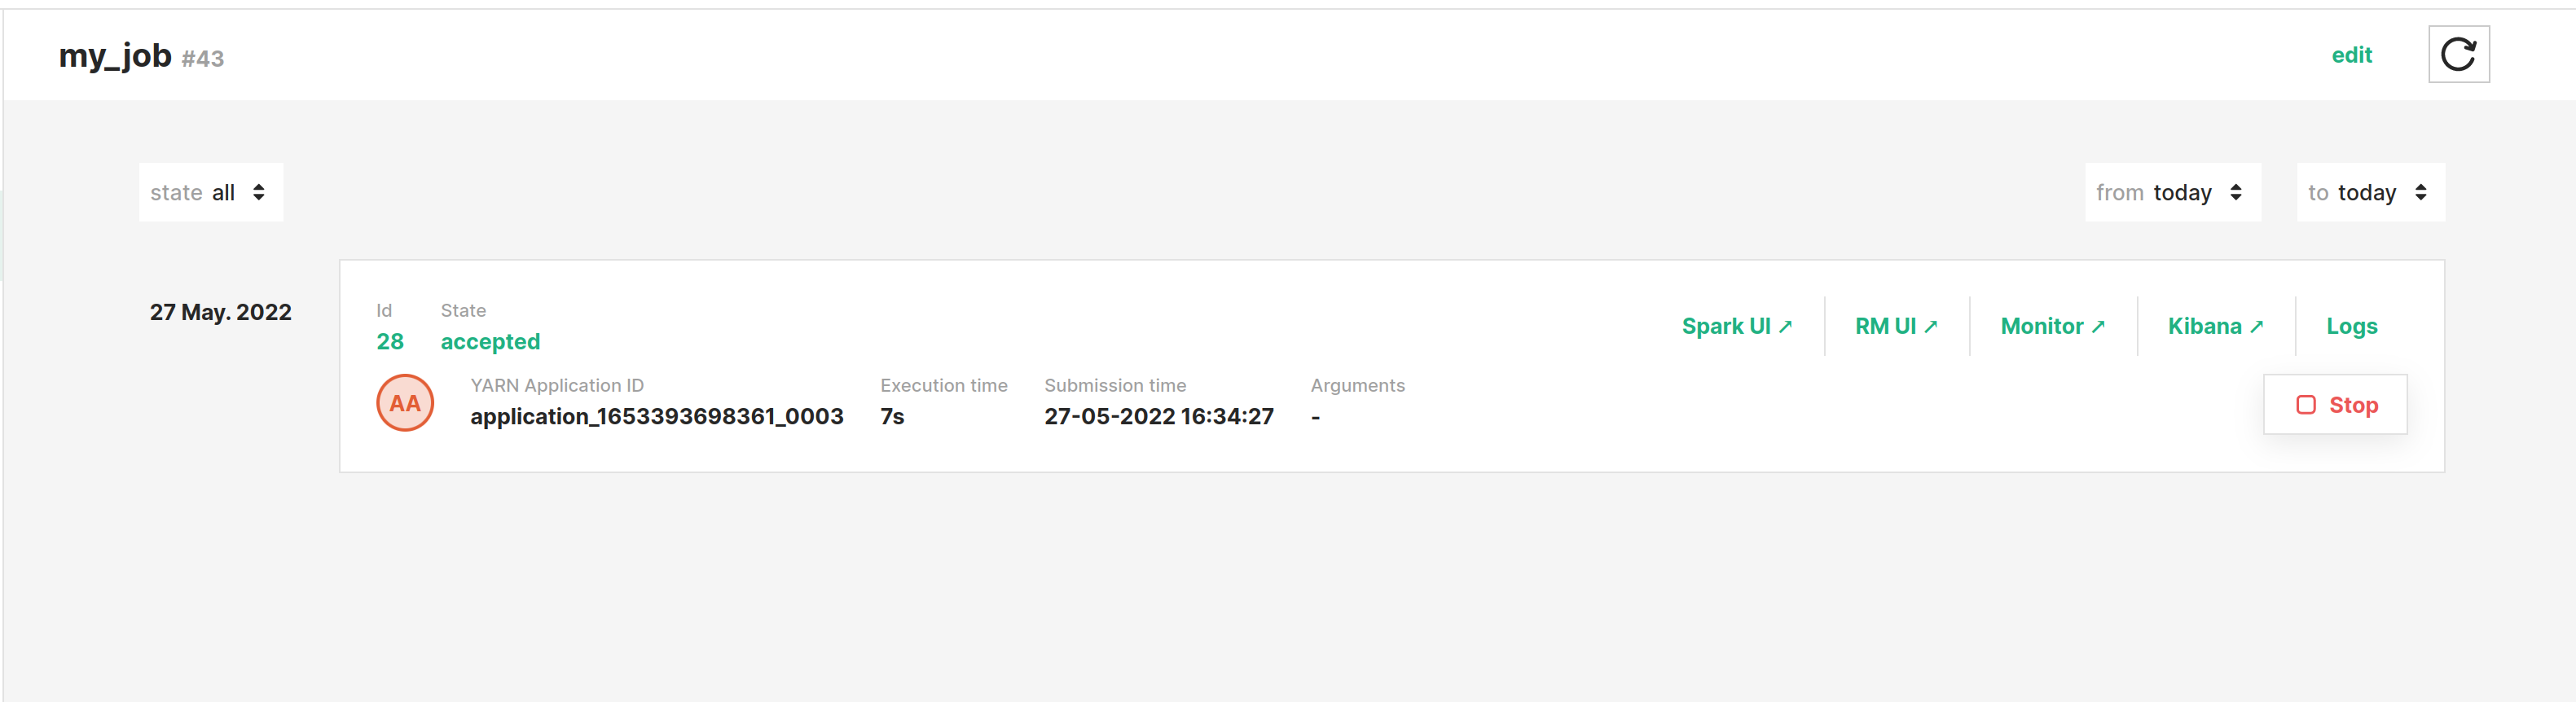
Step 7: Execute the job#
Now click the Run button to start the execution of the job, and then click on Executions to see the list of all executions.
Step 8: Application logs#
To monitor logs while the execution is running, click Spark UI to open the Spark UI in a separate tab.
Once the execution is finished, you can click on Logs to see the full logs for execution.
Code#
Step 1: Upload the Spark jar#
This snippet assumes the Spark program is in the current working directory and named sparkpi.jar.
It will upload the jar to the Resources dataset in your project.
import hopsworks

project = hopsworks.login()

dataset_api = project.get_dataset_api()

uploaded_file_path = dataset_api.upload("sparkpi.jar", "Resources")
Step 2: Create Spark job#
In this snippet we get the JobsApi object to get the default job configuration for a SPARK job, set the python script to run and create the Job object.
jobs_api = project.get_jobs_api()

spark_config = jobs_api.get_configuration("SPARK")

spark_config['appPath'] = uploaded_file_path
spark_config['mainClass'] = 'org.apache.spark.examples.SparkPi'

job = jobs_api.create_job("pyspark_job", spark_config)
Step 3: Execute the job#
In this snippet we execute the job synchronously, that is wait until it reaches a terminal state, and then download and print the logs.
execution = job.run(await_termination=True)

out, err = execution.download_logs()

f_out = open(out, "r")
print(f_out.read())

f_err = open(err, "r")
print(f_err.read())
API Reference#
Conclusion#
In this guide you learned how to create and run a Spark job.