Managed RonDB#
For applications where Feature Store's performance and scalability is paramount we give users the option to create clusters with Managed RonDB. You don't need to worry about configuration as managed.hopsworks.ai will automatically pick the best options for your setup.
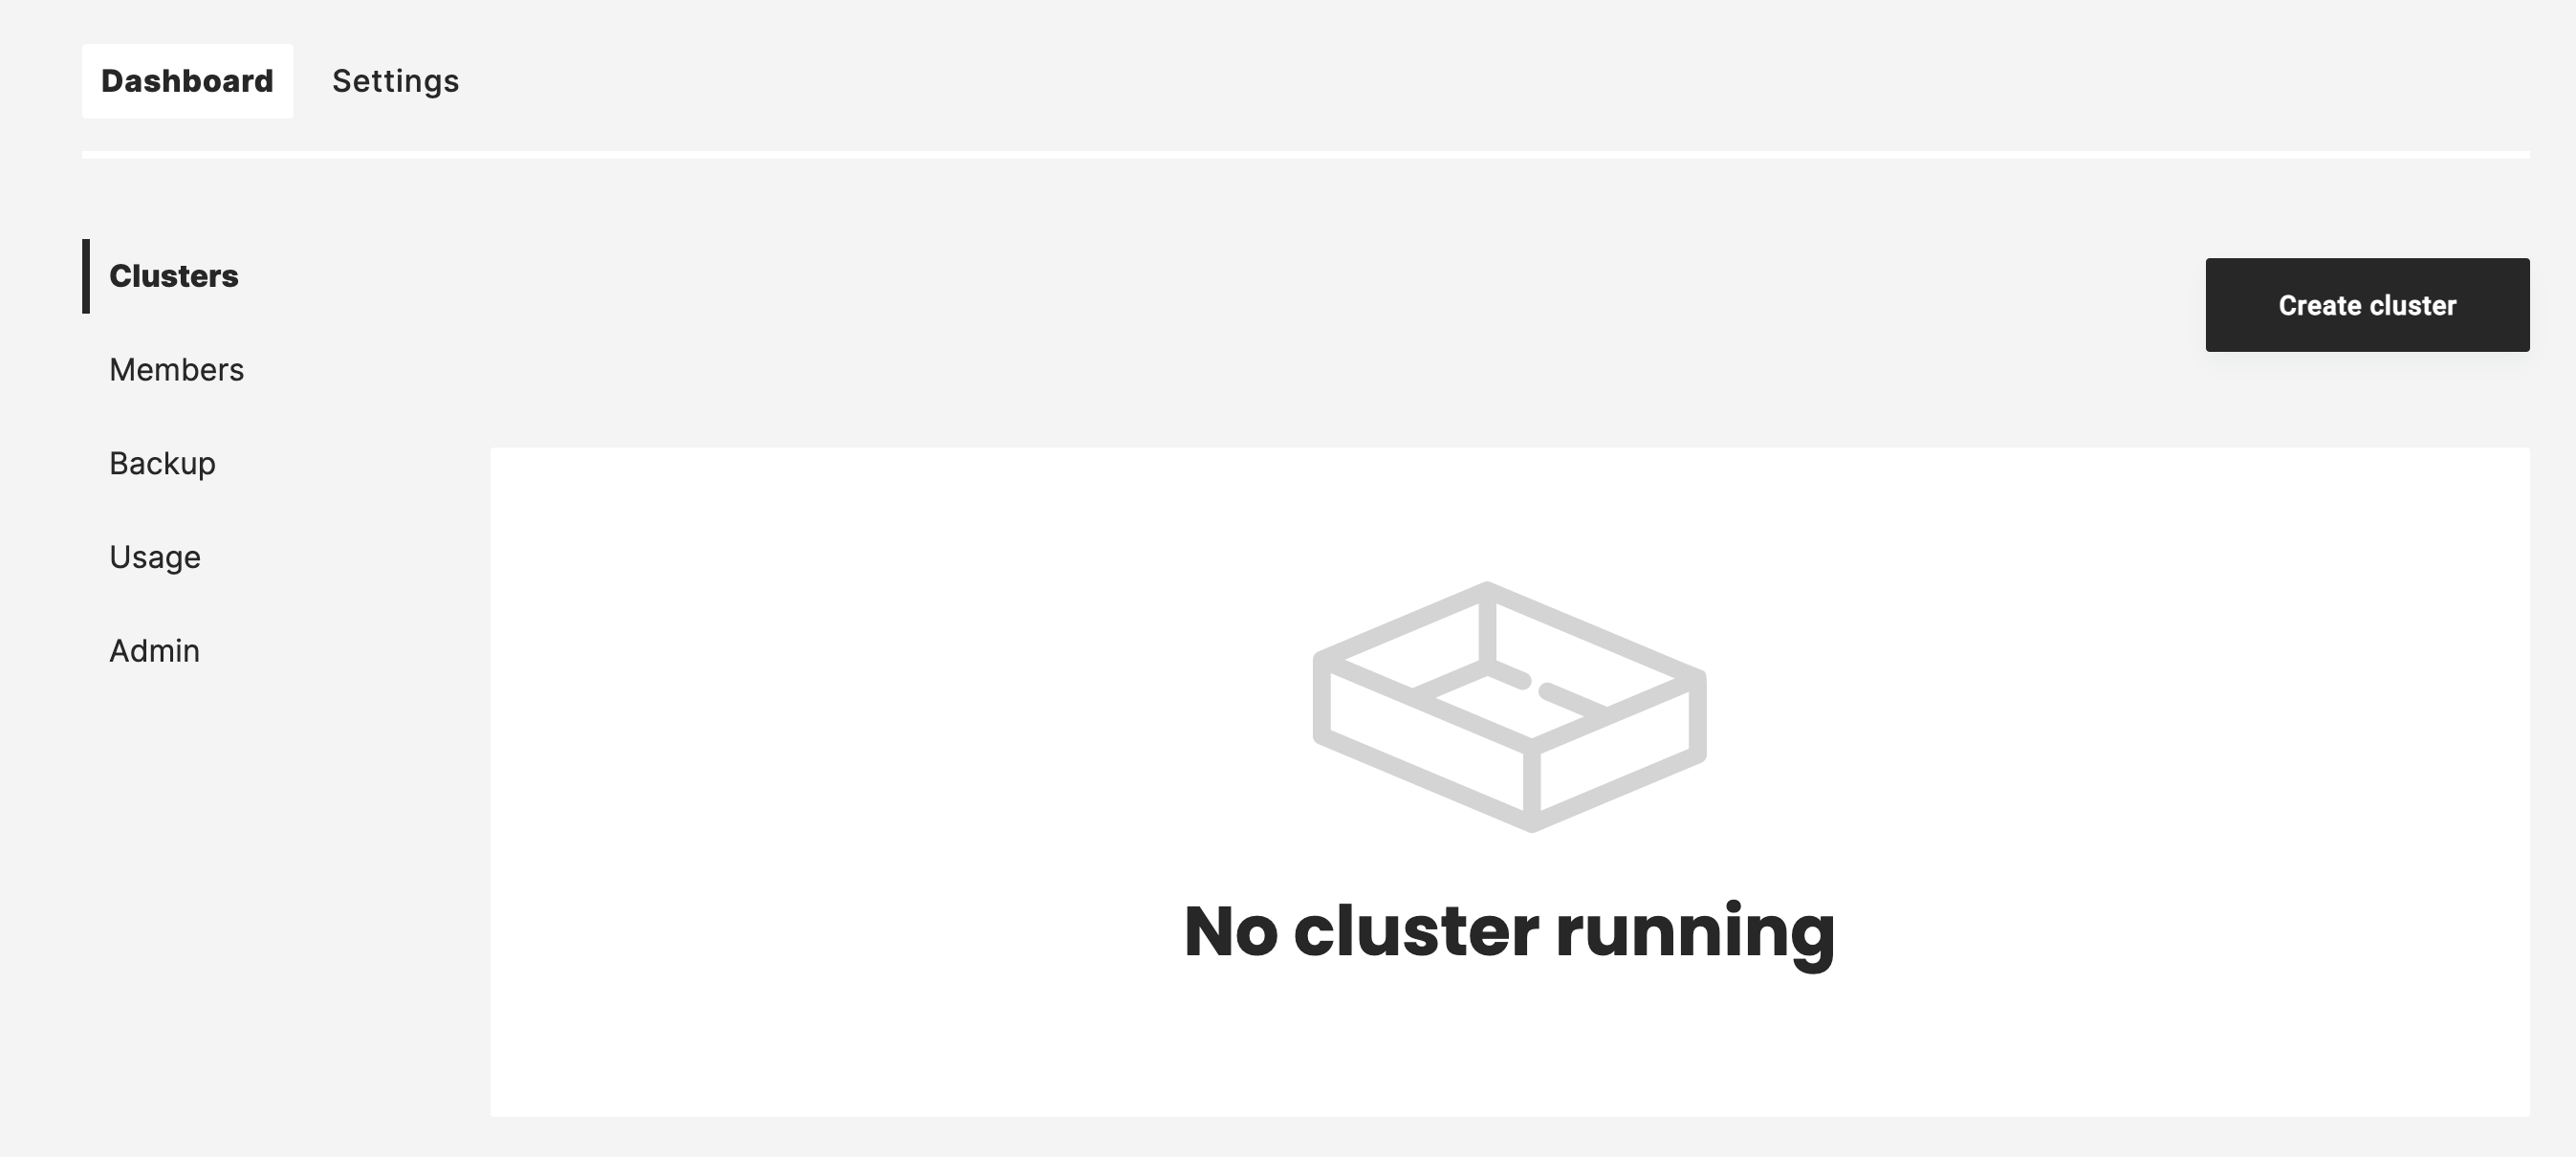
To start a new Hopsworks Cluster with a Managed RonDB installation one first goes to the Dashboard view seen below.
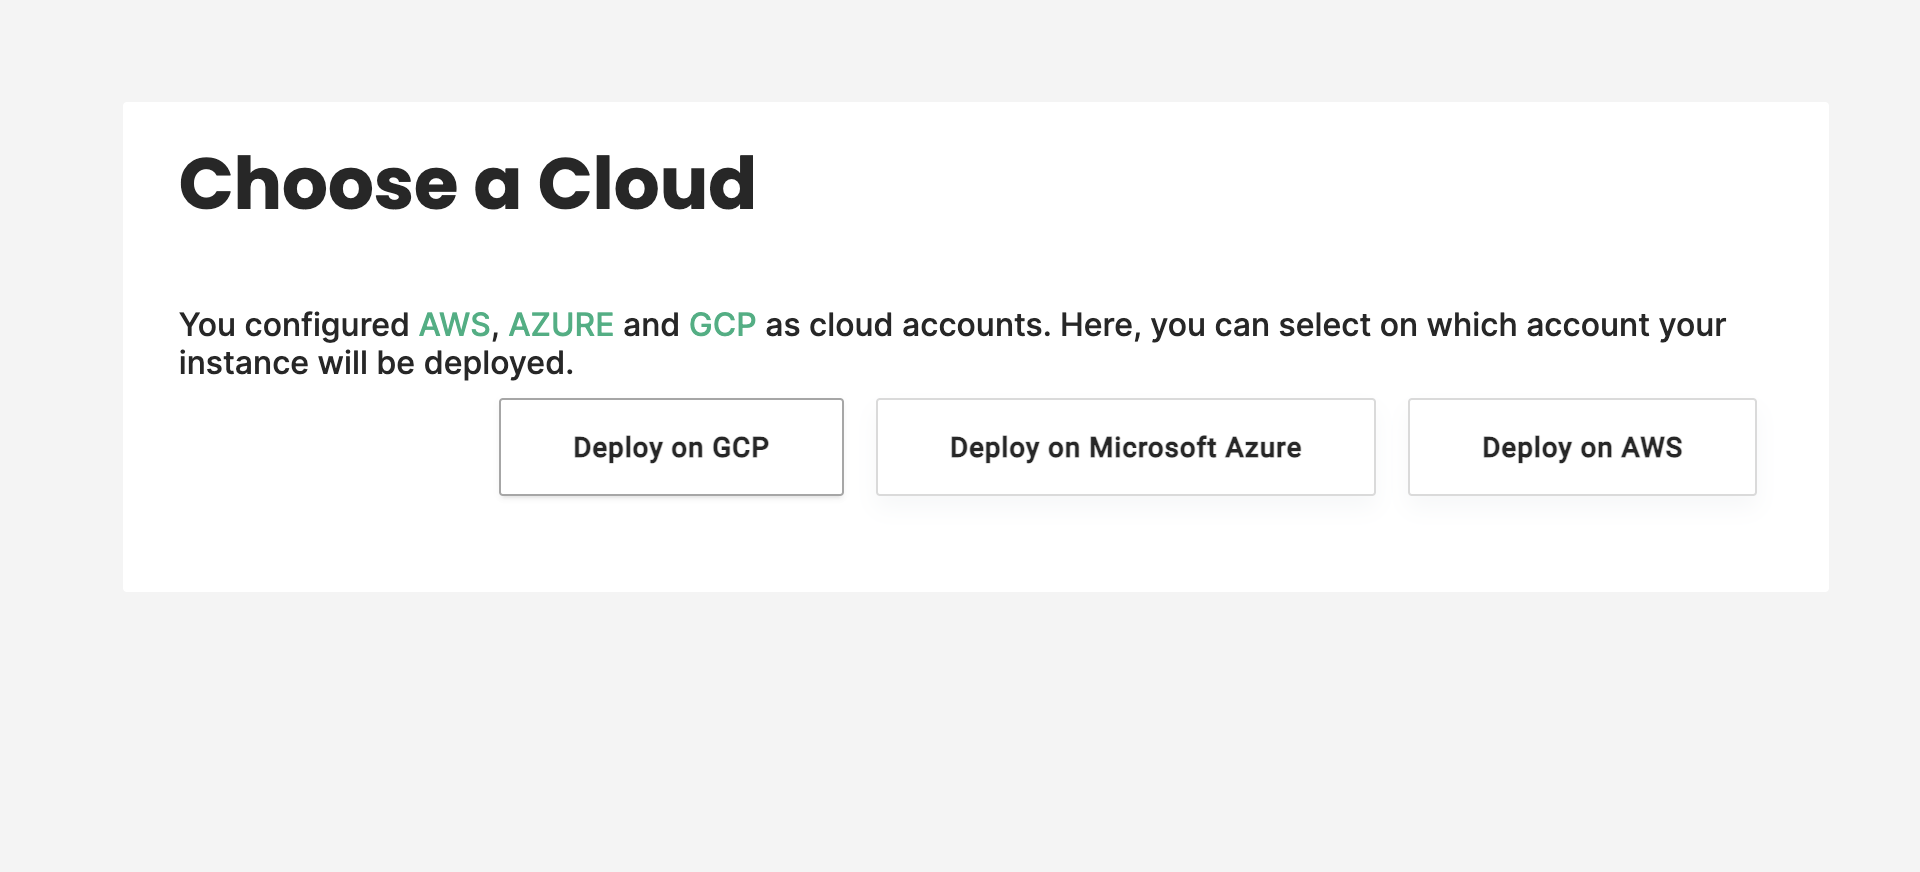
After clicking on Create cluster we can select the Cloud to use, AWS, GCP or Azure.
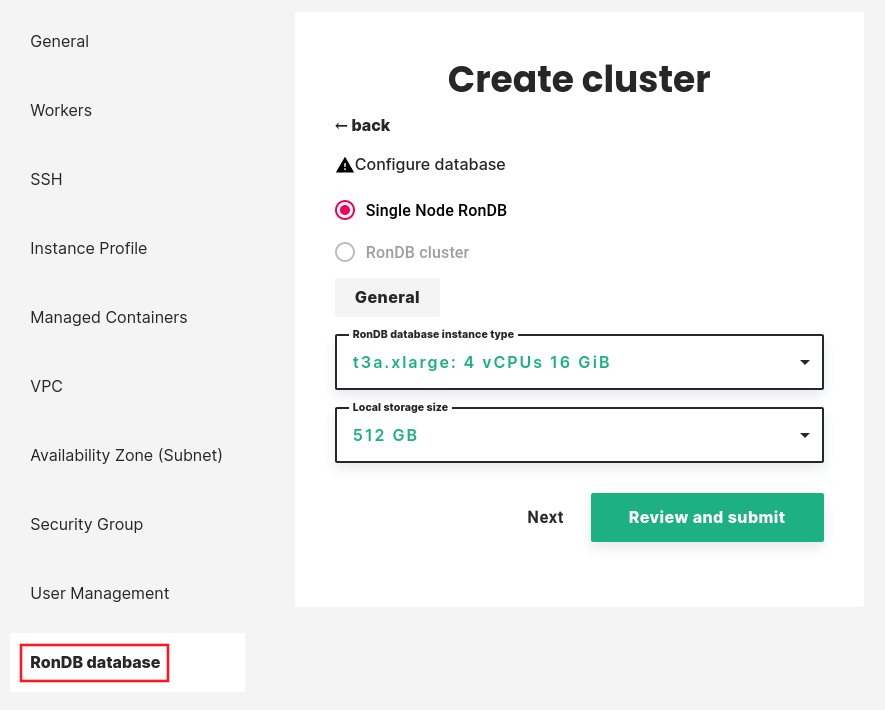
The configuration of your RonDB cluster is done in the RonDB database tab at the left in your Create cluster menu.
Single node RonDB#
The minimum setup for a Hopsworks cluster is to run all database services on their own virtual machine additionally to the Head node. This way the RonDB database service can scale independently of other cluster services. You can pick the VM type of this VM in the scroll bar RonDB database instance type.
It is also possible to change the size of the local storage in the VM through the scroll bar Local storage size. Normally it isn't necessary to change this setting.
It is possible to reconfigure from a Single Node RonDB to a RonDB cluster. It is not possible to reconfigure from a RonDB cluster to a Single Node RonDB.
When reconfiguring from a Single Node RonDB to RonDB cluster the Single Node VM is converted into the Management Server VM. The management server VM only needs to use 2 VCPUs in a RonDB cluster.
The Single Node RonDB is mainly intended for experiments and Proof of Concept installations. For production usage it is better to select a RonDB cluster and use a single replica if a really small cluster is desired. Scaling from a small RonDB cluster to a very large RonDB cluster can be done as online operations.
Note
For cluster versions <= 2.5.0 the database services run on Head node
RonDB cluster#
To setup a cluster with multiple RonDB nodes, select RonDB cluster during cluster creation. If this option is not available contact us.
General#
If you enable Managed RonDB you will see a basic configuration page where you can configure the database nodes.
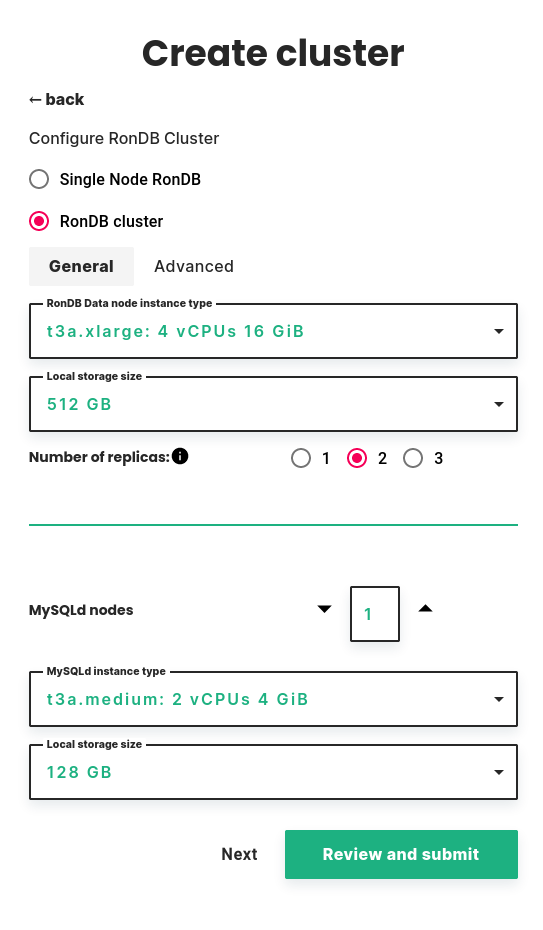
Data node#
First, you need to select the instance type and local storage size for the data nodes. These are the database nodes that will store data.
RonDB in Hopsworks is an in-memory database, so in order to fit more data you need to choose an instance type with more memory. Local storage is used for offline storage of recovery data. RonDB does support on-disk columns that can be used for on-disk features, this will be accessible from Hopsworks in some future version.
Since the data node is an in-memory database we only provide options with high memory compared to the CPUs. Most VMs have 8 GByte of memory per VCPU. The VM type is changed with the scroll bar RonDB Data node instance type. Local storage size should be sufficient to use the default.
Number of replicas#
Next you need to select the number of replicas. This is the number of copies the cluster will maintain of your data.
- Choosing 1 replica is the cheapest option since it requires the lowest number of nodes, but this way you don't have High Availability. Whenever any of the RonDB data nodes in the cluster fails, the cluster will also fail, so only choose 1 replica if you are willing to accept cluster failure.
- The default and recommended is to use 2 replicas, which allows the cluster to continue operating after any one data node fails.
- With 3 replicas, the cluster can continue operating after any two data node failures that happen after each other.
If you want to try out RonDB with a cheap setup it is possible to select 1 replica when you create the cluster and later reconfigure the cluster with 2 or 3 replicas. One can also decrease the number of replicas through online reconfiguration.
MySQLd nodes#
Next you can configure the number of MySQLd nodes. These are dedicated nodes for performing SQL queries against your RonDB cluster.
The Feature Store will use all the MySQL Servers with load balancing. The load balancing is implemented using Consul. This means that if a MySQL Server is stopped the application will discover a failure and will reconnect and choose one of the MySQL Servers that are still up. Similarly when a MySQL Server is started it will be used in the selection of which MySQL Server to use for a new connection setup.
Selection of VM type for the MySQL Servers is done in the scroll bar MySQLd instance type. As usual the default for local storage size should be sufficient.
Feature Stores is a read-heavy application. In such environment it is normal that optimal throughput is to have 50% to 100% more CPUs in the MySQL Servers compared to the Data nodes. MySQL Servers are most efficient up to 32 VCPUs. Scaling to more MySQL Servers is efficient, thus it is best to first use enough MySQL Servers for high availability, next to scale them to 32 VCPUs. If more CPUs are needed then scale with even more MySQL Servers.
MySQL Servers are only clients to the data nodes in RonDB. Thus it will not use a lot of memory, we mainly provide options with high CPU compared to the memory.
Advanced#
The advanced tab offers less common options. One node group will serve most use cases, it is mainly useful to have several node groups if the database doesn't fit in a single data node VM. API nodes is currently mostly useful for benchmarking, but is intended also for custom applications with extreme requirements on low latency.
We recommend keeping the defaults unless you know what you are doing.
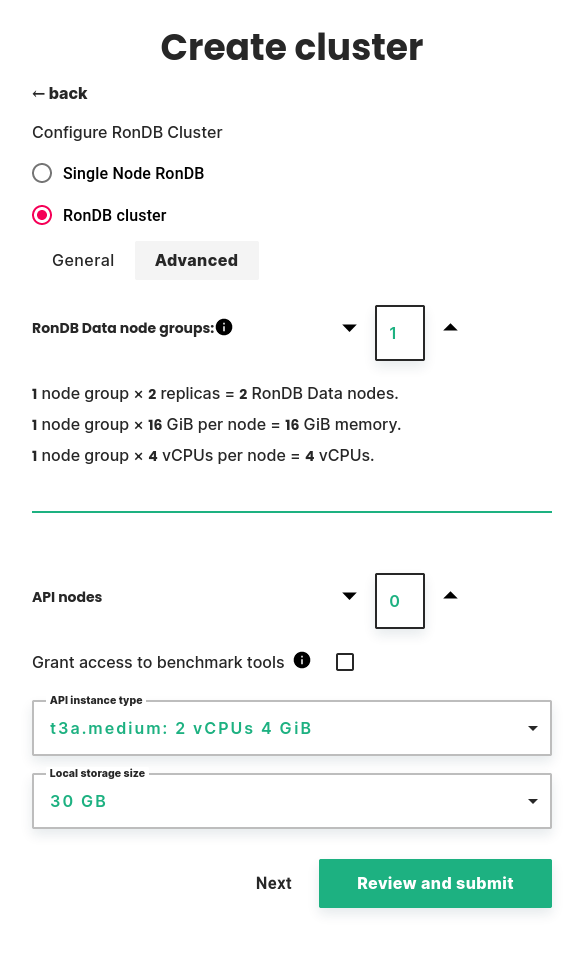
RonDB Data node groups#
You can choose the number of node groups, also known as database shards. The default is 1 node group, which means that all nodes will have a complete copy of all data. Increasing the number of node groups will split the data evenly. This way, you can create a cluster with higher capacity than a single node. For use cases where it is possible, we recommend using 1 node group and choose an instance type with enough memory to fit all data.
Below the number of node groups, you will see a summary of cluster resources.
- The number of data nodes is an important consideration for the cost of the cluster. It is calculated as the number of node groups multiplied by the number of replicas.
- The memory available to the cluster is calculated as the number of node groups multiplied by the memory per node. Note that the number replicas does not affect the available memory.
- The CPUs available to the cluster is calculated as the number of node groups multiplied by the number of CPUs per node. Note that the number replicas does not affect the available CPUs.
API nodes#
API nodes are specialized nodes which can run user code connecting directly to RonDB datanodes for increased performance.
You can choose the number of nodes, the instance type and local storage size.
There is also a checkbox to grant access to benchmark tools. This will let a benchmark user access specific database tables, so that you can benchmark RonDB safely.
For more information on how to benchmark RonDB, see the RonDB documentation.
Online Reconfiguration of RonDB#
After creating a RonDB cluster it is possible to resize the RonDB cluster through an online reconfiguration. This means that both reads and writes of tables and feature groups can continue while the change is ongoing without any downtime.
During reconfiguration of data nodes there could be periods where no new tables can be added and tables cannot be dropped. Reads and writes to all existing tables will however always be possible.
The online reconfiguration supports increasing and decreasing size of VMs, local storage of MySQL Servers. For data nodes we support changing to larger VMs and changing numbers of replicas to 1,2 and 3 and changing the local storage size to a larger size.
Why Reconfiguring Storage Client Layer (MySQL Servers)#
Reconfiguration of MySQL Servers can be done several times per day to meet current demands by the application. During a reconfiguration new MySQL Servers are added to the Consul address onlinefs.mysql.service.consul. Thus new connections will be quickly using the new MySQL Servers. MySQL Servers that are stopped will be removed from Consul a few seconds before the MySQL Server is stopped.
Thus an application using the MySQL Server can avoid most, if not all temporary errors due to reconfiguration by reconnecting to the MySQL Server after using a connection for about 3 seconds. However even without this the impact on applications due to the reconfiguration will be very small.
An example of an application could be an online retailer. During nights the activity is low, so the need of the MySQL Servers is low and one could use 2 x 4 VCPUs. In the morning business picks up and one can increase the use to 2 x 16 VCPUs. In the evening the business is heavier and one needs 2 x 32 VCPUs to meet the demand. Finally weekend rushes is handled with 3 x 32 VCPUs.
Why Reconfiguring Storage Layer (RonDB Data nodes)#
Reconfiguration of the RonDB Data nodes is a bit more rare since the database resides in memory. At the moment we only support increasing the size of the RonDB data nodes to ensure that we always have room for the database. Storing the database in-memory provides much lower latency to online applications.
Thus reconfiguring of the Storage Layer is mainly intended to meet long-term needs of the business in terms of CPU and memory. In addition one can change the number of replicas to improve the availability of the RonDB cluster.
Reconfiguration of Storage Client Layer#
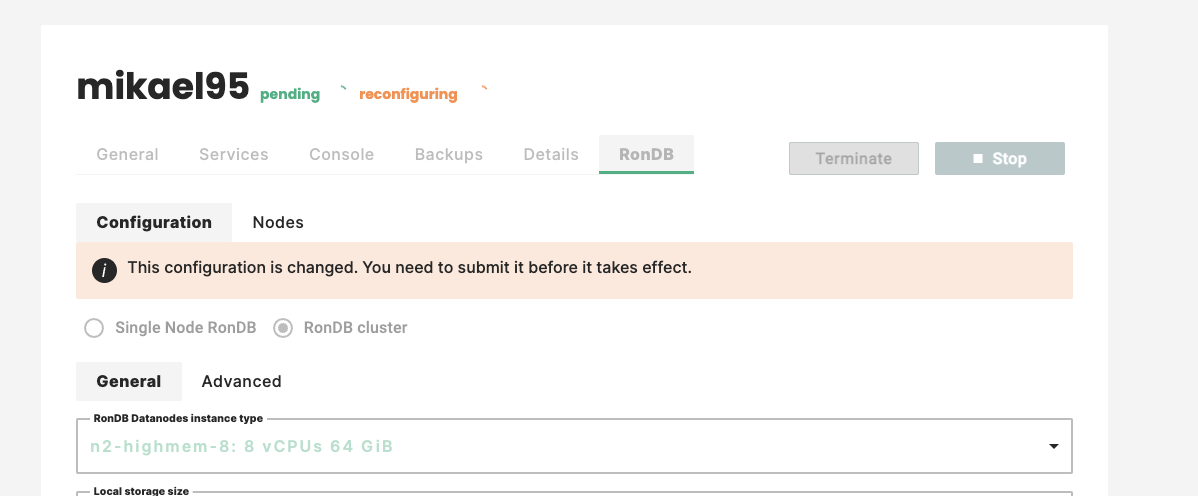
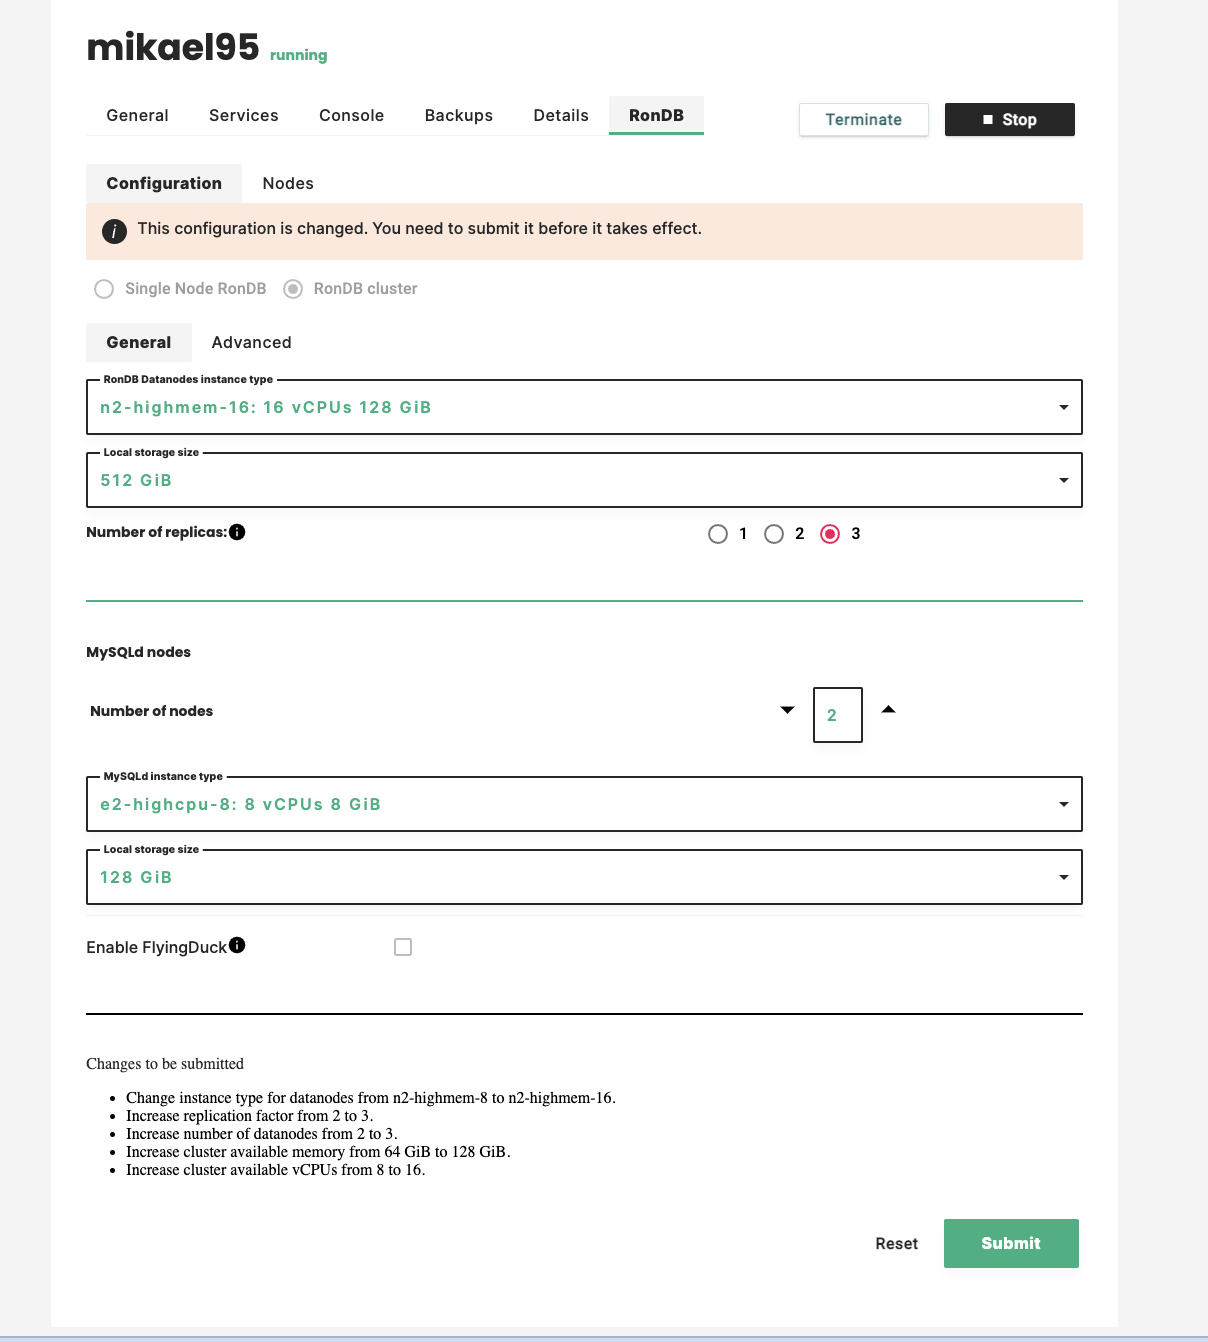
To start a reconfiguration of the MySQL Servers choose the RonDB tab in the Cluster you want to change. In the Configuration Tab you select the MySQLd instance type scroll bar and set the new VM type you want to use. In the figure above we selected e2-highcpu-16 (previously used e2-highcpu-8), thus doubling the VCPUs used by the Storage Client Layer.

When you made this choice the Changes to be submitted is listed above the Submit button.
If you decide to skip the current change you can push the Reset button to return to the original settings and start again the reconfiguration change.
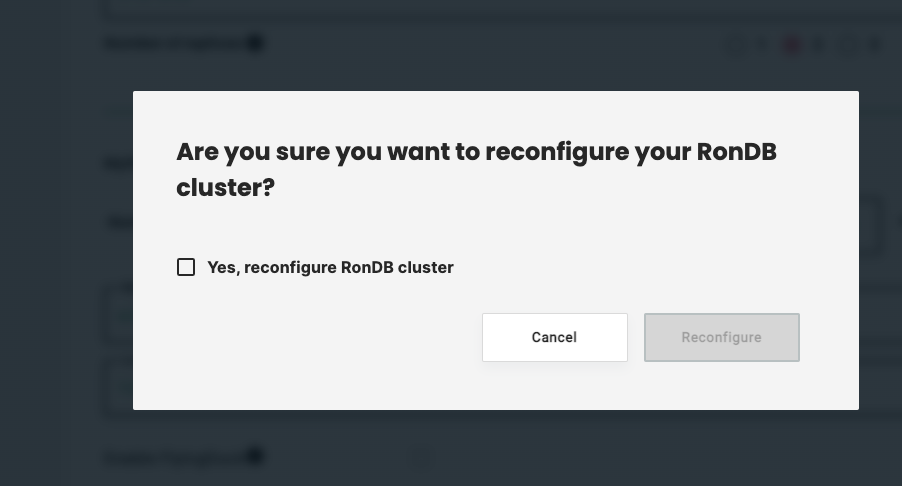
After clicking the Submit button, the below pop-up window appears. You need to check the Yes, reconfigure RonDB cluster button to proceeed.
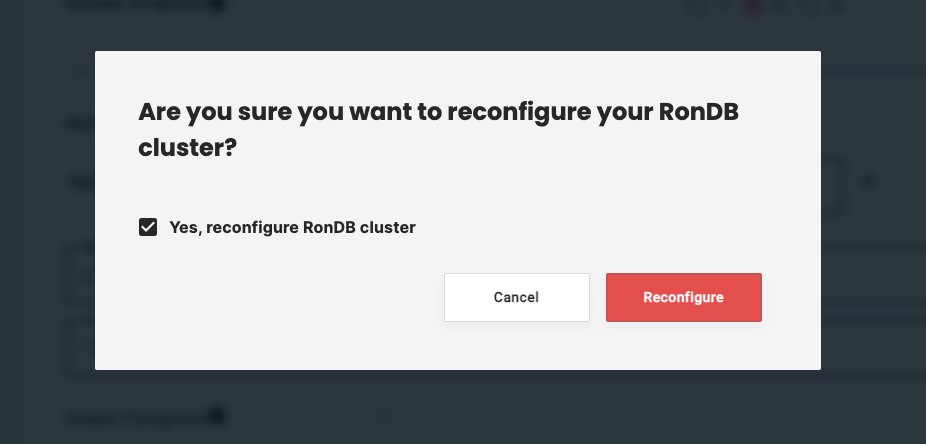
After clicking this button you now need to push Reconfigure button in the below pop-up window.
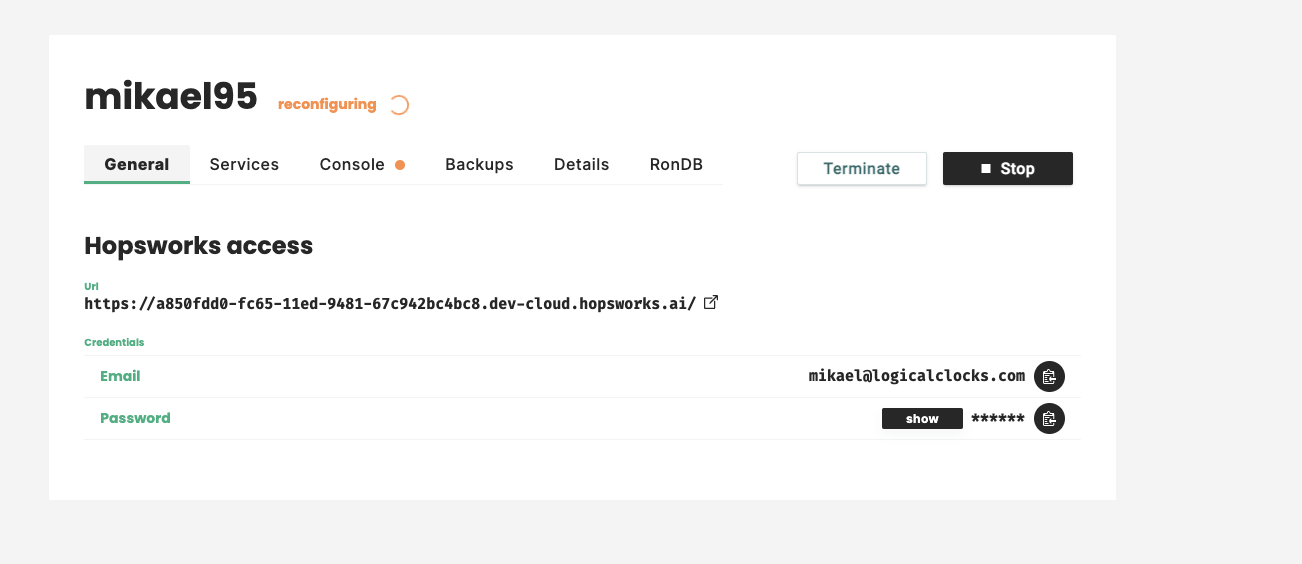
After clicking the Reconfigure the reconfiguration and you will see the below.
And shortly thereafter you will see the state change to only reconfiguring.
The process to reconfigure a few MySQL Servers will take a few minutes where a major portion is spent on creating the new MySQL Server VMs.
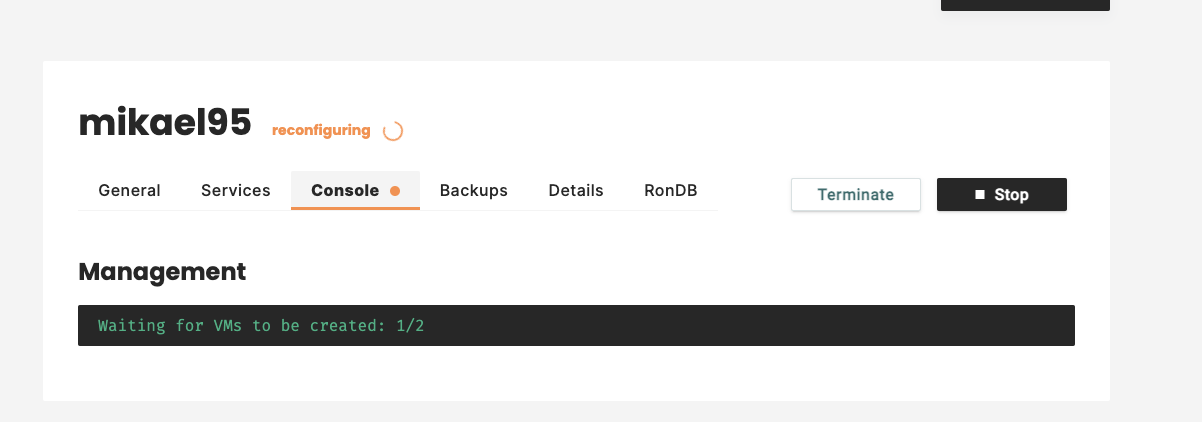
During this process we can follow the process by clicking at the Console where the state of the Reconfiguration will be presented in more details.
The Reconfiguration process#
The first step in the reconfiguration process is to create the new VMs. During this step the we see the below message in the Console. The steps below isn't all the states shown and could change in future versions. So this part is mostly to give an idea of what is happening during the reconfiguration process.
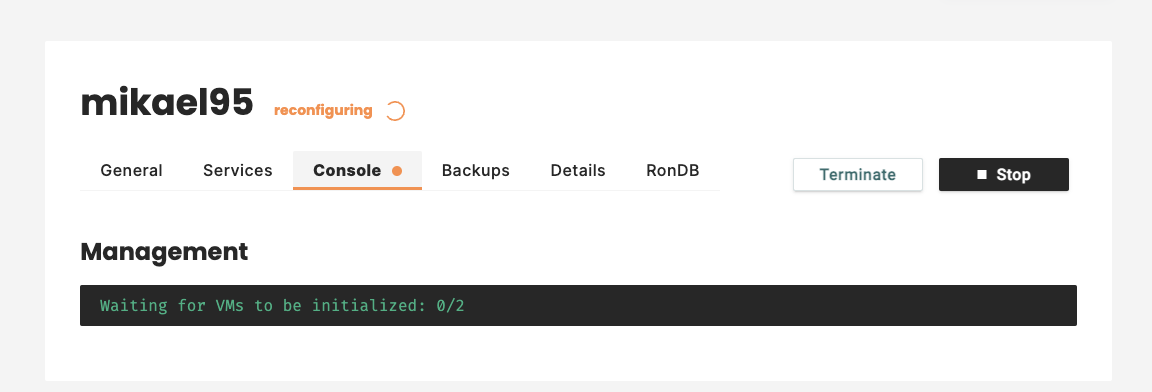
The next step is to initialise the VMs and the below message is shown while this step is ongoing.
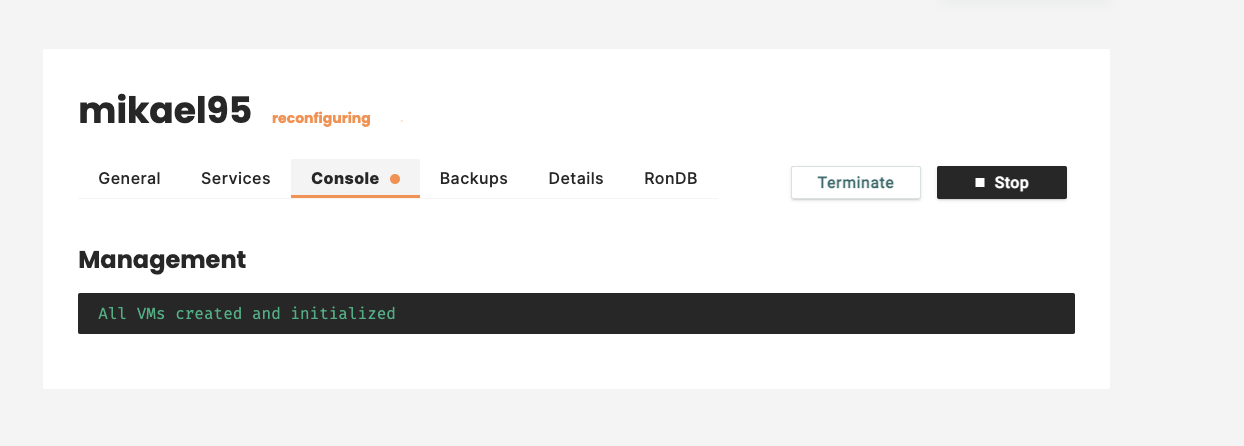
When all VMs have been created and initialised we see the below message in the Console.
With all the new MySQL Server VMs created and initialised we are ready to start the first MySQL Server. During this we see the following message for a short time.

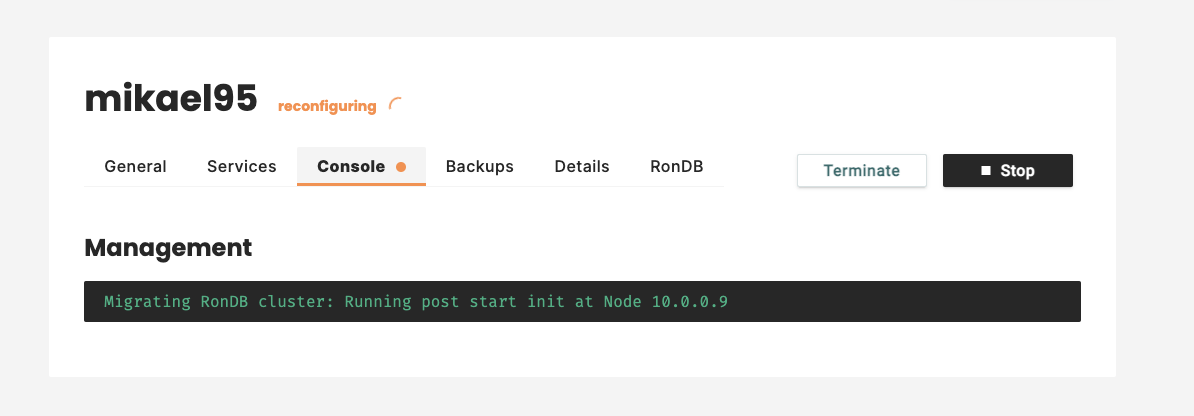
After starting the new MySQL Server we need to insert the MySQL Server into Consul and other post init activities. During this step we see the message below. Already here the new MySQL Server can start serving queries in the cluster.
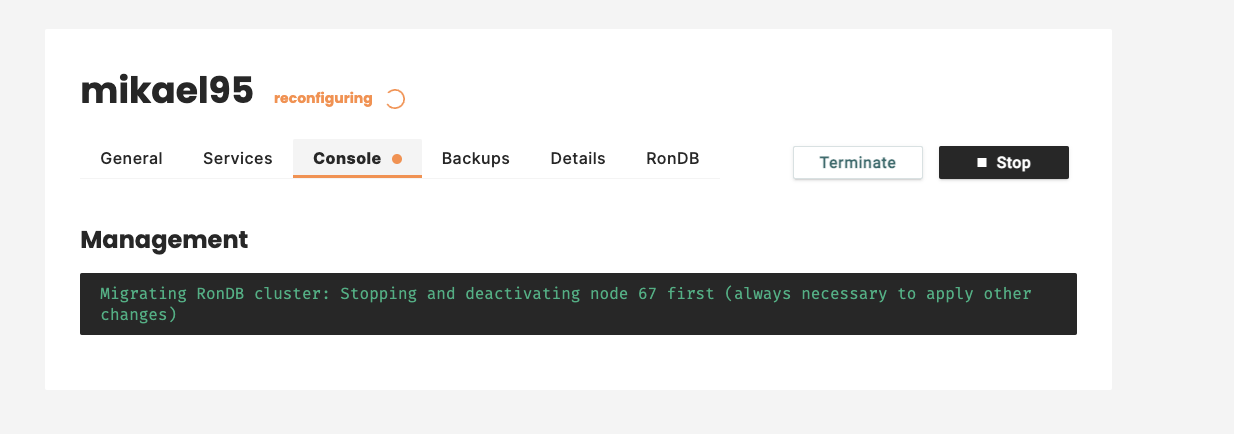
At some point the old MySQL Servers need to be stopped and removed from the cluster. During this step we see this message. After this step the old MySQL Servers are no longer serving queries in the cluster.
The order of starting MySQL Server and stopping them can change, but we always ensure that we never decrease the number of MySQL Servers until the final step if at all.
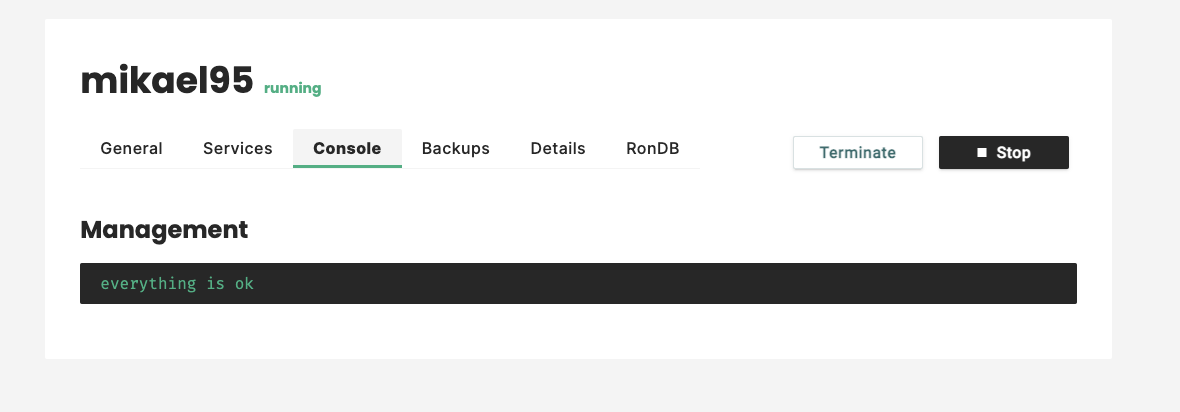
After starting all the MySQL Servers we have some cleanup steps to go through such as deleting the old VMs. However during this step the cluster is already reconfigured. After all cleanup steps are completed the final message arrives. As you can see the state is changed to running. This means that a new reconfiguration can be started again as well. Only one reconfiguration at a time is allowed.
Reconfiguration of the Storage Layer (RonDB Data nodes)#
When reconfiguring the Storage Layer we can change 3 things. We can change the VM type to choose a VM type with more memory and more CPUs. We can change the number of replicas and finally we can change the local storage size.
We can change all three parameters at once. The below shows an example of how to do this.
It is currently not possible to reconfigure API nodes. The VM type differs from cloud to cloud.
The start of a reconfiguration uses the same pop-up windows as when reconfiguring the Storage Client Layer.
The steps it goes through is slightly different but shares many similarities. However starting a RonDB data node will take longer time, the time it takes is dependent on the database size.
Combined reconfiguration of all Layers#
It is possible to reconfigure both the Storage Layer and the Storage Client Layer simultaneously. The process is the same, but will obviously take a bit more time since more changes are required.
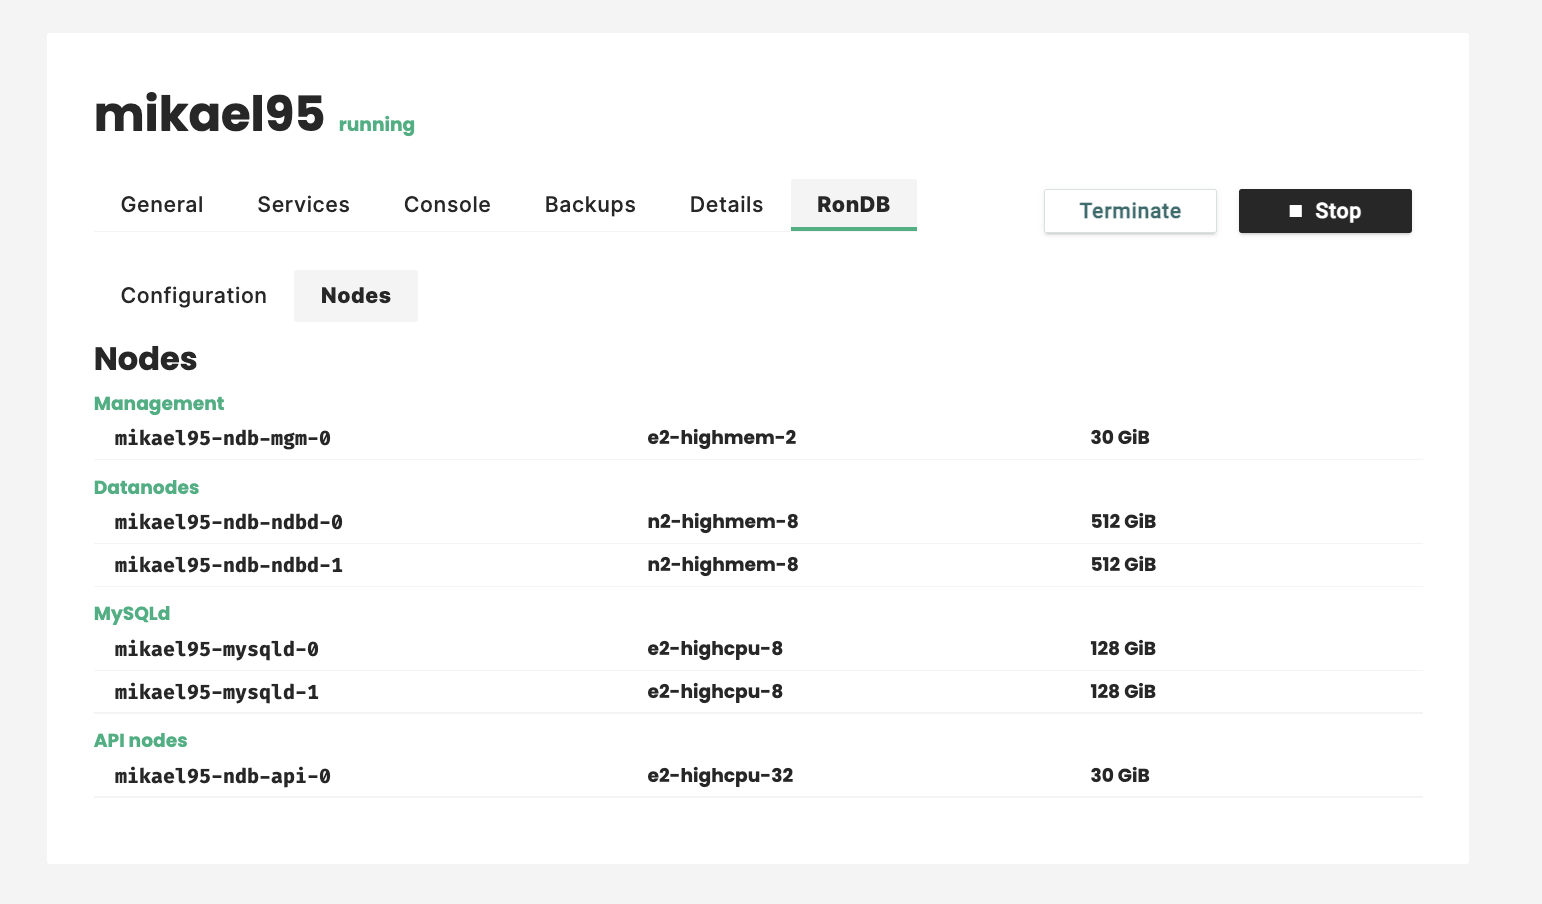
RonDB details#
Once the cluster is created you can view some details by clicking on the RonDB tab, followed by clicking on the Nodes tab as shown in the picture below.