How To Run A Ray Notebook#
Introduction#
Jupyter is provided as a service in Hopsworks, providing the same user experience and features as if run on your laptop.
- Supports JupyterLab and the classic Jupyter front-end
- Configured with Python3, PySpark and Ray kernels
Enable Ray
Support for Ray needs to be explicitly enabled by adding the following option in the values.yaml file for the deployment:
global:
  ray:
    enabled: true
Step 1: Jupyter dashboard#
The image below shows the Jupyter service page in Hopsworks and is accessed by clicking Jupyter in the sidebar.
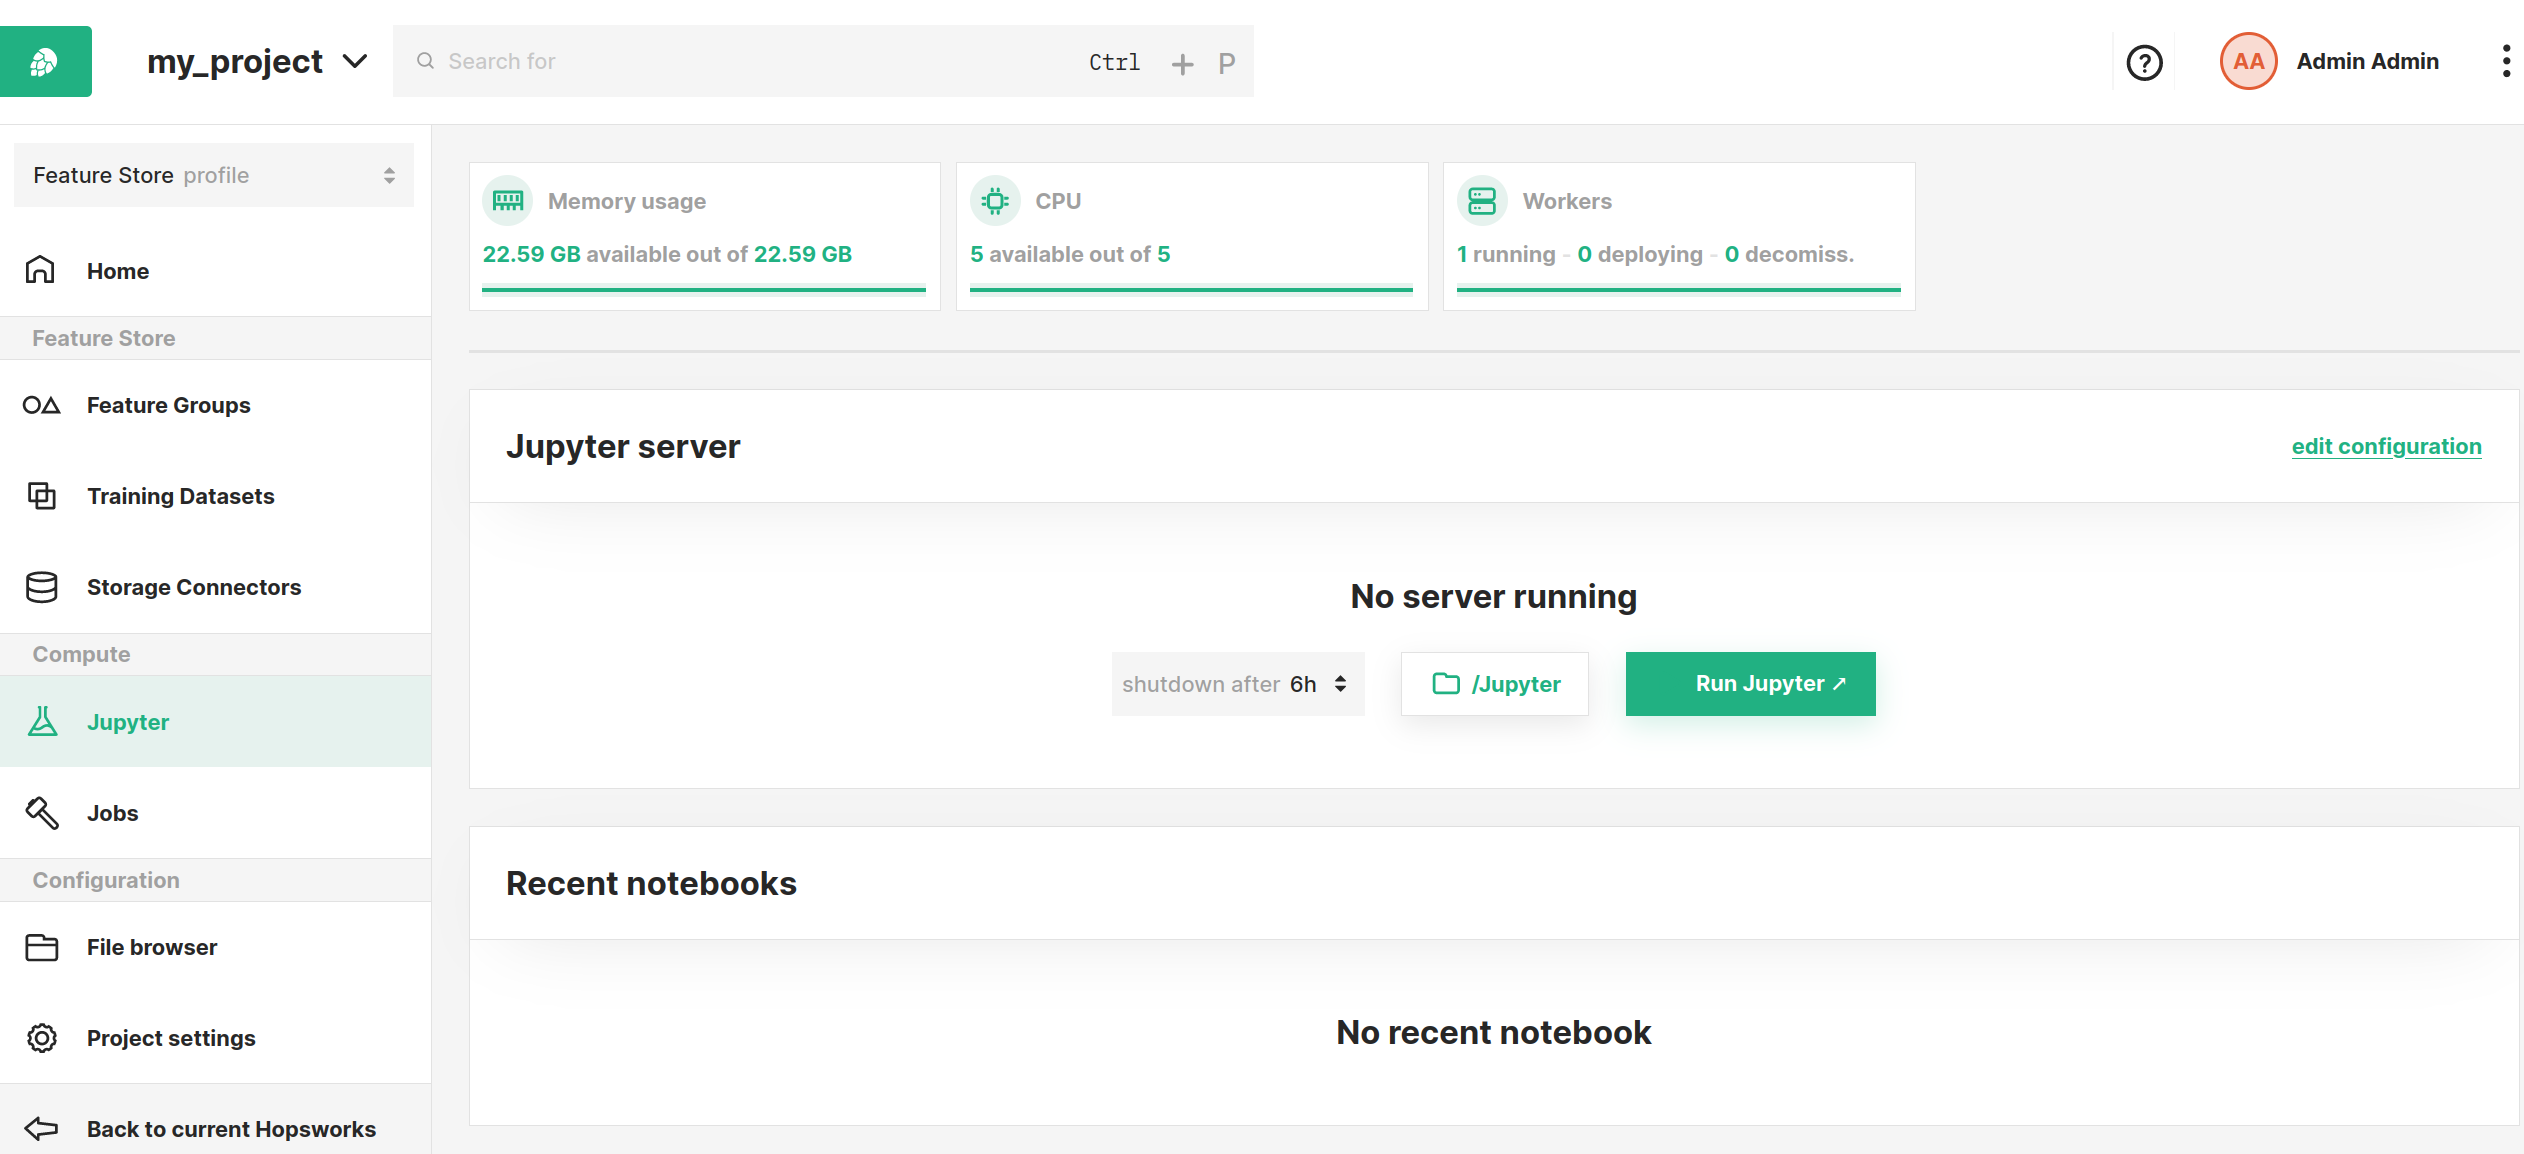
From this page, you can configure various options and settings to start Jupyter with as described in the sections below.
Step 2 (Optional): Configure Ray#
Next step is to configure the Ray cluster configuration that will be created when you start Ray session later in Jupyter. Click edit configuration to get to the configuration page and select Ray.
Resource and compute#
Resource allocation for the Driver and Workers can be configured.
Using the resources in the Ray script
The resource configurations describe the cluster that will be provisioned when launching the Ray job. User can still provide extra configurations in the job script using ScalingConfig, i.e. ScalingConfig(num_workers=4, trainer_resources={"CPU": 1}, use_gpu=True).
-
Driver memory: Memory in MBs to allocate for Driver -
Driver virtual cores: Number of cores to allocate for the Driver -
Worker memory: Memory in MBs to allocate for each worker -
Worker cores: Number of cores to allocate for each worker -
Min workers: Minimum number of workers to start with -
Max workers: Maximum number of workers to scale up to

Runtime environment and Additional files required for the Ray job can also be provided.
-
Runtime Environment (Optional): A runtime environment describes the dependencies required for the Ray job including files, packages, environment variables, and more. This is useful when you need to install specific packages and set environment variables for this particular Ray job. It should be provided as a YAML file. You can select the file from the project or upload a new one. -
Additional files: List of other files required for the Ray job. These files will be placed in/srv/hops/ray/job.
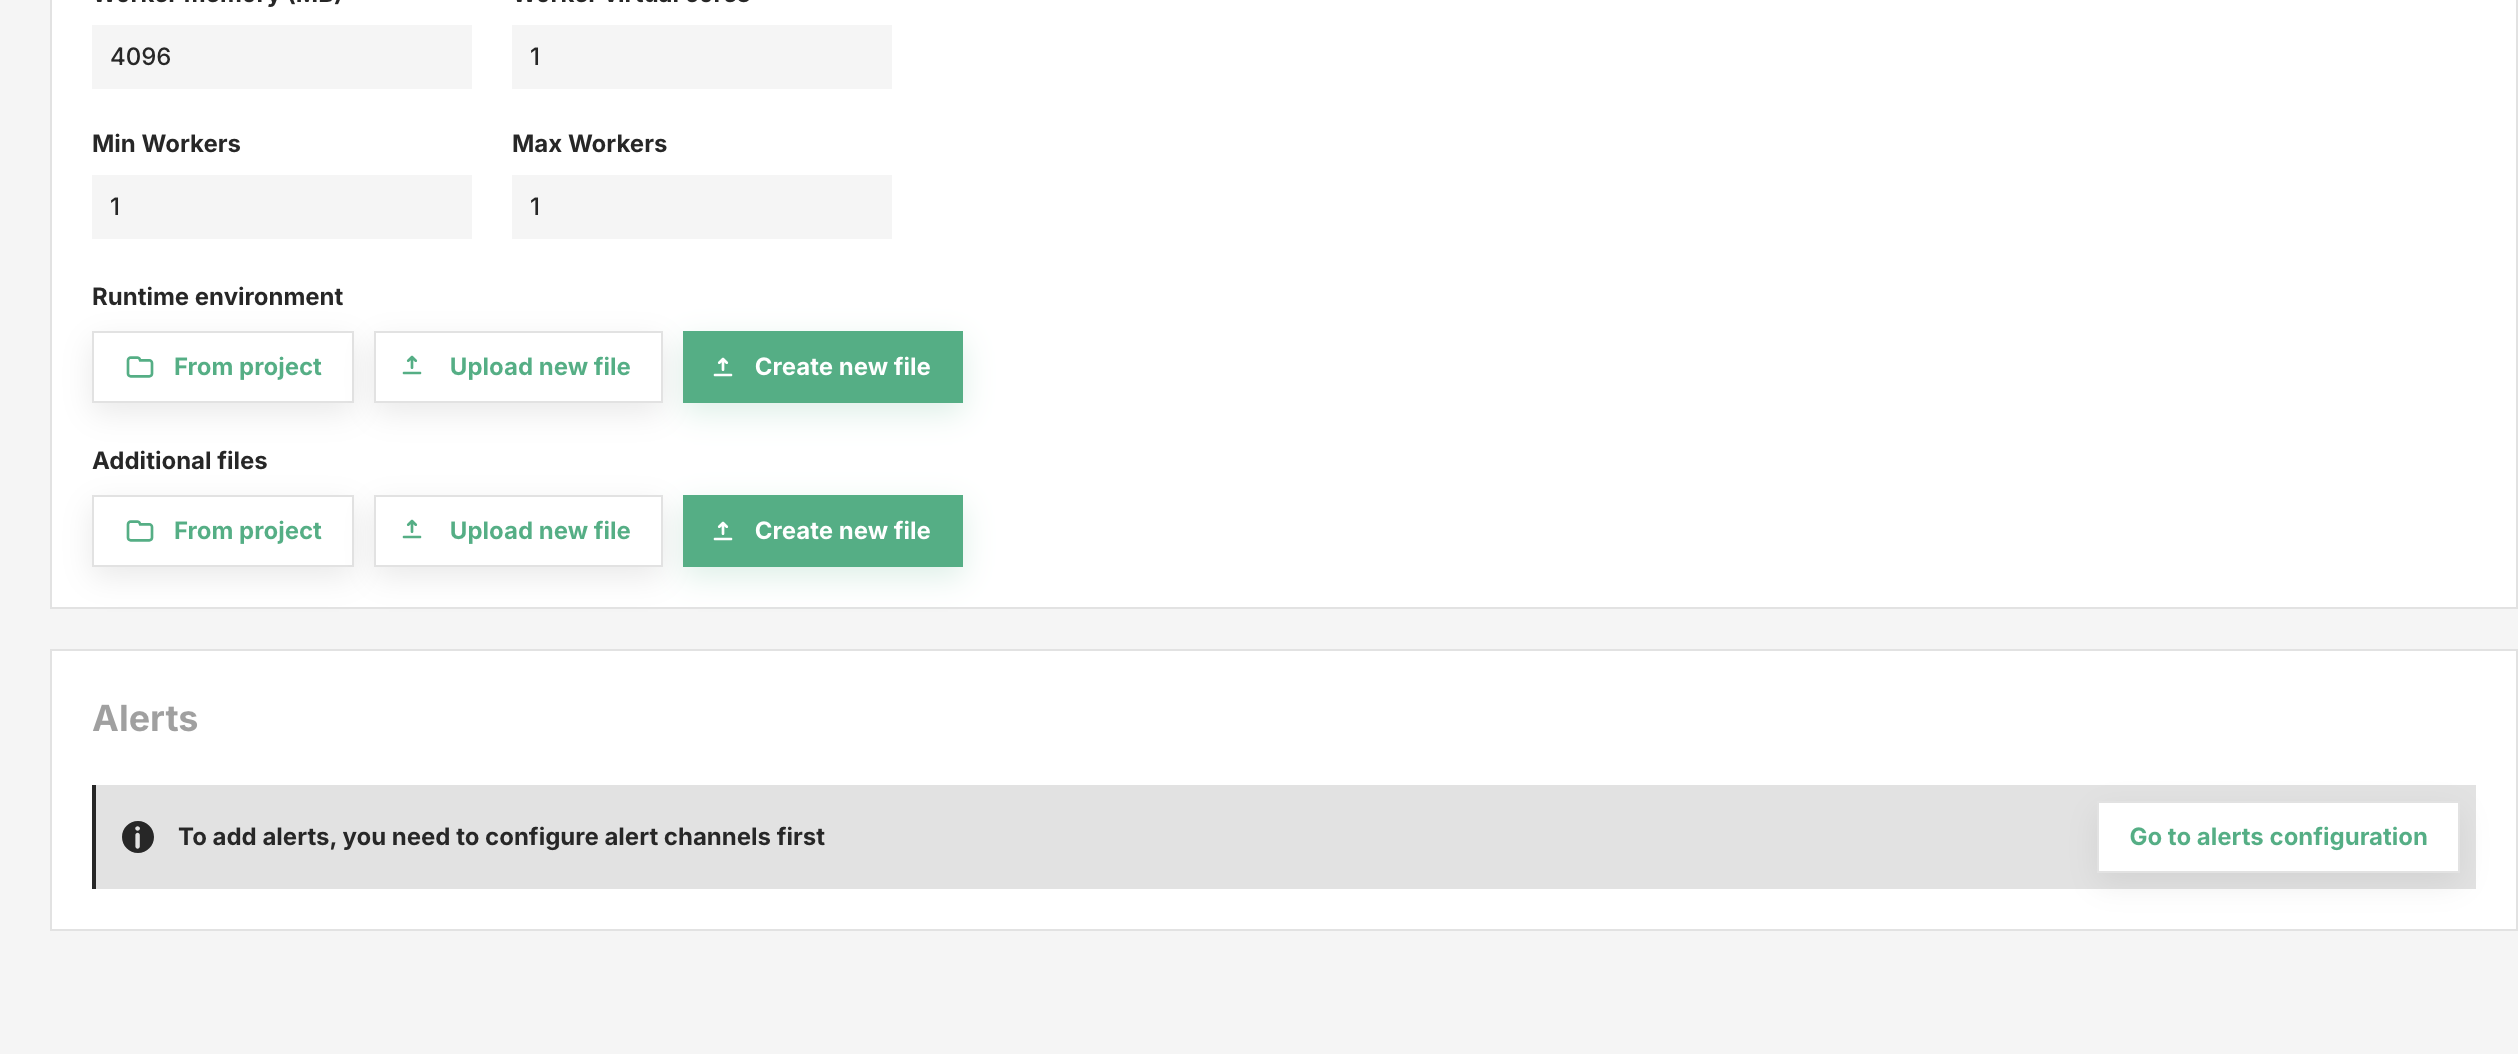
Click Save to save the new configuration.
Step 3 (Optional): Configure max runtime and root path#
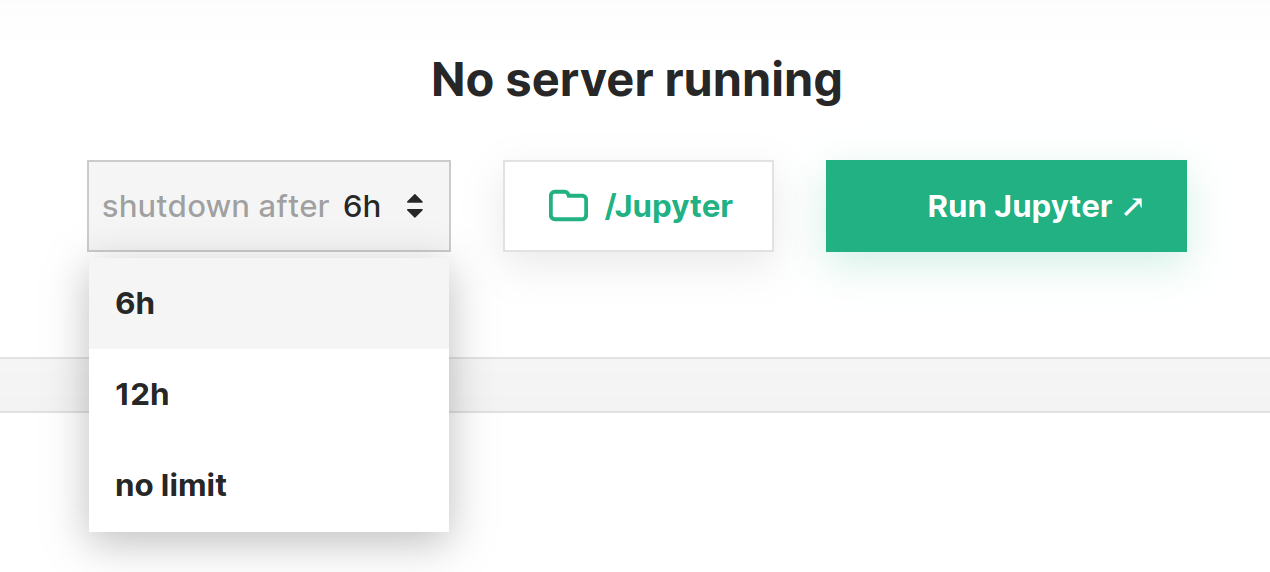
Before starting the server there are two additional configurations that can be set next to the Run Jupyter button.
The runtime of the Jupyter instance can be configured, this is useful to ensure that idle instances will not be hanging around and keep allocating resources. If a limited runtime is not desirable, this can be disabled by setting no limit.
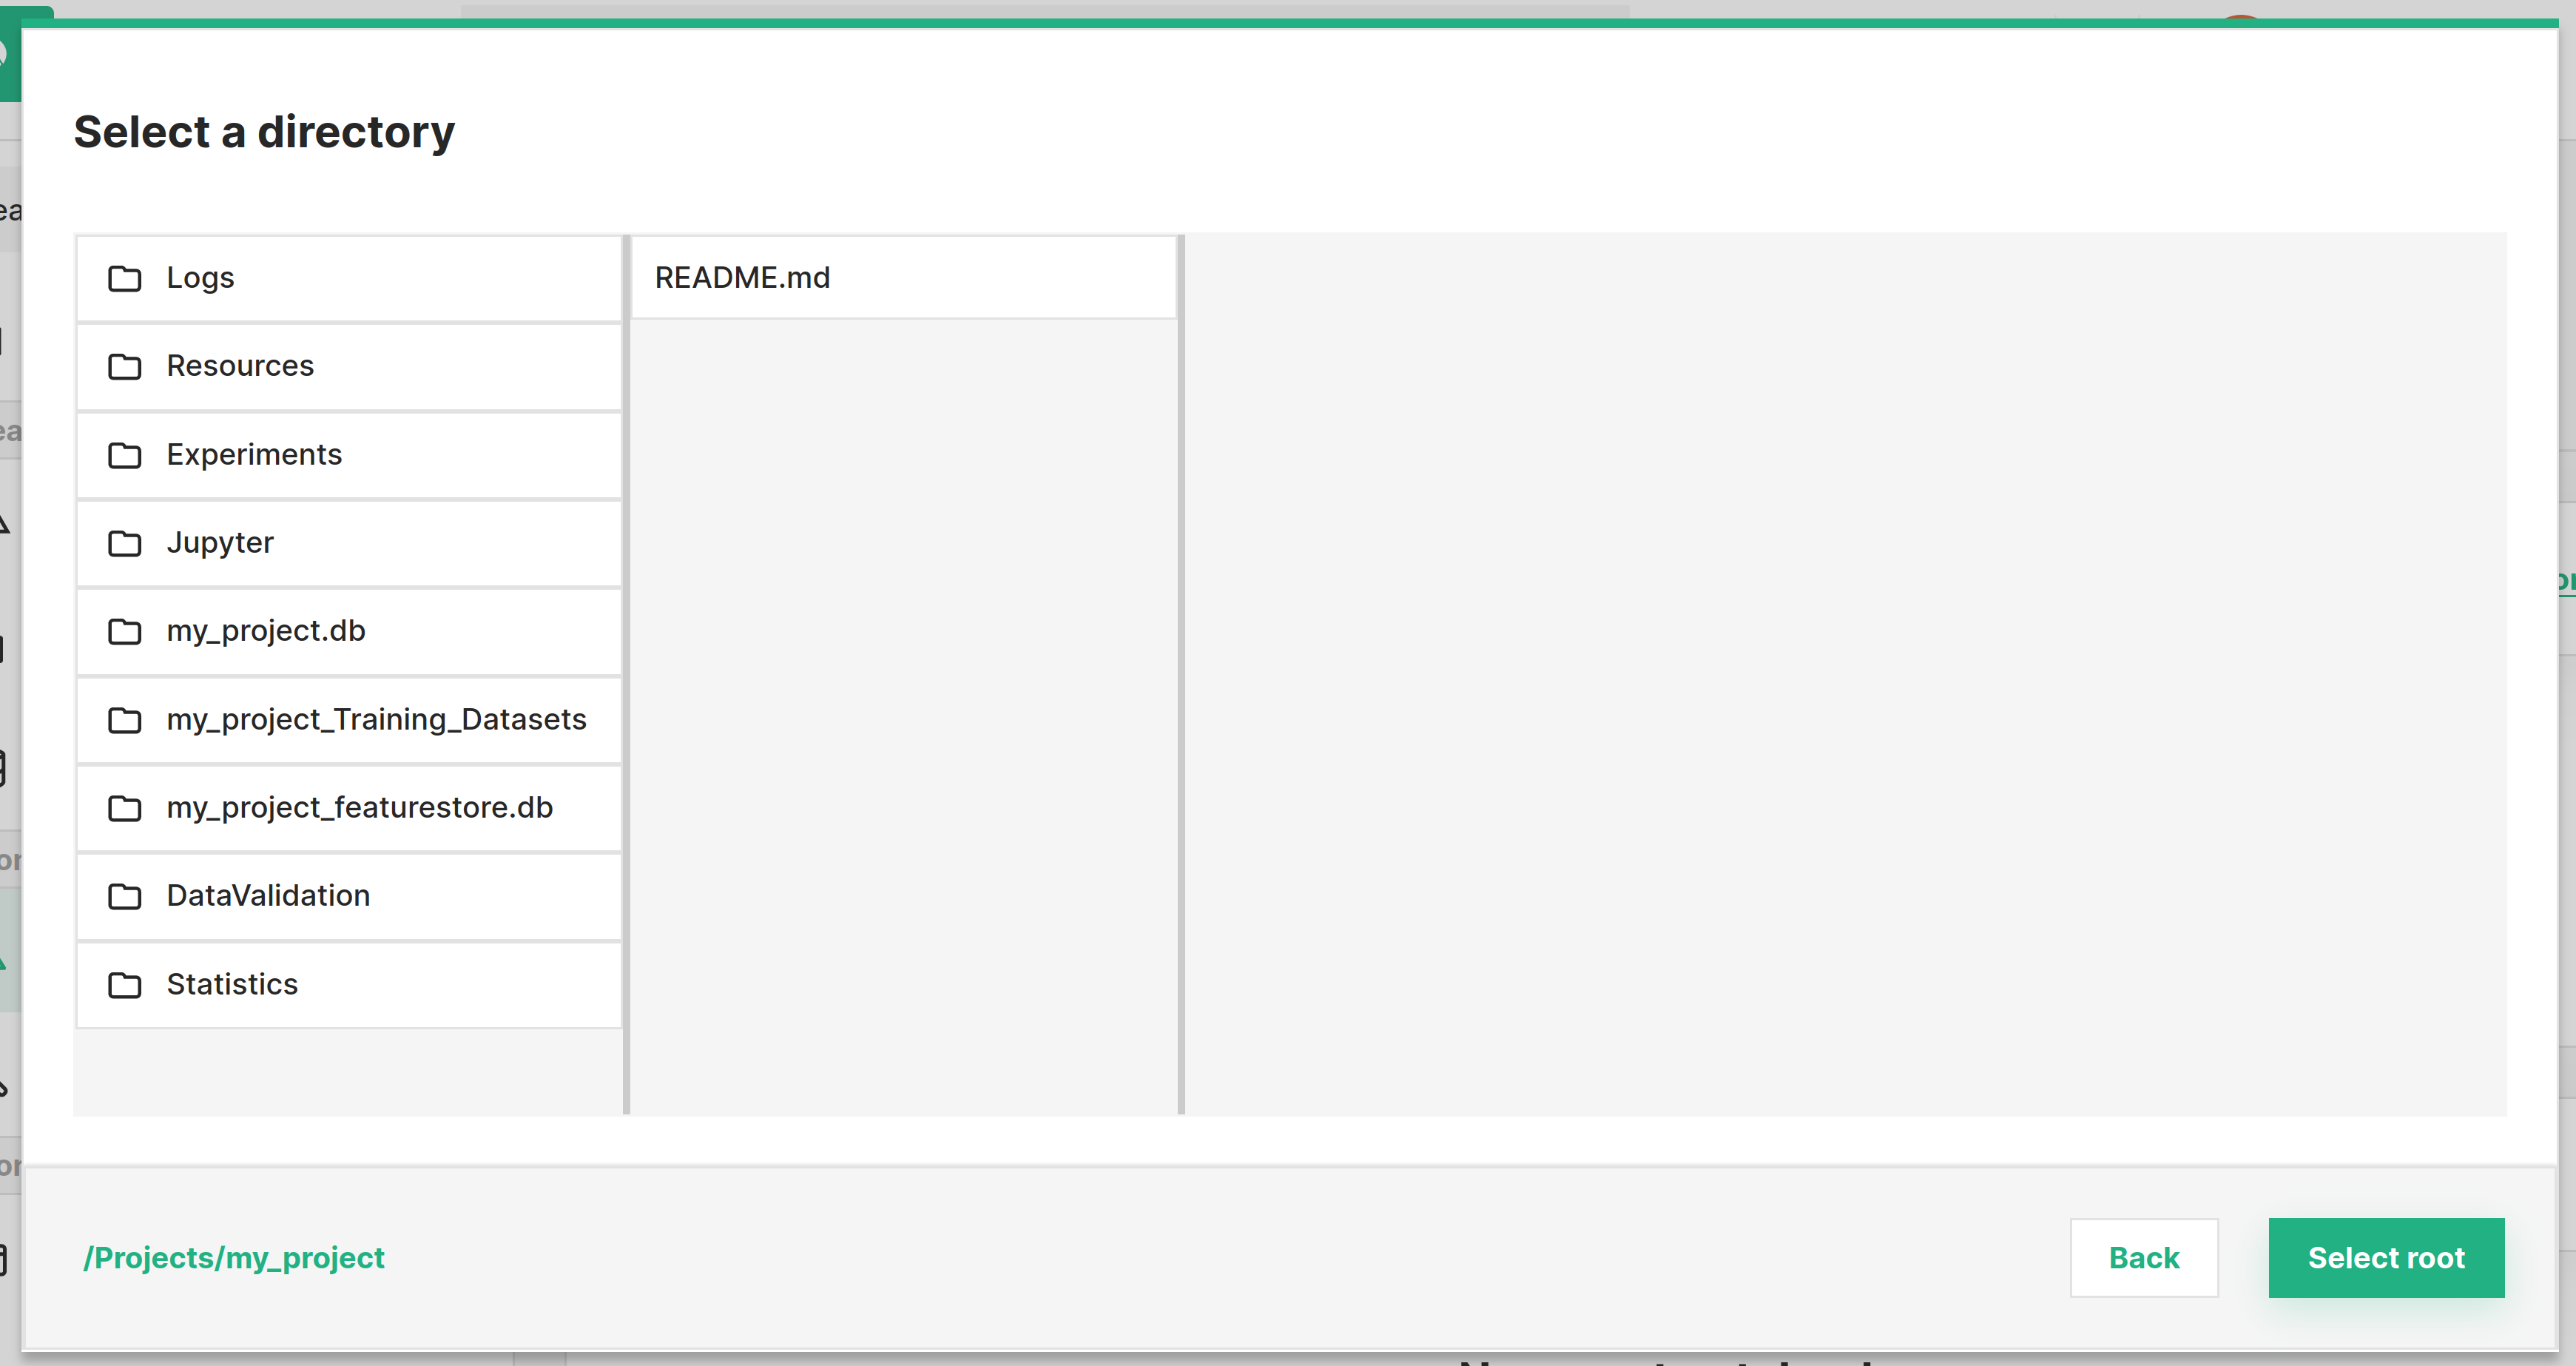
The root path from which to start the Jupyter instance can be configured. By default it starts by setting the /Jupyter folder as the root.
Step 4: Select the environment#
Hopsworks provides a variety of environments to run Jupyter notebooks. Select the environment you want to use by clicking on the dropdown menu. In order to be able to run a Ray notebook, you need to select the environment that has the Ray kernel installed. Environment with Ray kernel have a Ray Enabled label next to them.
Step 5: (Kueue enabled) Select a Queue#
If the cluster is installed with Kueue enabled, you will need to select a queue in which the notebook should run. This can be done from Advance configuration -> Scheduler section.

Step 6: Start Jupyter#
Start the Jupyter instance by clicking the Run Jupyter button.
Running Ray code in Jupyter#
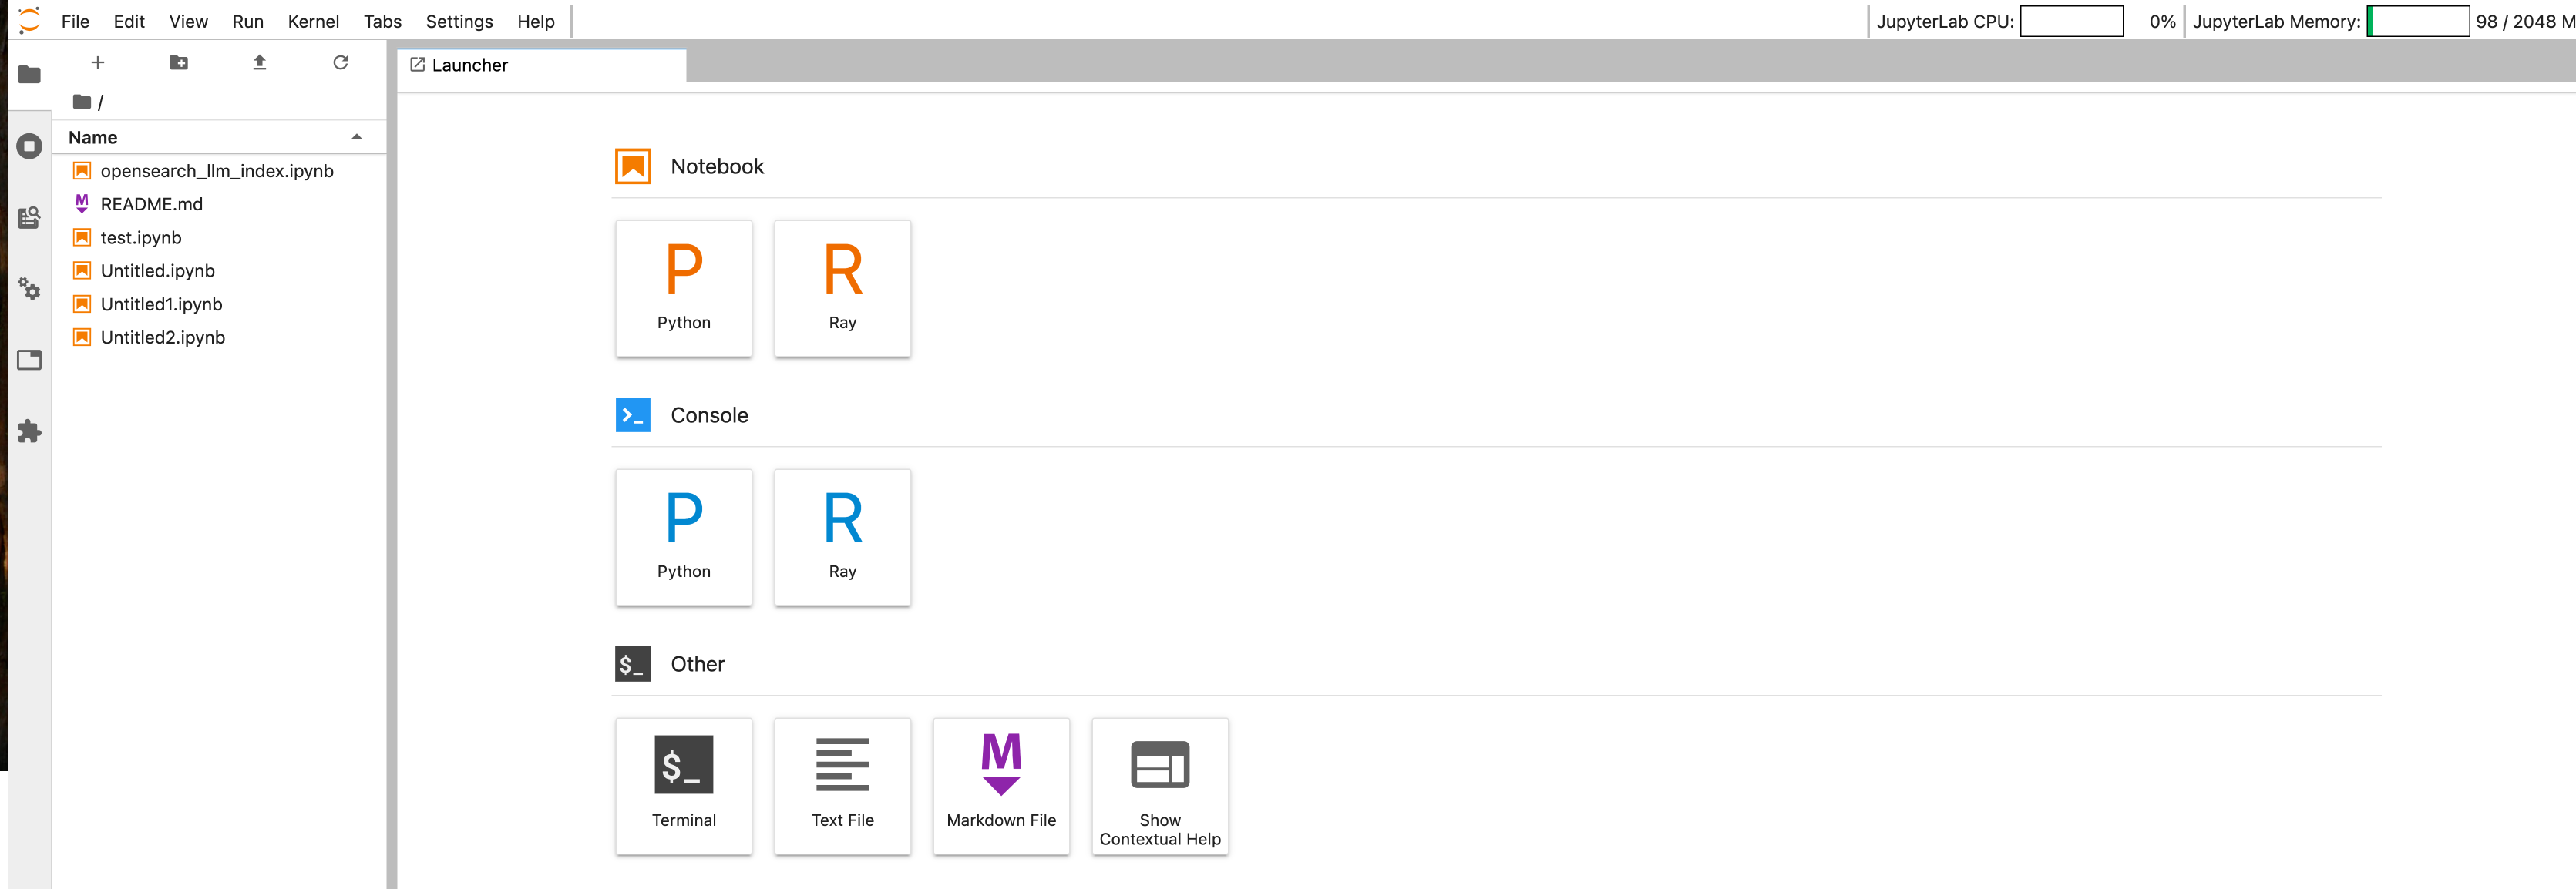
Once the Jupyter instance is started, you can create a new notebook by clicking on the New button and selecting Ray kernel. You can now write and run Ray code in the notebook. When you first run a cell with Ray code, a Ray session will be started and you can monitor the resources used by the job in the Ray dashboard.
Step 7: Access Ray Dashboard#
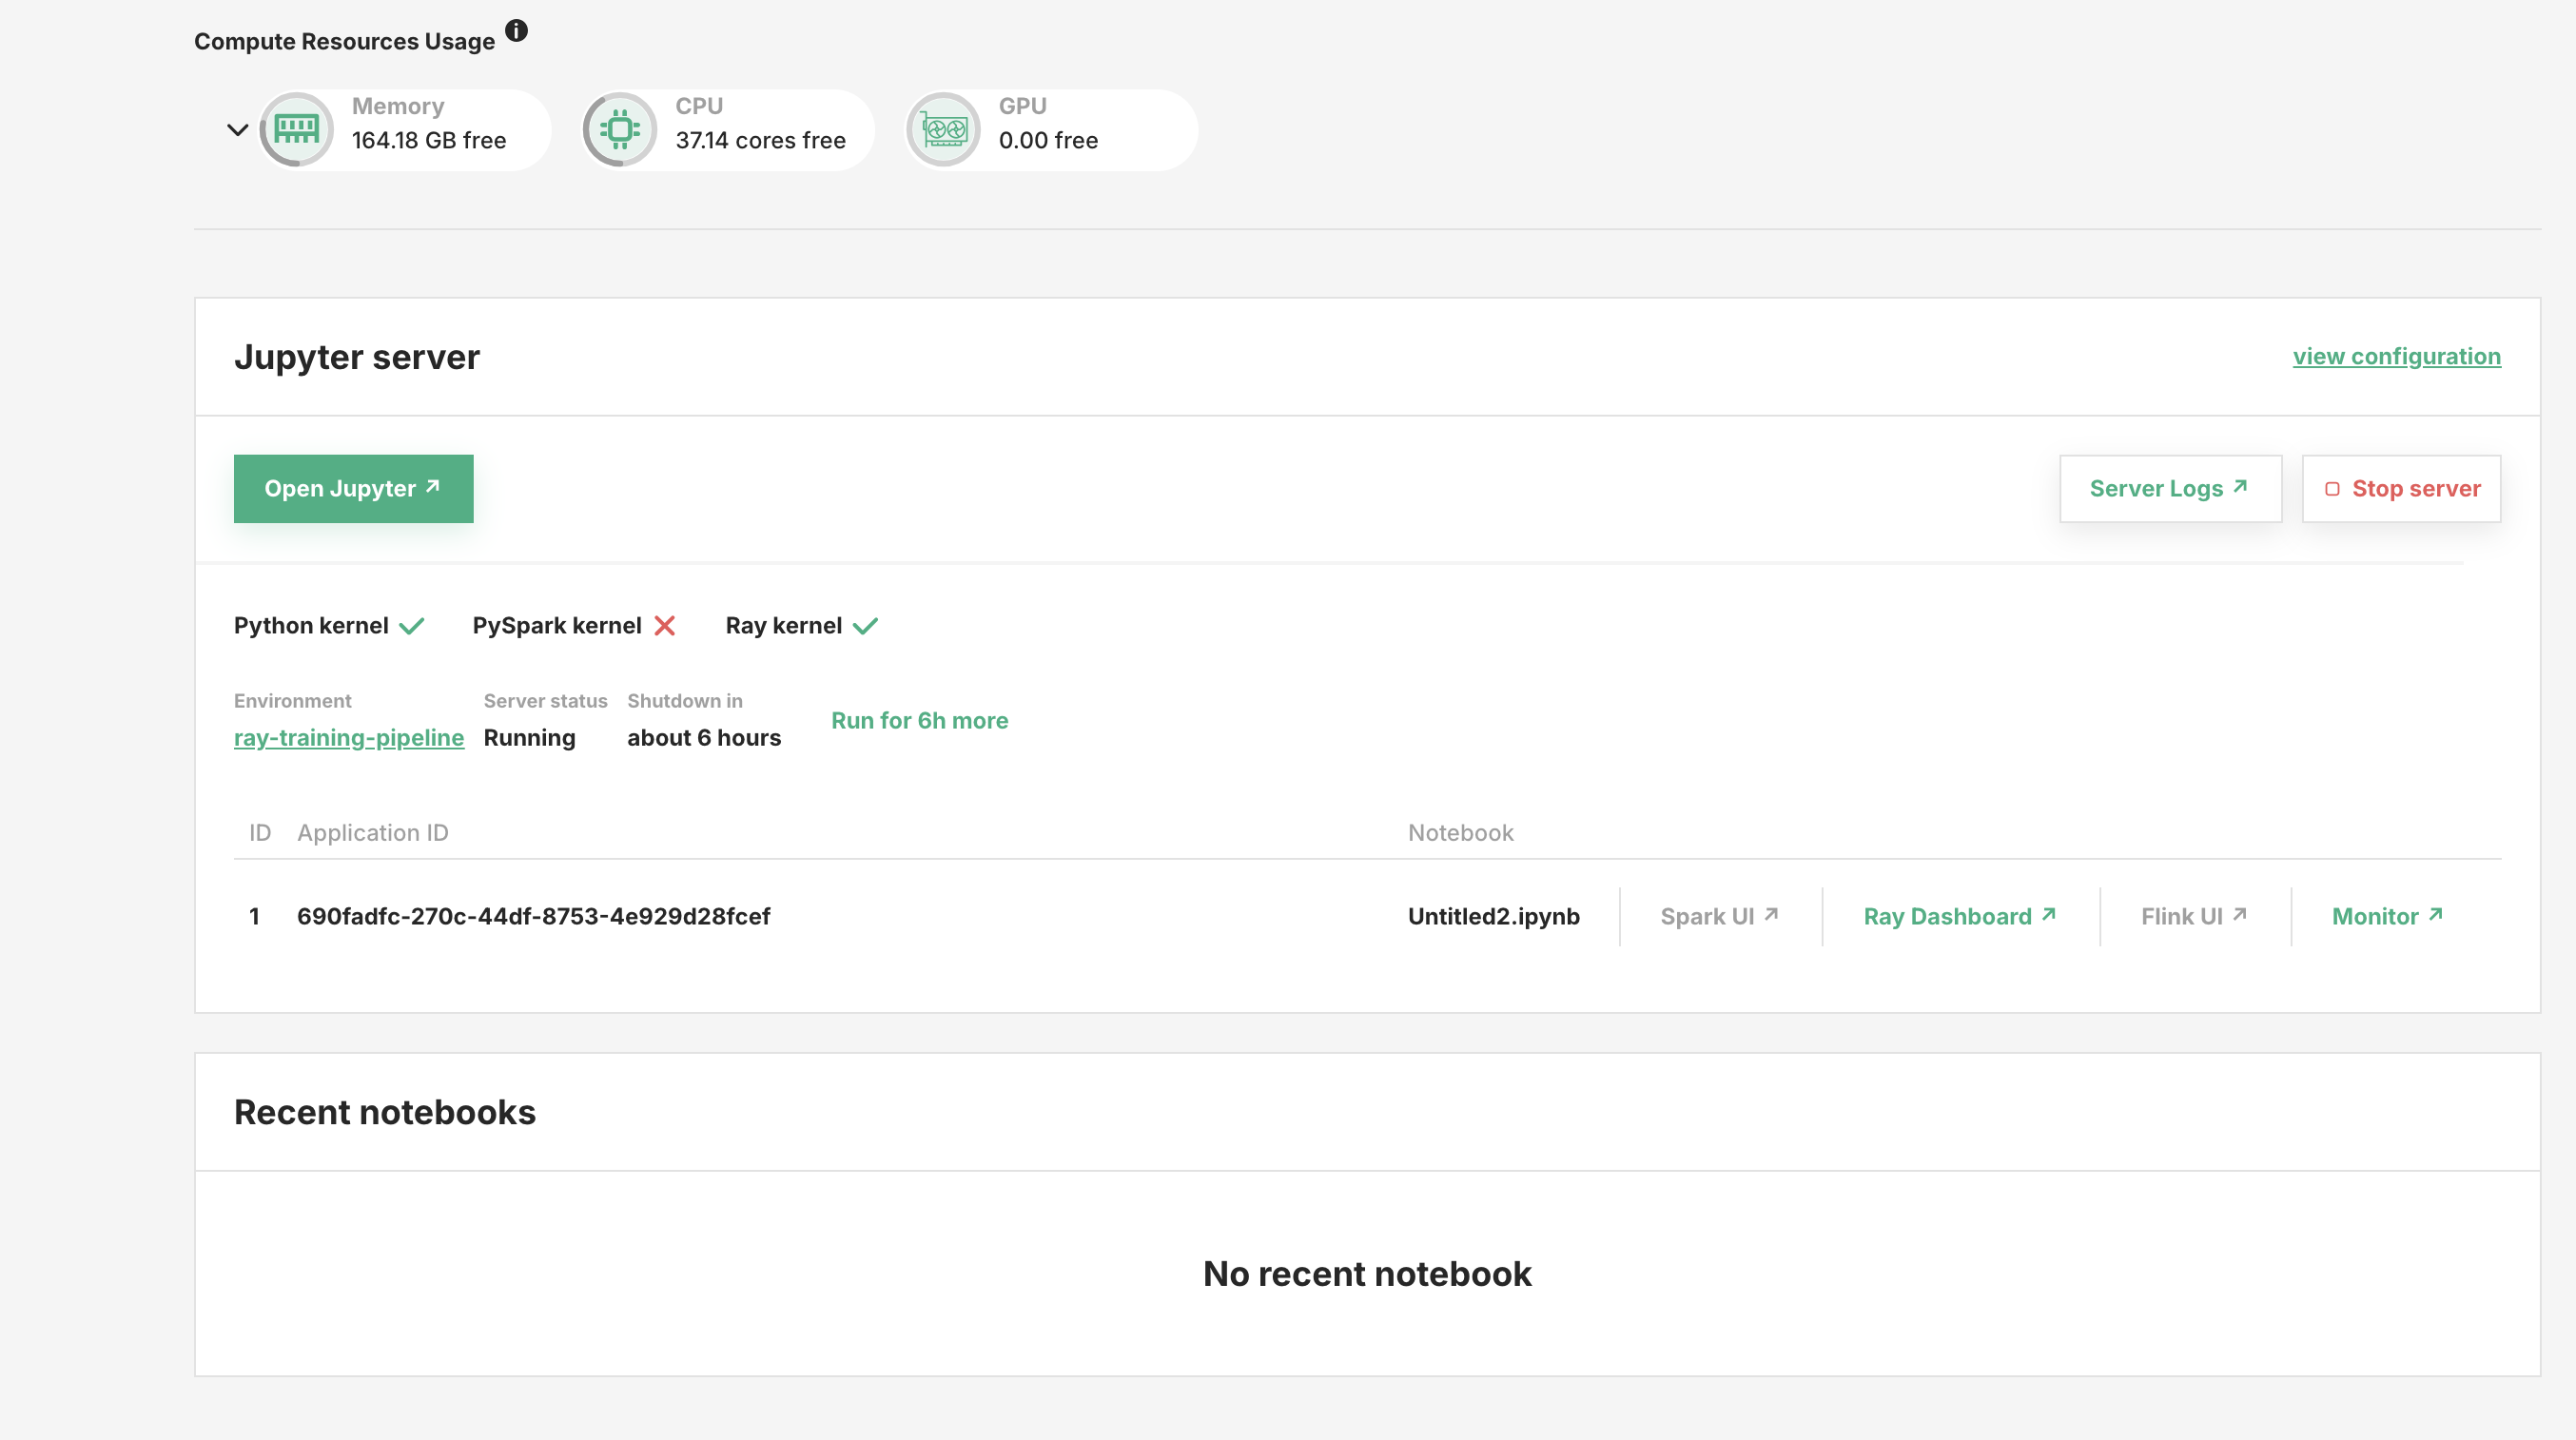
When you start a Ray session in Jupyter, a new application will appear in the Jupyter page. The notebook name from which the session was started is displayed. You can access the Ray UI by clicking on the Ray Dashboard and a new tab will be opened. The Ray dashboard is only available while the Ray kernel is running. You can kill the Ray session to free up resources by shutting down the kernel in Jupyter. In the Ray Dashboard, you can monitor the resources used by code you are running, the number of workers, logs, and the tasks that are running.
Accessing project data#
The project datasets are mounted under /hopsfs in the Ray containers, so you can access data.csv from the Resources dataset using /hopsfs/Resources/data.csv.