Create a New Project#
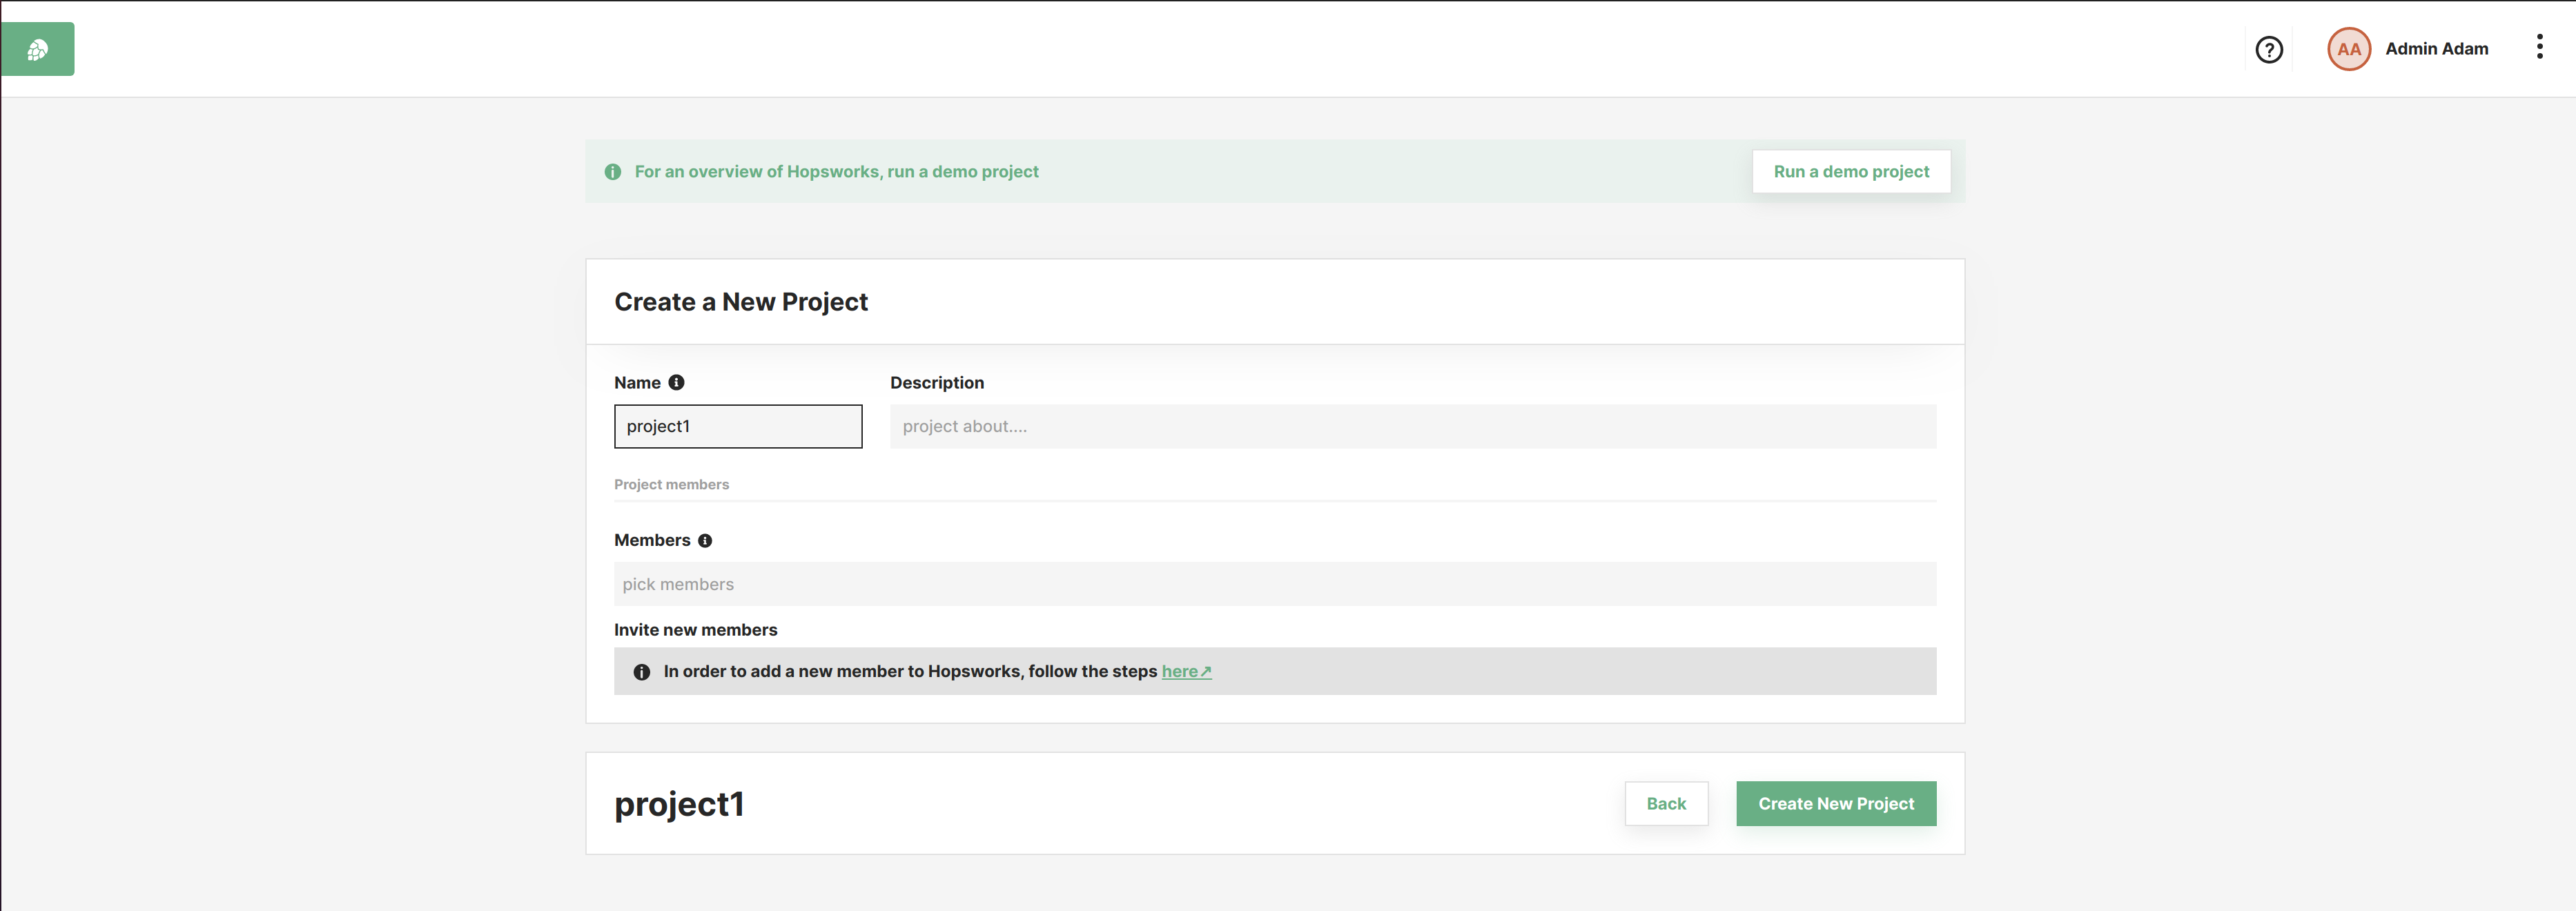
You can create a project by clicking on the Create new project button in the Projects list page. This will pop-up a dialog, in which you enter the project name and an optional description. You can also select an initial set of members for the project. The members you select will be given the role of Data Scientist in the project. Member roles can later be updated in the Project settings by the project owner or a member with the data owner role: for more information about the roles see the documentation here.
A valid project name can only contain characters a-z, A-Z, 0-9 and special characters ‘_’ and ‘.’ but not ‘__’ (double underscore). There are also reserved words that are not allowed in project names. A complete list of reserved words can be found in section Project name reserved words.
As soon as you have created a new project, you can click on Open project in the project list, to see the project main page as illustrated in the figure Project overview.

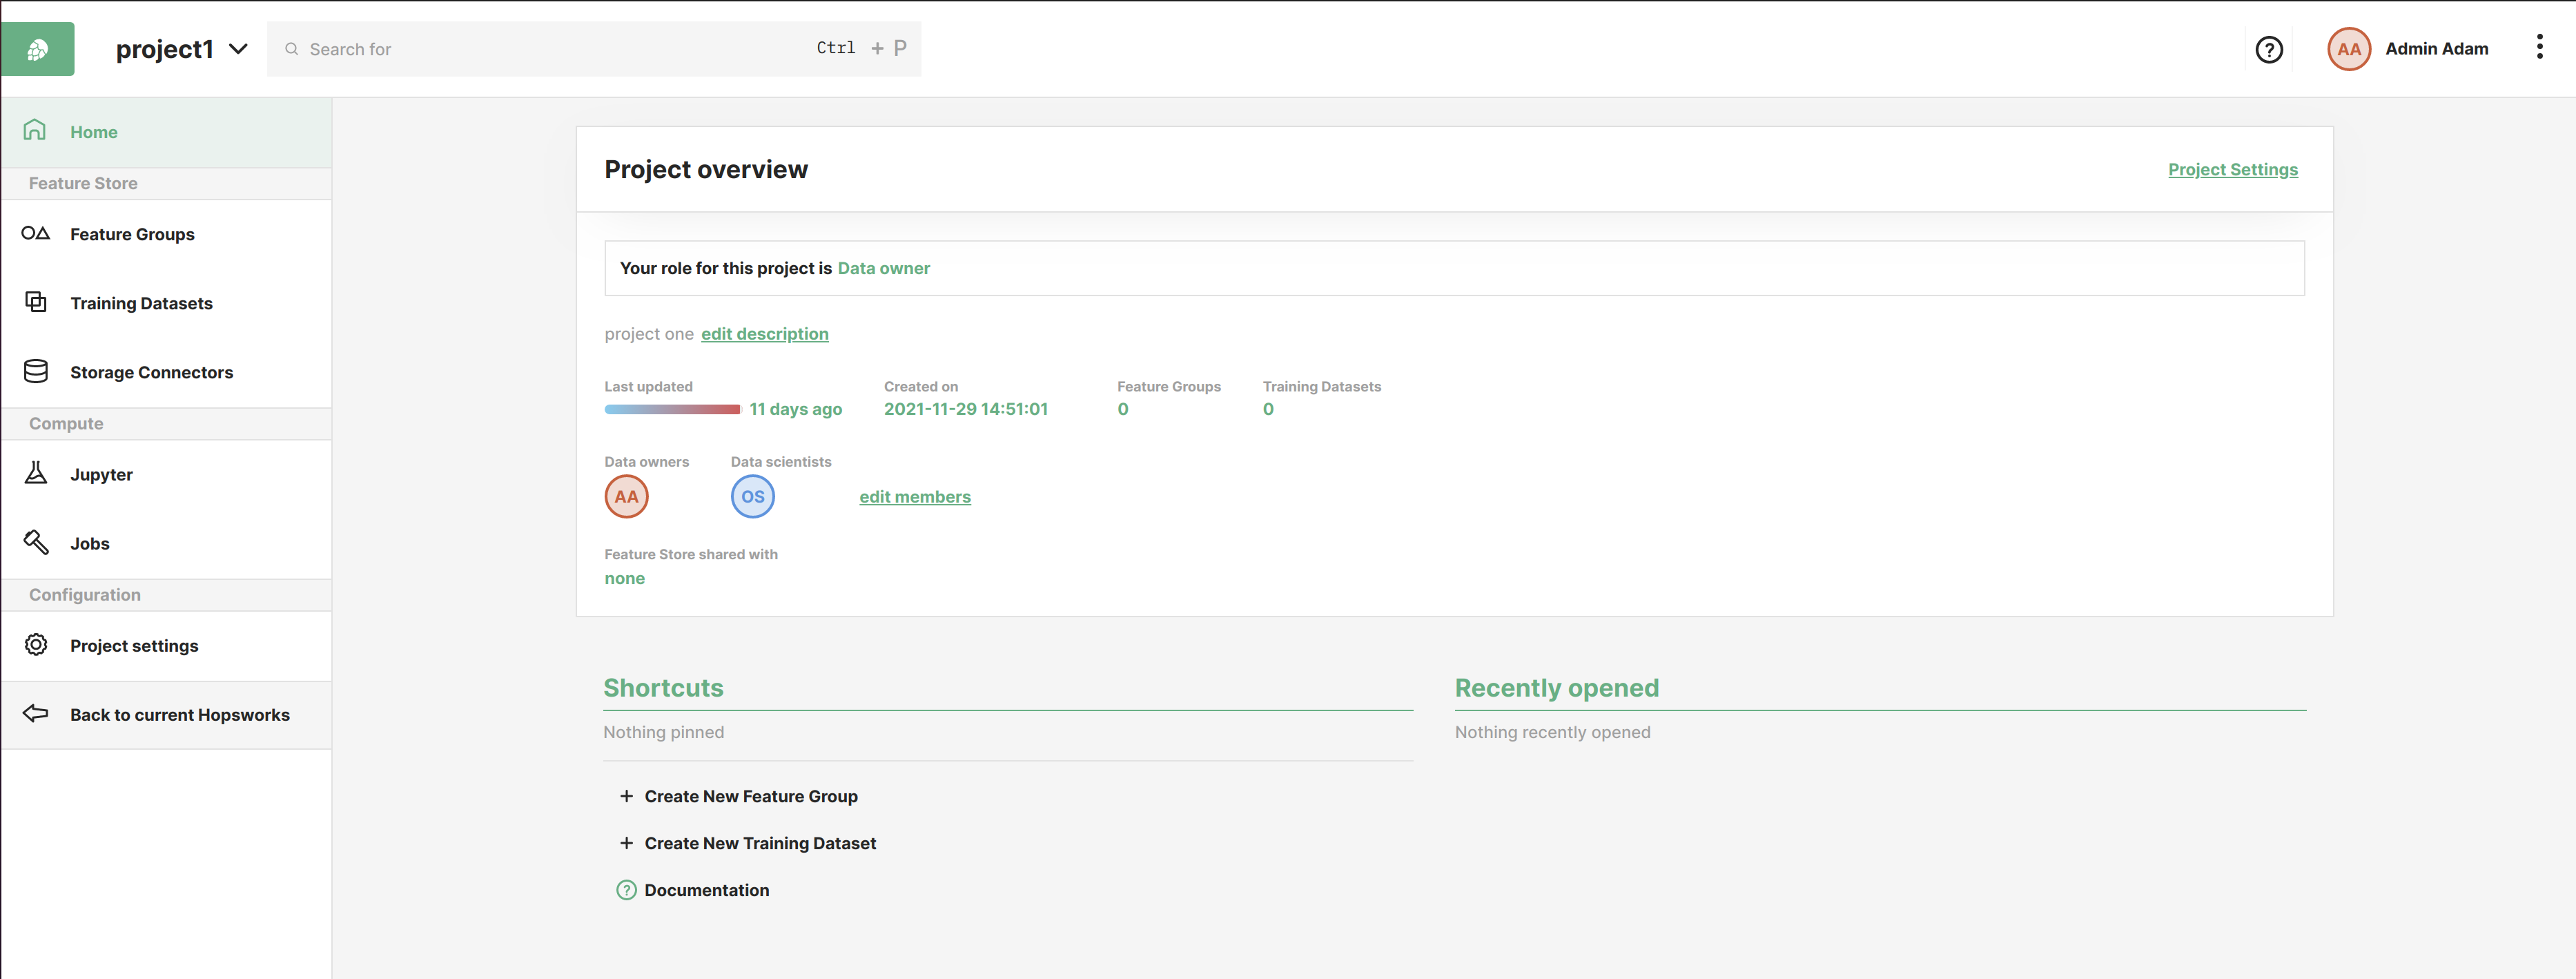
On the left-hand side of the project overview page is the Project Menu. On the top we have the feature store section with feature groups, training datasets and storage connectors. In the middle we have the compute section containing Jupyter and Jobs. Finally, on the bottom of the menu we have the Configuration section with settings for the project.
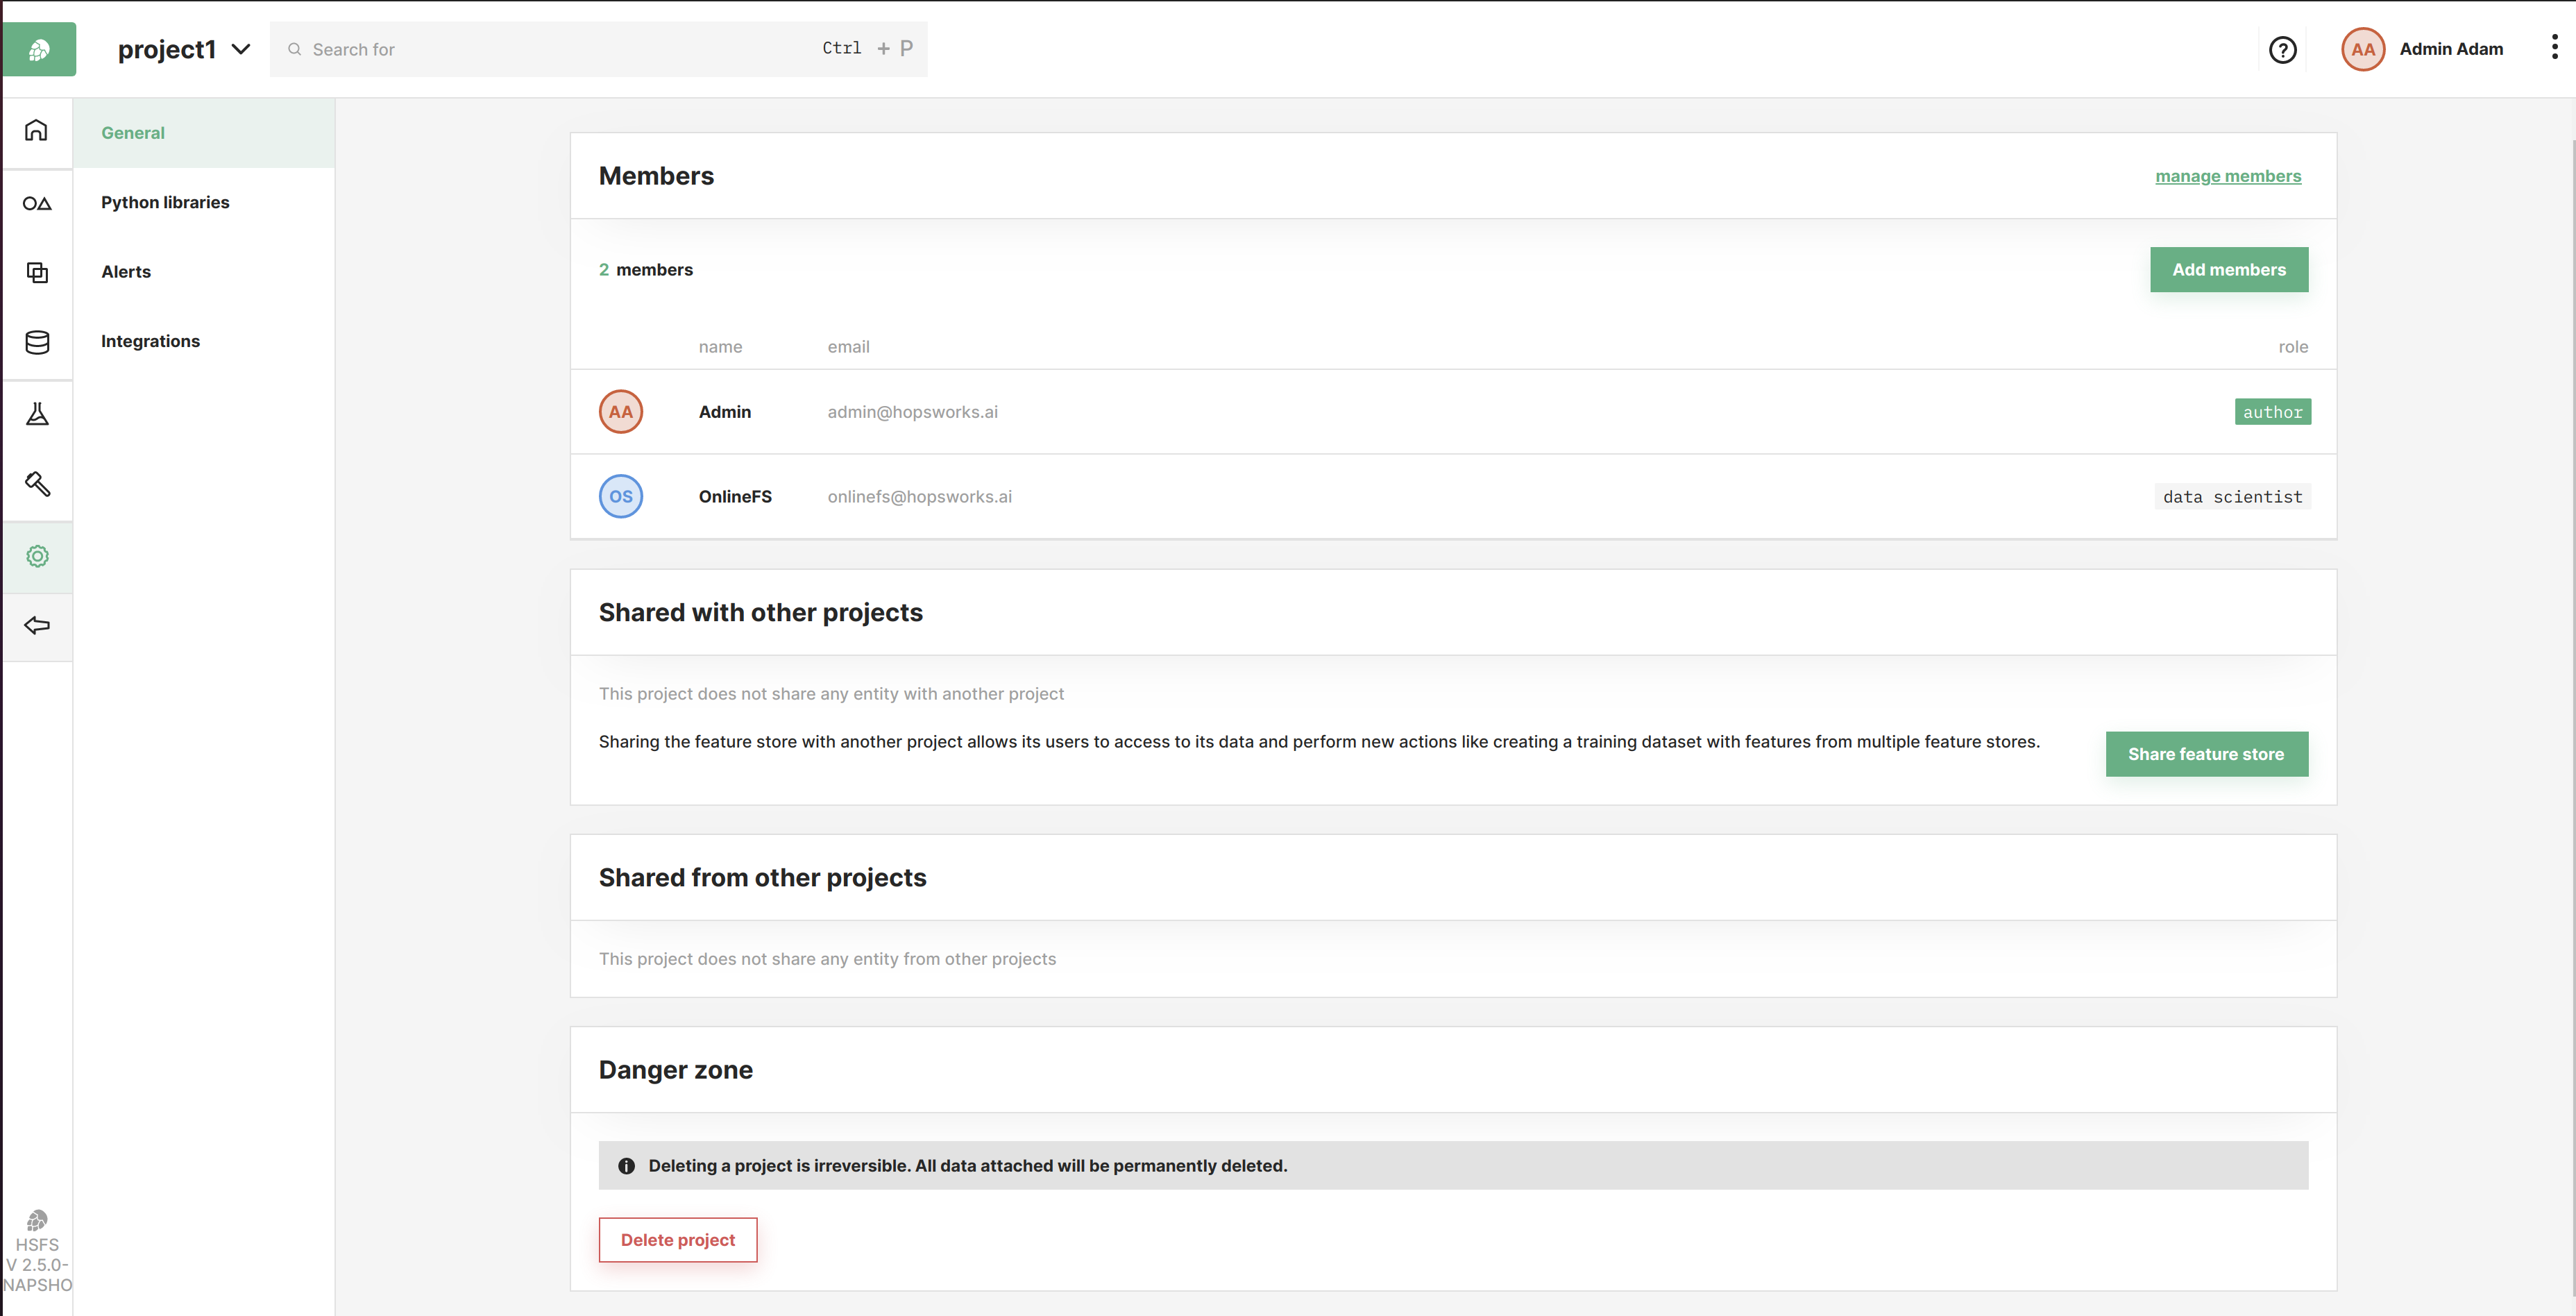
In Settings, you will find 4 sub categories that allow you to configure general configuration, python libraries, alerts and integrations to other services. From the general configuration you can add members, share feature store with another project and delete the project.
On the top navigation bar next to the Hopsworks logo we find the project name. By clicking on the project name you can go to other projects or back to the projects list page.