IAM role mapping#
Using an EC2 instance profile enables your Hopsworks cluster to access AWS resources. This forces all Hopsworks users to share the instance profile role and the resource access policies attached to that role. To allow for per project access policies you could have your users use AWS credentials directly in their programs which is not recommended so you should instead use Role chaining.
To use Role chaining, you need to first setup IAM roles in AWS:
- Create an instance profile role that contains the different resource roles that we want to allow selected users to be able to assume in the Hopsworks cluster. In the example below, we define 4 different resource roles: test-role, s3-role, dev-s3-role, and redshift - and later we will define which users will be allowed to assume which of these resources roles.
    {
        "Version": "2012-10-17",
        "Statement": [
            {
                "Sid": "AssumeDataRoles",
                "Effect": "Allow",
                "Action": "sts:AssumeRole",
                "Resource": [
                    "arn:aws:iam::123456789011:role/test-role",
                    "arn:aws:iam::xxxxxxxxxxxx:role/s3-role",
                    "arn:aws:iam::xxxxxxxxxxxx:role/dev-s3-role",
                    "arn:aws:iam::xxxxxxxxxxxx:role/redshift"
                ]
            }
        ]
    }
- Create the resource roles and edit the trust relationship and add a policy document that will allow the instance profile to assume the resource roles.
    {
        "Version": "2012-10-17",
        "Statement": [
            {
            "Effect": "Allow",
            "Principal": {
                "AWS": "arn:aws:iam::xxxxxxxxxxxx:role/instance-profile"
            },
            "Action": "sts:AssumeRole"
            }
        ]
    }
- Finally attach the instance profile to the master node of your Hopsworks AWS instance.
Role chaining allows the instance profile to assume any of the 4 resource roles in the policy that was attached in step 1. Typically, we will not want any user in Hopsworks to assume any of the resource roles. You can grant selected users the ability to assume any of the 4 resource roles from the admin page in hopsworks. In particular, we specify in which project(s) a given resource role can be used. Within a given project, we can further restrict who can assume the resource role by mapping the role to the group of users (data owners or data scientists).
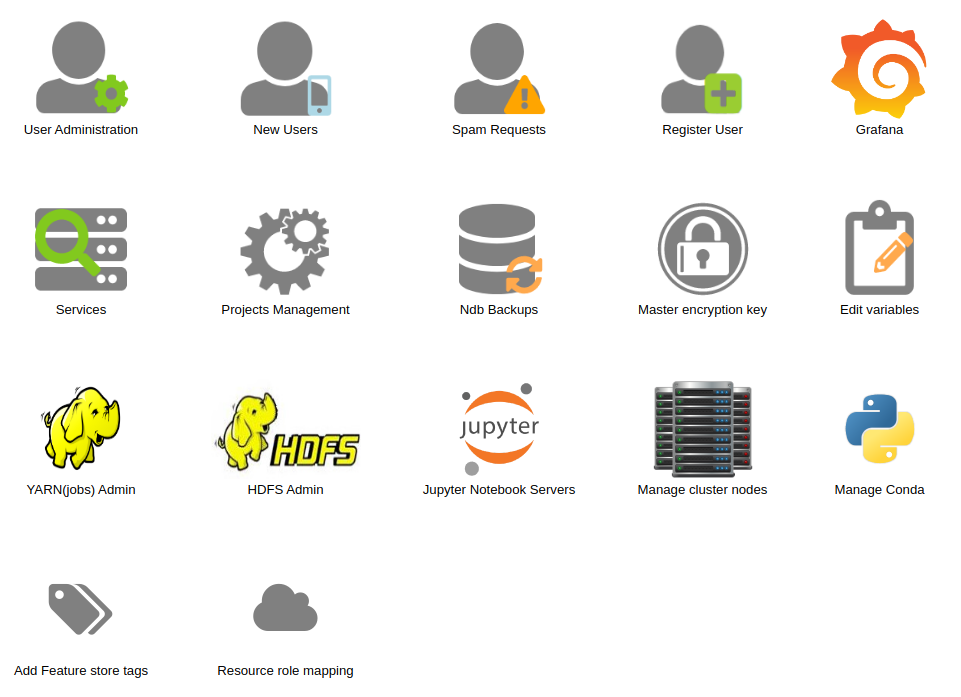
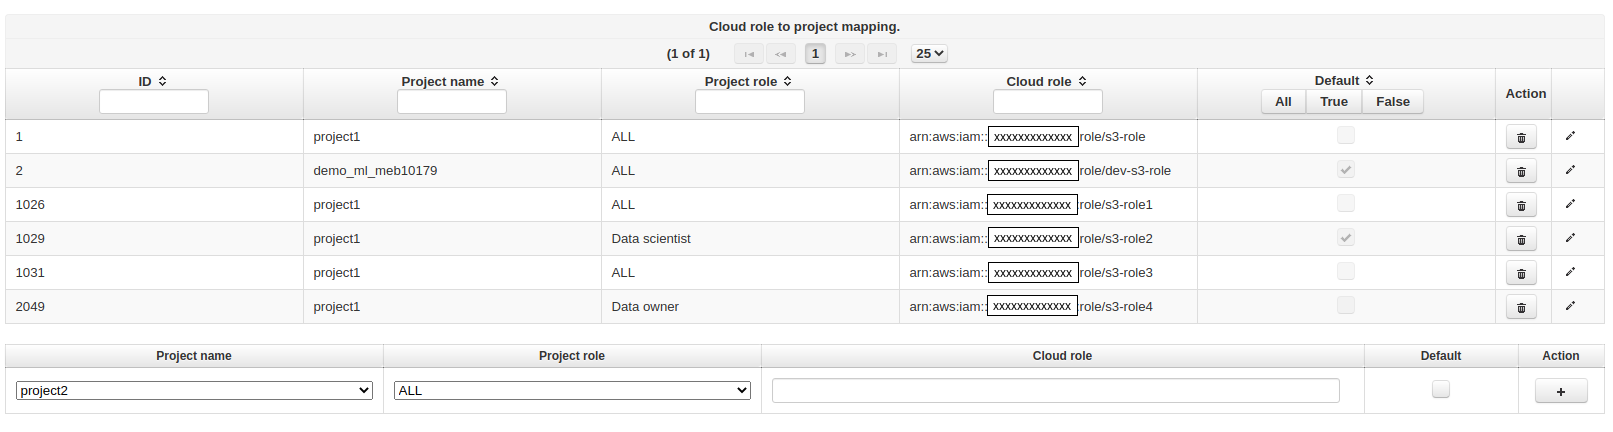
By clicking the 'Resource role mapping' icon in the admin page shown in the image above you can add mappings by entering the project name and which roles in that project can access the resource role. Optionally, you can set a role mapping as default by marking the default checkbox. The default roles can only be changed by a Data owner who can do so in the project settings page.
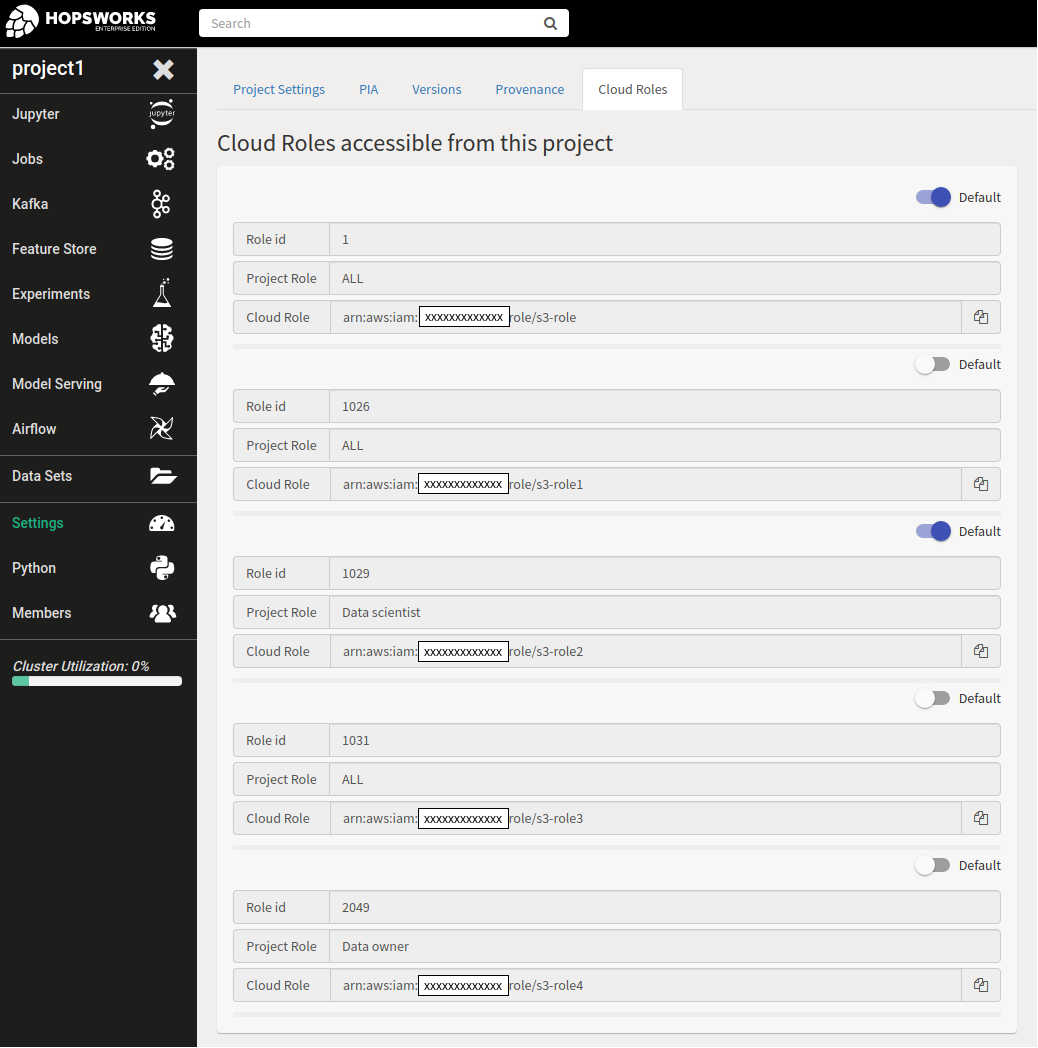
Any member of a project can then go to the project settings page to see which roles they can assume.
For instructions on how to use the assume role API see assuming a role.