Getting started with managed.hopsworks.ai (AWS)#
Managed.hopsworks.ai is our managed platform for running Hopsworks and the Feature Store in the cloud. It integrates seamlessly with third-party platforms such as Databricks, SageMaker and KubeFlow. This guide shows how to set up managed.hopsworks.ai with your organization's AWS account.
Prerequisites#
To run the commands in this guide, you must have the AWS CLI installed and configured and your user must have at least the set of permission listed below. See the Getting started guide in the AWS CLI User Guide for more information about installing and configuring the AWS CLI.
{
    "Version": "2012-10-17",
    "Statement": [
        {
            "Sid": "VisualEditor0",
            "Effect": "Allow",
            "Action": [
                "iam:CreateInstanceProfile",
                "iam:PassRole",
                "iam:CreateRole",
                "iam:PutRolePolicy",
                "iam:AddRoleToInstanceProfile",
                "ec2:ImportKeyPair",
                "ec2:CreateKeyPair",
                "s3:CreateBucket"
            ],
            "Resource": "*"
        }
    ]
}
All the commands have unix-like quotation rules. These commands will need to be adapted to your terminal's quoting rules. See Using quotation marks with strings in the AWS CLI User Guide.
All the commands use the default AWS profile. Add the --profile parameter to use another profile.
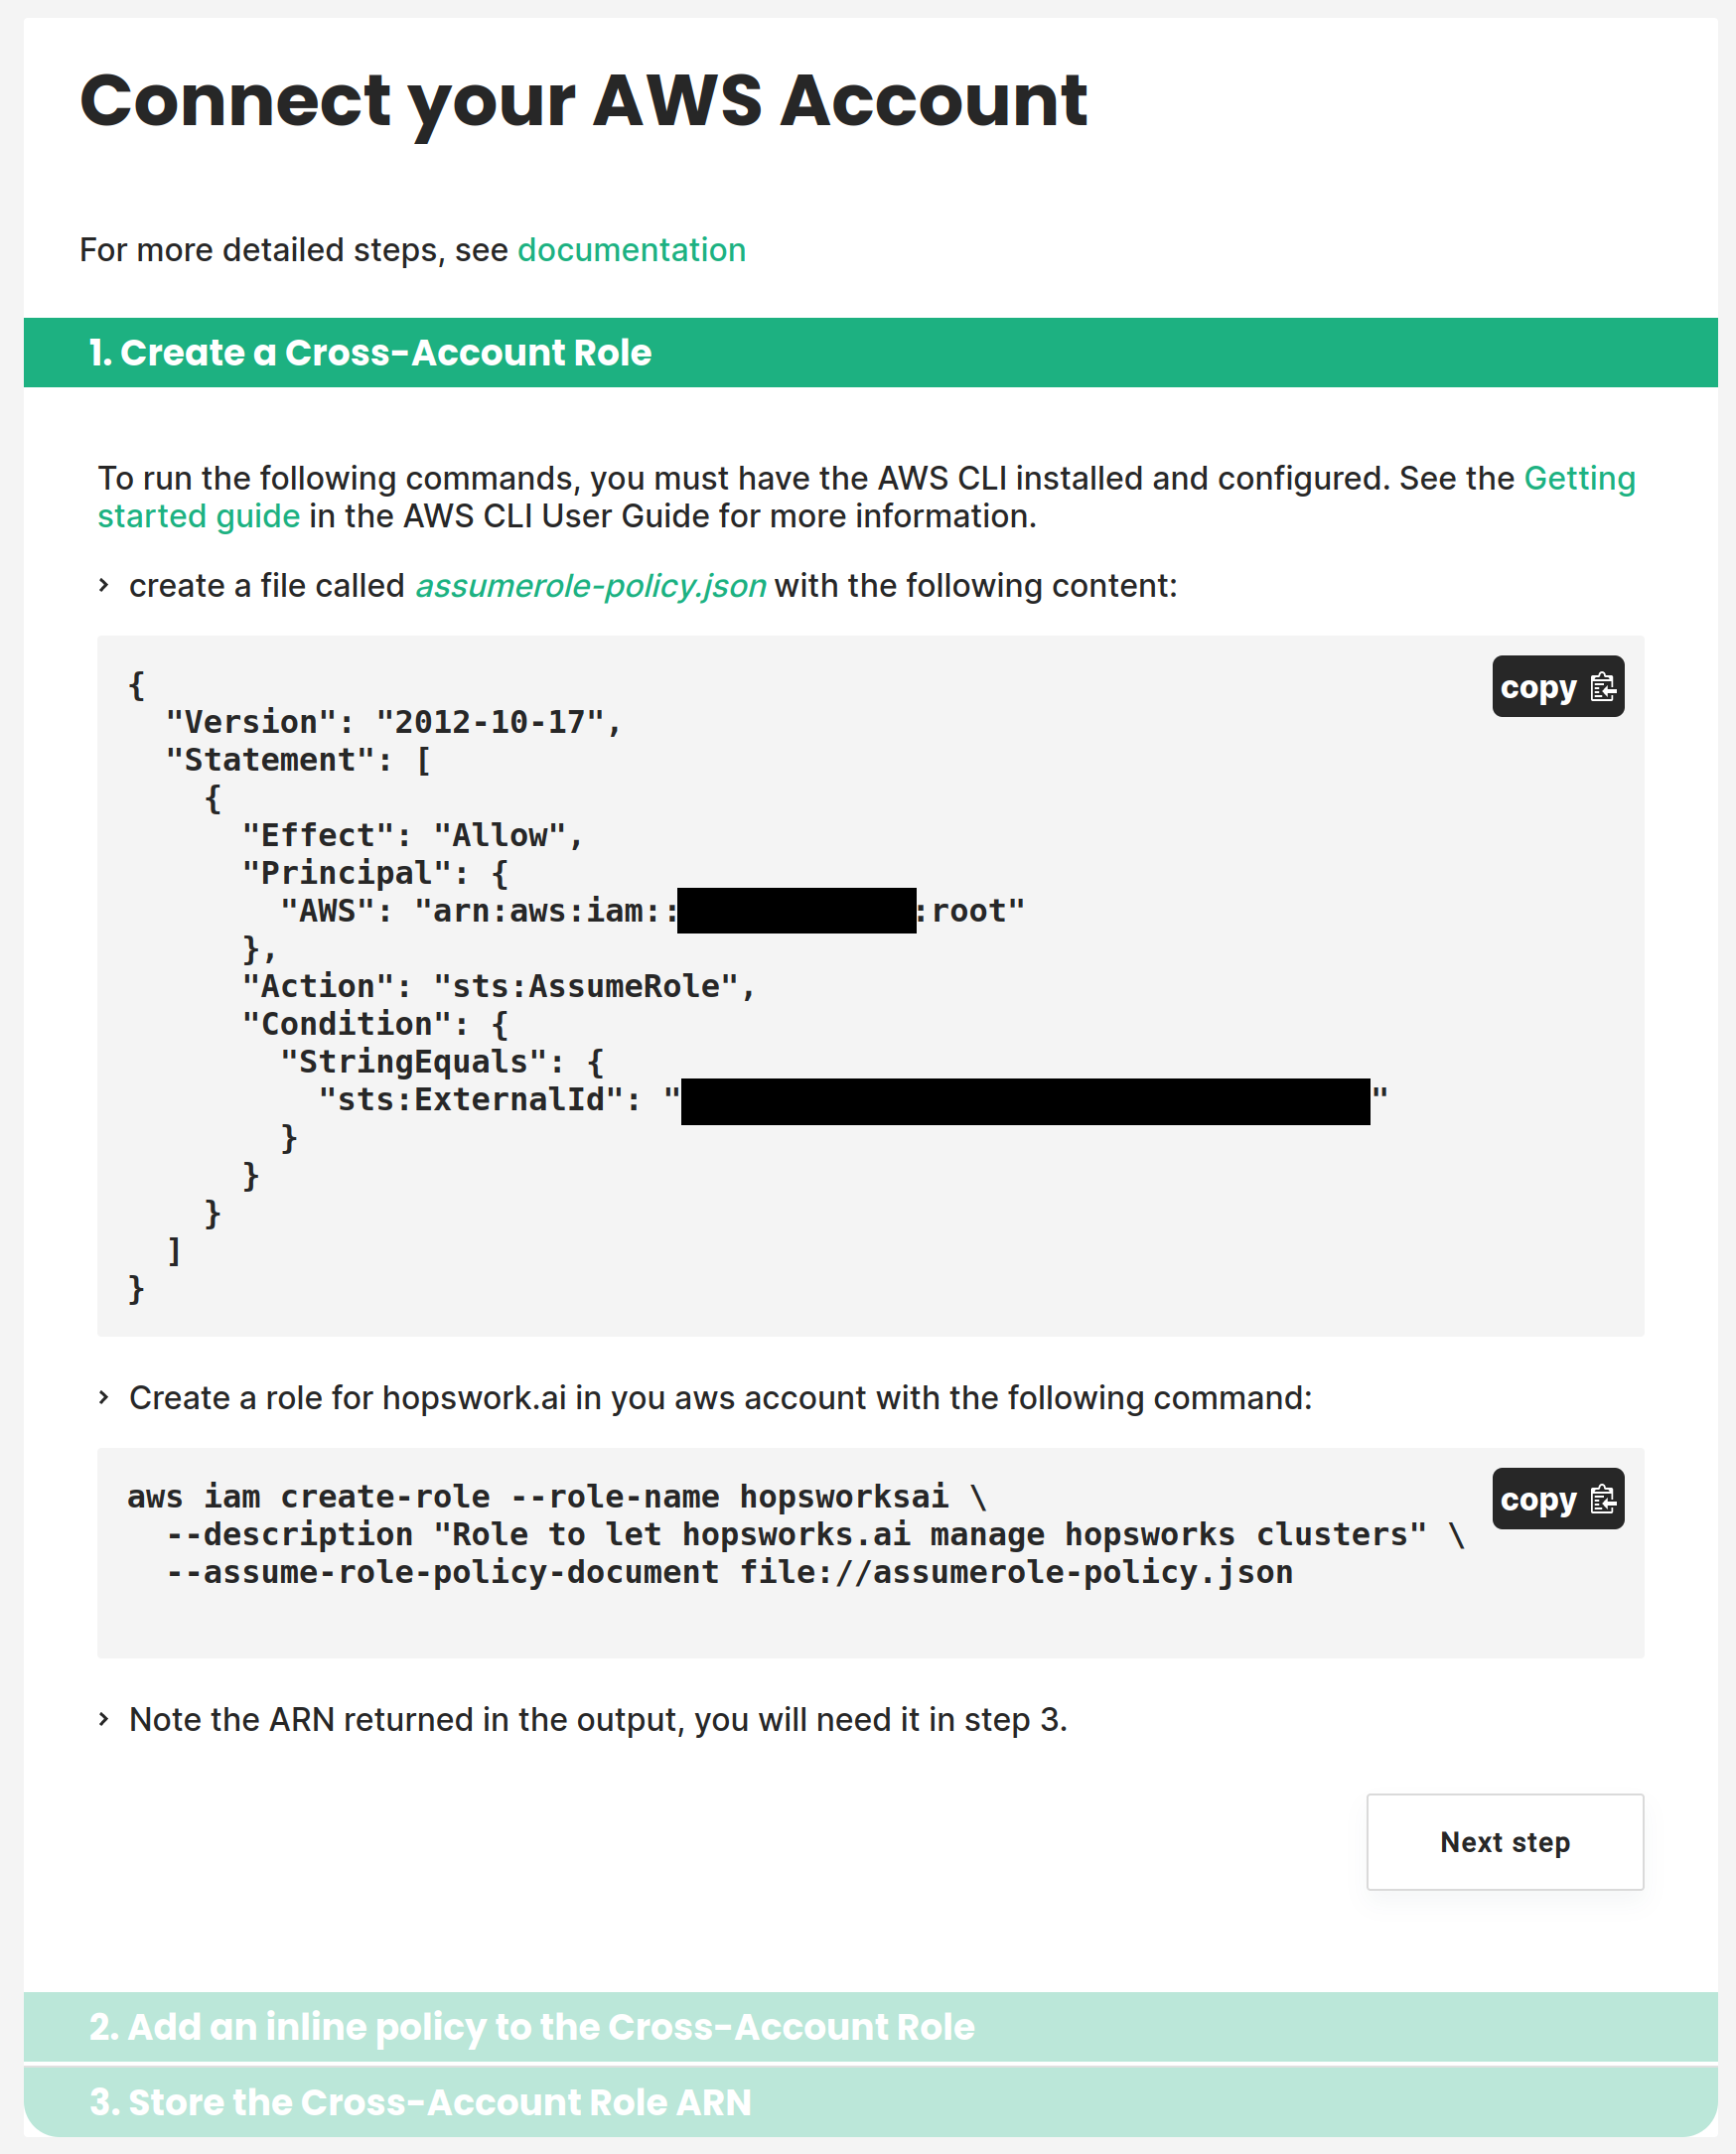
Step 1: Connecting your AWS account#
Managed.hopsworks.ai deploys Hopsworks clusters to your AWS account. To enable this you have to permit us to do so. This is done using an AWS cross-account role.
In managed.hopsworks.ai click on Connect to AWS or go to Settings and click on Configure next to AWS. This will direct you to a page with the instructions needed to create the Cross account role and set up the connection. Follow the instructions.
Note
it is possible to limit the permissions that are set up during this phase. For more details see restrictive-permissions.
Step 2: Creating storage#
Note
If you prefer using terraform, you can skip this step and the remaining steps, and instead, follow this guide.
The Hopsworks clusters deployed by managed.hopsworks.ai store their data in an S3 bucket in your AWS account.
To create the bucket run the following command, replacing BUCKET_NAME with the name you want for your bucket and setting the region to the aws region in which you want to run your cluster.
Warning
The bucket must be in the same region as the hopsworks cluster you are going to run
aws s3 mb s3://BUCKET_NAME --region us-east-2
Step 3: Creating Instance profile#
Hopsworks cluster nodes need access to certain resources such as the S3 bucket you created above, an ecr repository, and CloudWatch.
First, create an instance profile by running:
aws iam create-instance-profile --instance-profile-name hopsworksai-instances
We will now create a role with the needed permissions for this instance profile. Start by creating a file named assume-role-policy.json containing the following:
{
    "Version": "2012-10-17",
    "Statement": [
        {
            "Effect": "Allow",
            "Principal": {
                "Service": "ec2.amazonaws.com"
            },
            "Action": "sts:AssumeRole"
        }
    ]
}
Run the following to create the role:
aws iam create-role --role-name hopsworksai-instances \
   --description "Role for the hopsworks cluster instances" \
   --assume-role-policy-document file://assume-role-policy.json
Create a file called instances-policy.json containing the following permissions. Replace the following placeholders with their appropiate values
- BUCKET_NAME - S3 bucket name
- REGION - region where the cluster is deployed
- ECR_AWS_ACCOUNT_ID - AWS account id for ECR repositories
Note
Some of these permissions can be removed. Refer to this guide for more information.
{
  "Version": "2012-10-17",
  "Statement": [
    {
      "Sid": "hopsworksaiInstanceProfile",
      "Effect": "Allow",
      "Action": [
        "S3:PutObject",
        "S3:ListBucket",
        "S3:GetObject",
        "S3:DeleteObject",
        "S3:AbortMultipartUpload",
        "S3:ListBucketMultipartUploads",
        "S3:PutLifecycleConfiguration",
        "S3:GetLifecycleConfiguration",
        "S3:PutBucketVersioning",
        "S3:GetBucketVersioning",
        "S3:ListBucketVersions",
        "S3:DeleteObjectVersion"
      ],
      "Resource": [
        "arn:aws:s3:::BUCKET_NAME/*",
        "arn:aws:s3:::BUCKET_NAME"
      ]
    },
    {
      "Sid": "AllowPullImagesFromHopsworkAi",
      "Effect": "Allow",
      "Action": [
        "ecr:GetDownloadUrlForLayer",
        "ecr:BatchGetImage"
      ],
      "Resource": [
        "arn:aws:ecr:REGION:822623301872:repository/filebeat",
        "arn:aws:ecr:REGION:822623301872:repository/base",
        "arn:aws:ecr:REGION:822623301872:repository/onlinefs",
        "arn:aws:ecr:REGION:822623301872:repository/airflow",
        "arn:aws:ecr:REGION:822623301872:repository/git"
      ]
    },
    {
      "Sid": "AllowCreateRespositry",
      "Effect": "Allow",
      "Action": "ecr:CreateRepository",
      "Resource": "*"
    },
    {
      "Sid": "AllowPushandPullImagesToUserRepo",
      "Effect": "Allow",
      "Action": [
        "ecr:GetDownloadUrlForLayer",
        "ecr:BatchGetImage",
        "ecr:CompleteLayerUpload",
        "ecr:UploadLayerPart",
        "ecr:InitiateLayerUpload",
        "ecr:BatchCheckLayerAvailability",
        "ecr:PutImage",
        "ecr:ListImages",
        "ecr:BatchDeleteImage",
        "ecr:GetLifecyclePolicy",
        "ecr:PutLifecyclePolicy",
        "ecr:TagResource"
      ],
      "Resource": [
        "arn:aws:ecr:REGION:ECR_AWS_ACCOUNT_ID:repository/*/filebeat",
        "arn:aws:ecr:REGION:ECR_AWS_ACCOUNT_ID:repository/*/base",
        "arn:aws:ecr:REGION:ECR_AWS_ACCOUNT_ID:repository/*/onlinefs",
        "arn:aws:ecr:REGION:ECR_AWS_ACCOUNT_ID:repository/*/airflow",
        "arn:aws:ecr:REGION:ECR_AWS_ACCOUNT_ID:repository/*/git"
      ]
    },
    {
      "Sid": "AllowGetAuthToken",
      "Effect": "Allow",
      "Action": "ecr:GetAuthorizationToken",
      "Resource": "*"
    },
    {
      "Effect": "Allow",
      "Action": [
        "cloudwatch:PutMetricData",
        "ec2:DescribeVolumes",
        "ec2:DescribeTags",
        "logs:PutLogEvents",
        "logs:DescribeLogStreams",
        "logs:DescribeLogGroups",
        "logs:CreateLogStream",
        "logs:CreateLogGroup"
      ],
      "Resource": "*"
    },
    {
      "Effect": "Allow",
      "Action": [
        "ssm:GetParameter"
      ],
      "Resource": "arn:aws:ssm:*:*:parameter/AmazonCloudWatch-*"
    }
  ]
}
Attach the permission to the role by running:
aws iam put-role-policy --role-name hopsworksai-instances \
   --policy-name hopsworksai-instances \
   --policy-document file://instances-policy.json
Finally, attach the role to the instance profile by running:
aws iam add-role-to-instance-profile \
   --role-name hopsworksai-instances \
   --instance-profile-name hopsworksai-instances
Step 4: Create an SSH key#
When deploying clusters, managed.hopsworks.ai installs an ssh key on the cluster's instances so that you can access them if necessary. For this purpose, you need to add an ssh key to your AWS EC2 environment. This can be done in two ways: creating a new key pair or importing an existing key pair.
Step 4.1: Create a new key pair#
To create a new key pair run the following command replacing REGION by the region in which you want to run the hopsworks cluster.
aws ec2 create-key-pair --key-name hopsworksai \
    --region REGION
Step 4.2: Import a key pair#
To import an existing key pair run the following command replacing PATH_TO_PUBLIC_KEY by the path to the public key on your machine and REGION by the region in which you want to run the hopsworks cluster.
aws ec2 import-key-pair --key-name hopsworskai \
   --public-key-material fileb://PATH_TO_PUBLIC_KEY \
   --region REGION
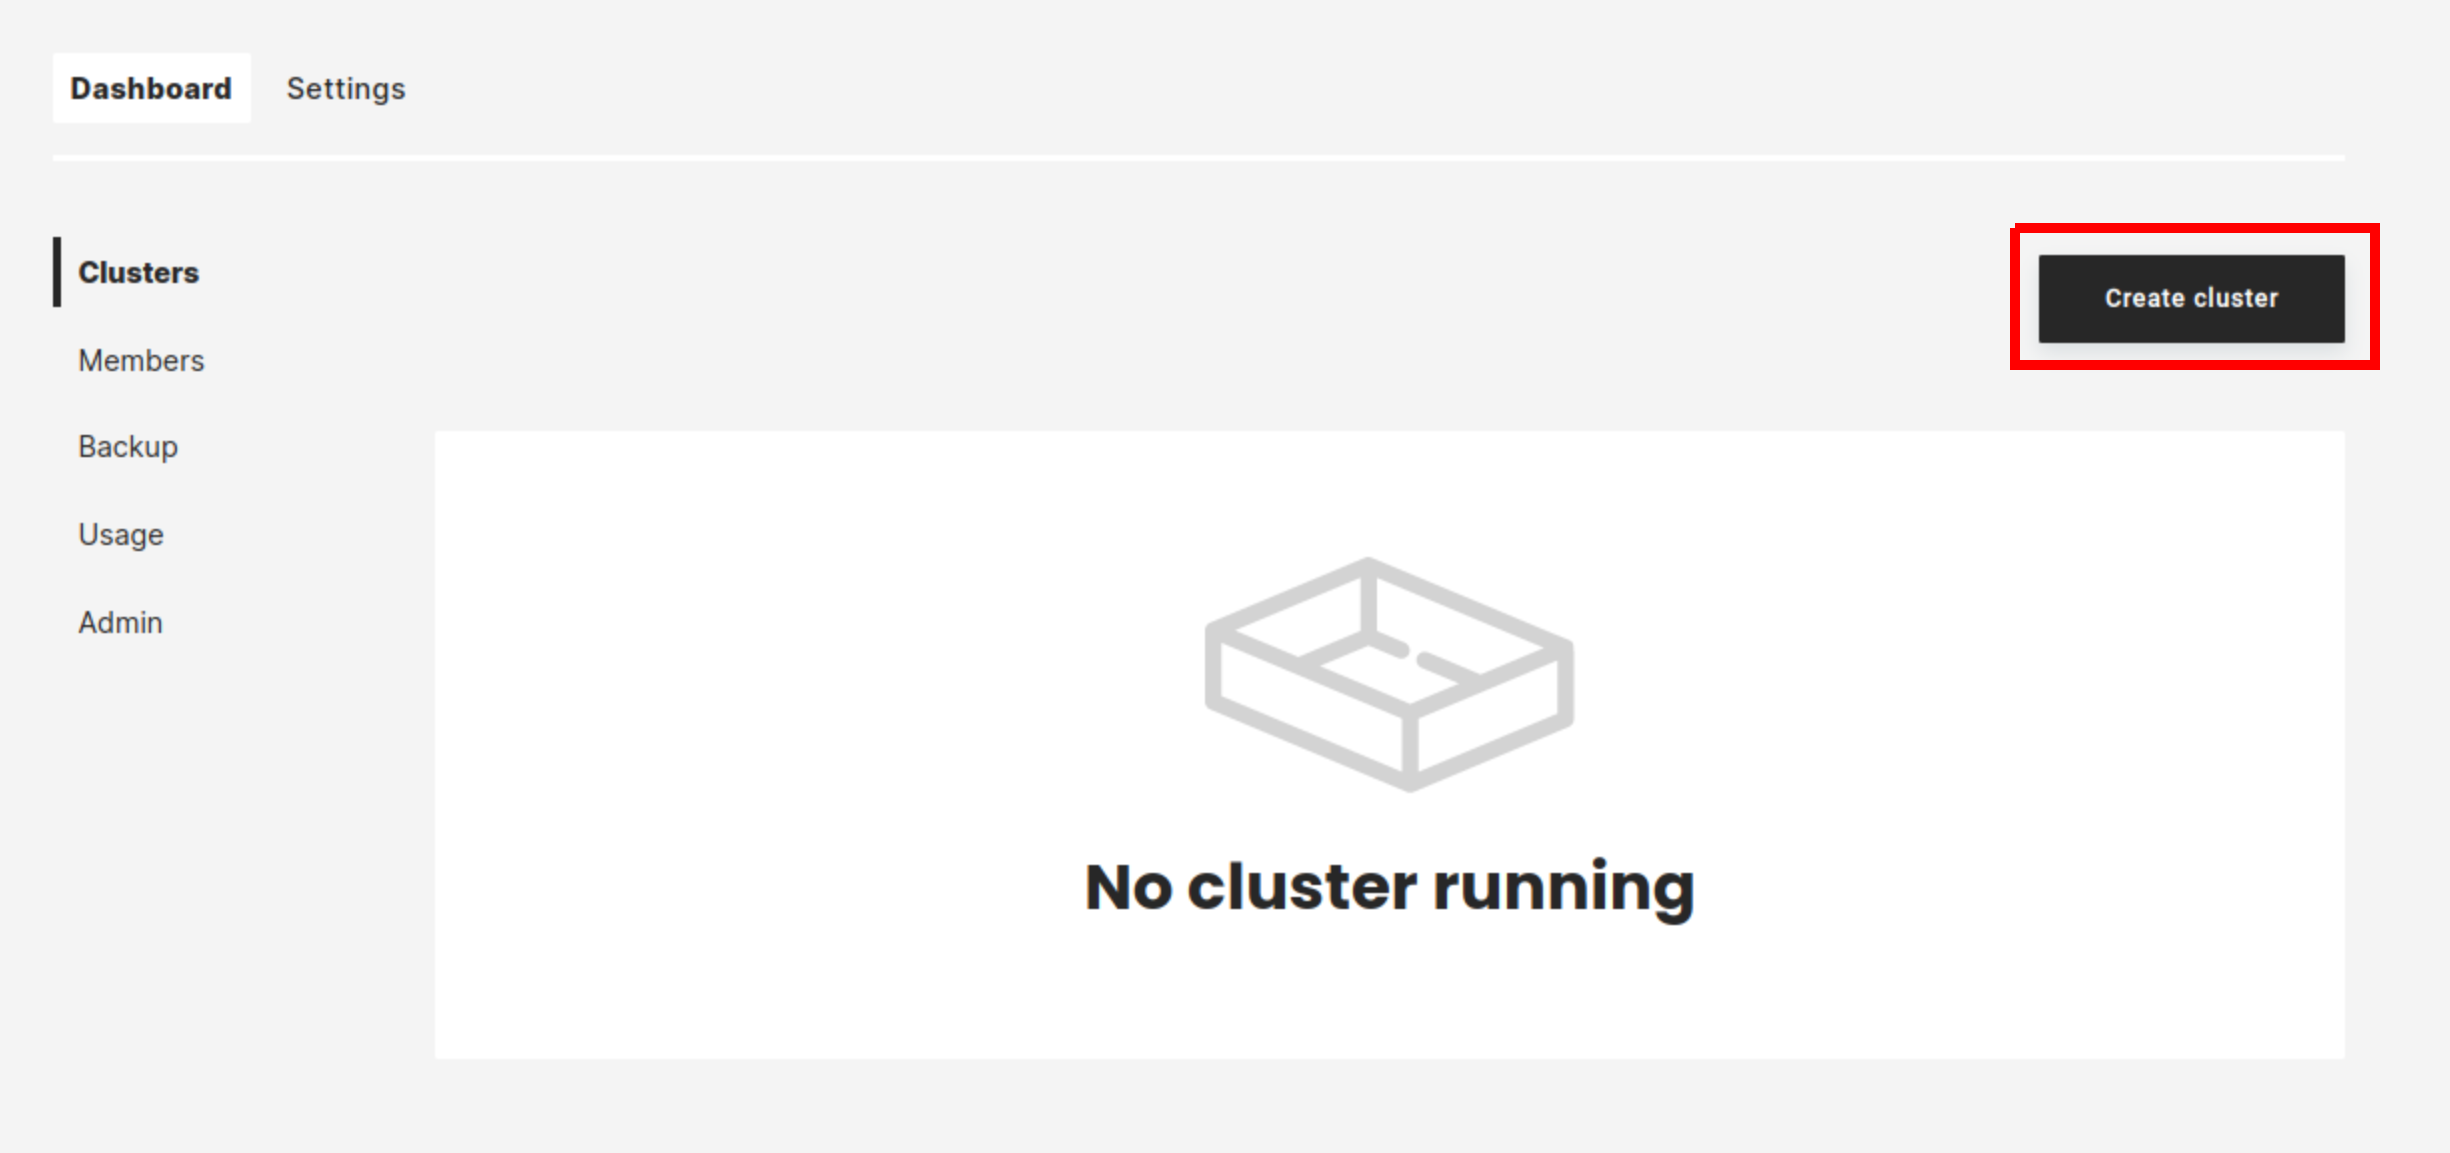
Step 5: Deploying a Hopsworks cluster#
In managed.hopsworks.ai, select Create cluster:
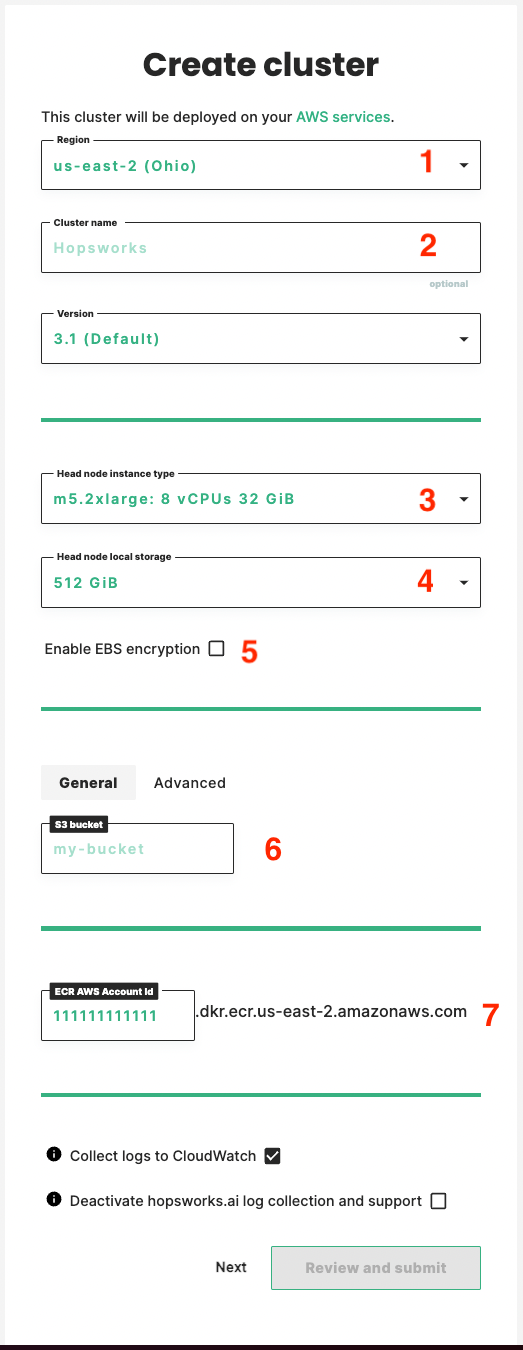
Select the Region in which you want your cluster to run (1), name your cluster (2).
Select the Instance type (3) and Local storage (4) size for the cluster Head node.
Check if you want to Enable EBS encryption (5)
Enter the name of the S3 bucket (6) you created in step 2.
Note
The S3 bucket you are using must be empty.
Make sure that the ECR AWS Account Id (7) is correct. It is set by default to the AWS account id where you set the cross-account role and need to match the permissions you set in step 3. Press Next:
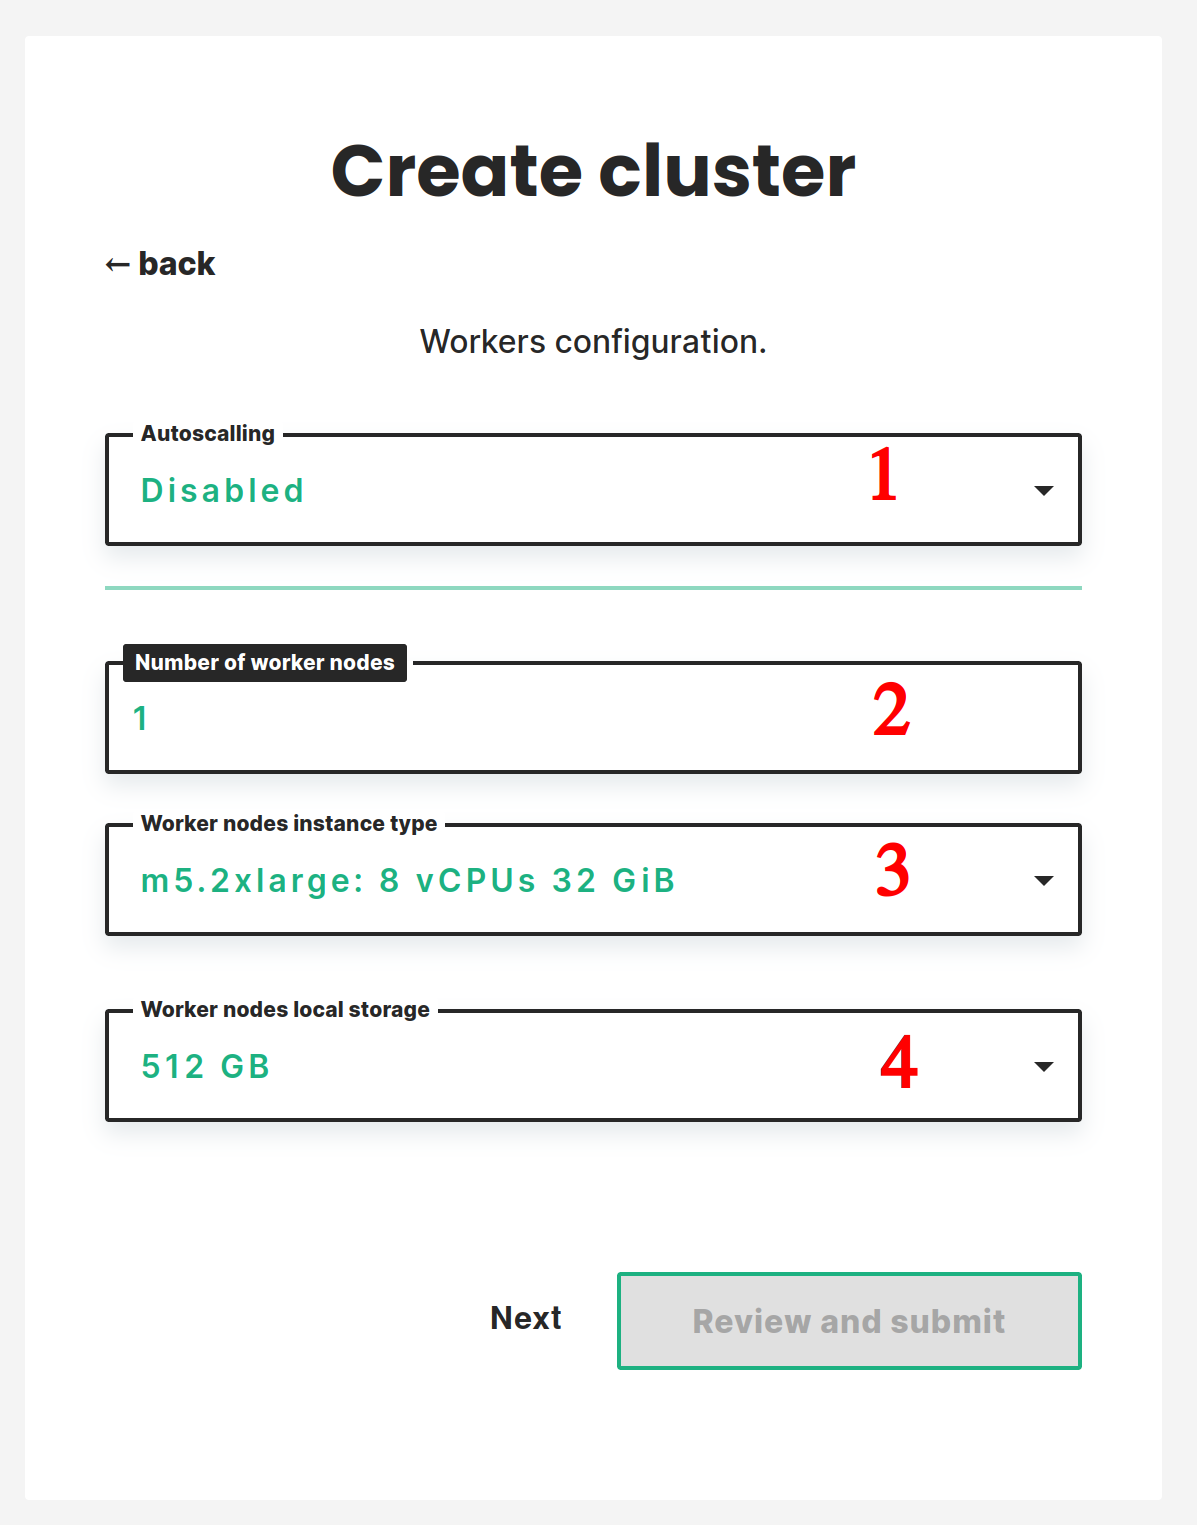
Select the number of workers you want to start the cluster with (2). Select the Instance type (3) and Local storage size (4) for the worker nodes.
Note
It is possible to add or remove workers or to enable autoscaling once the cluster is running.
Press Next:
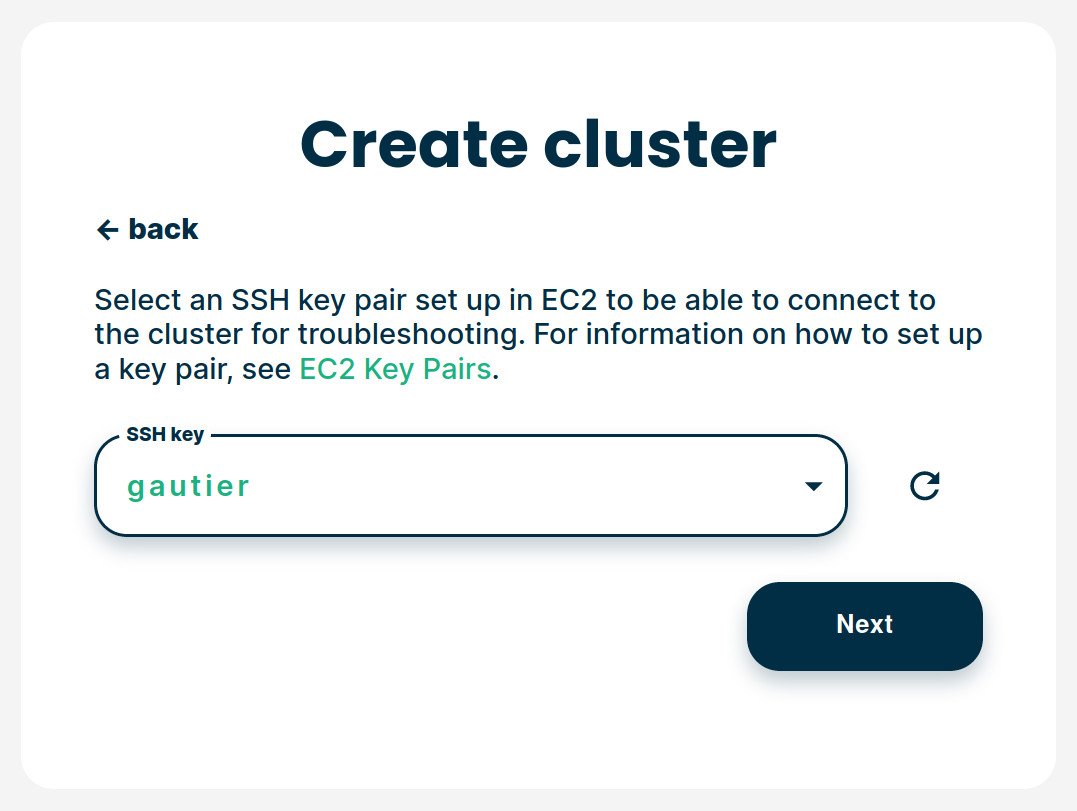
Select the SSH key you created in step 4:
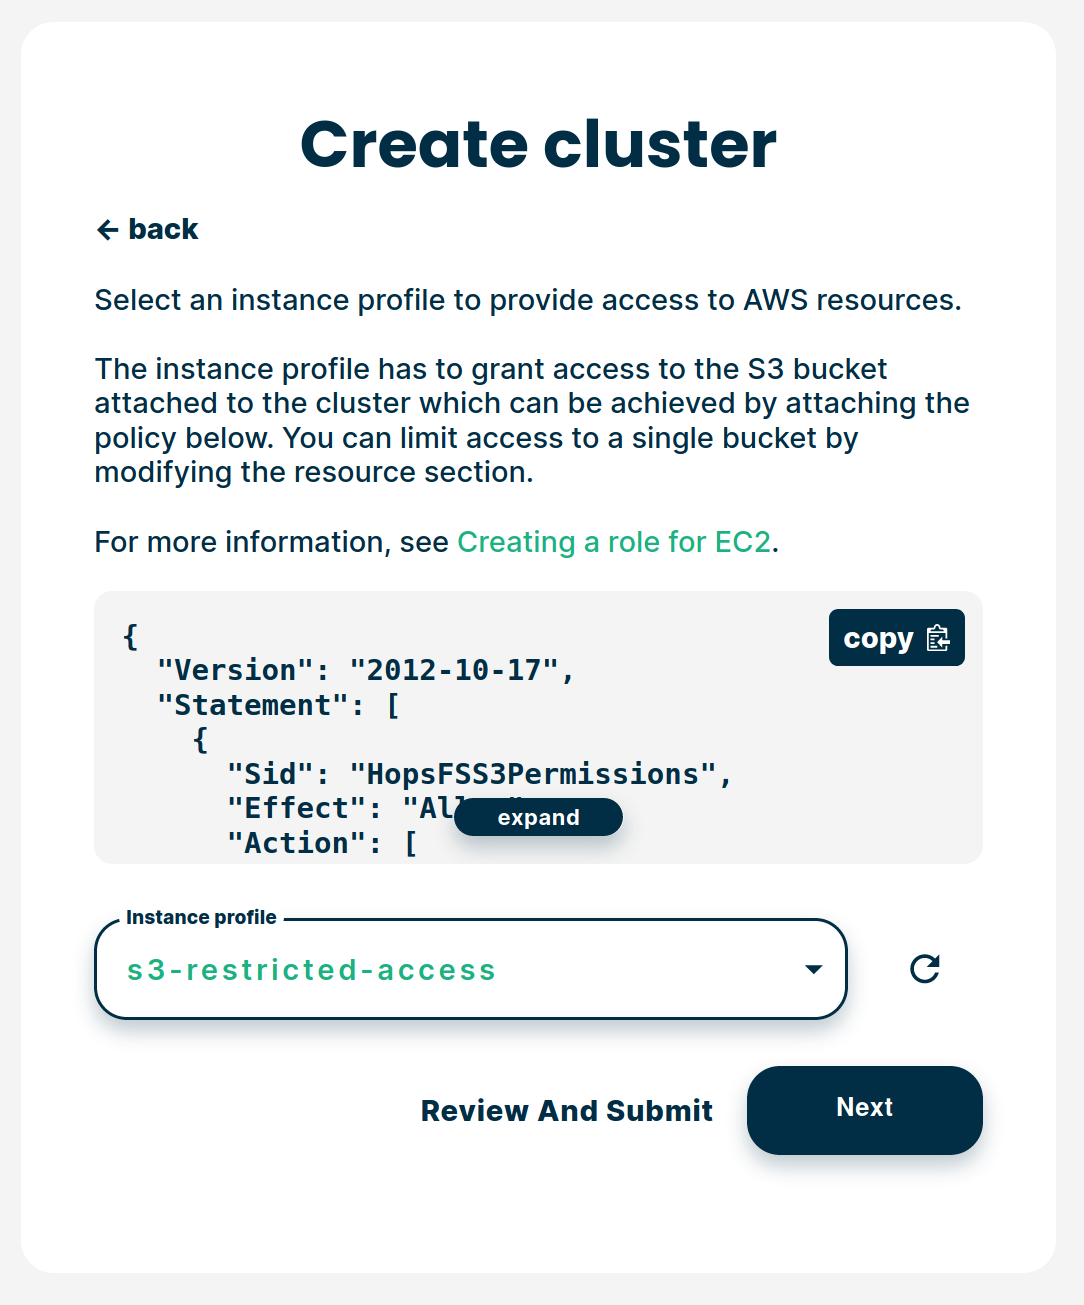
Select the Instance Profile that you created in step 3:
To backup the S3 bucket data when taking a cluster backup we need to set a retention policy for S3. You can deactivate the retention policy by setting this value to 0 but this will block you from taking any backup of your cluster. Choose the retention period in days and click on Review and submit:

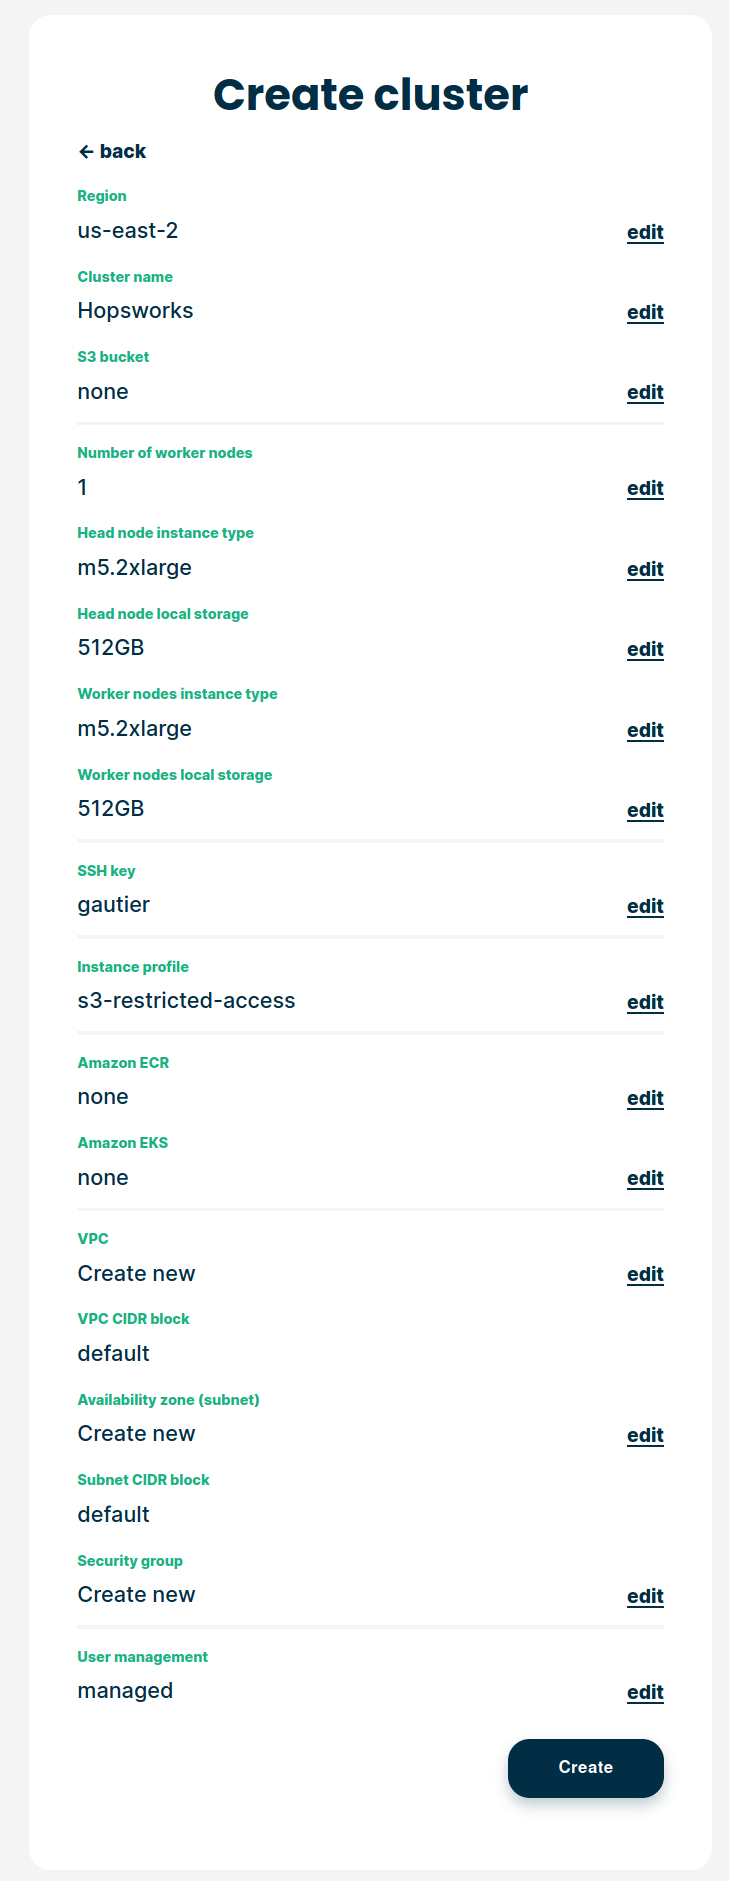
Review all information and select Create:
The cluster will start. This will take a few minutes:
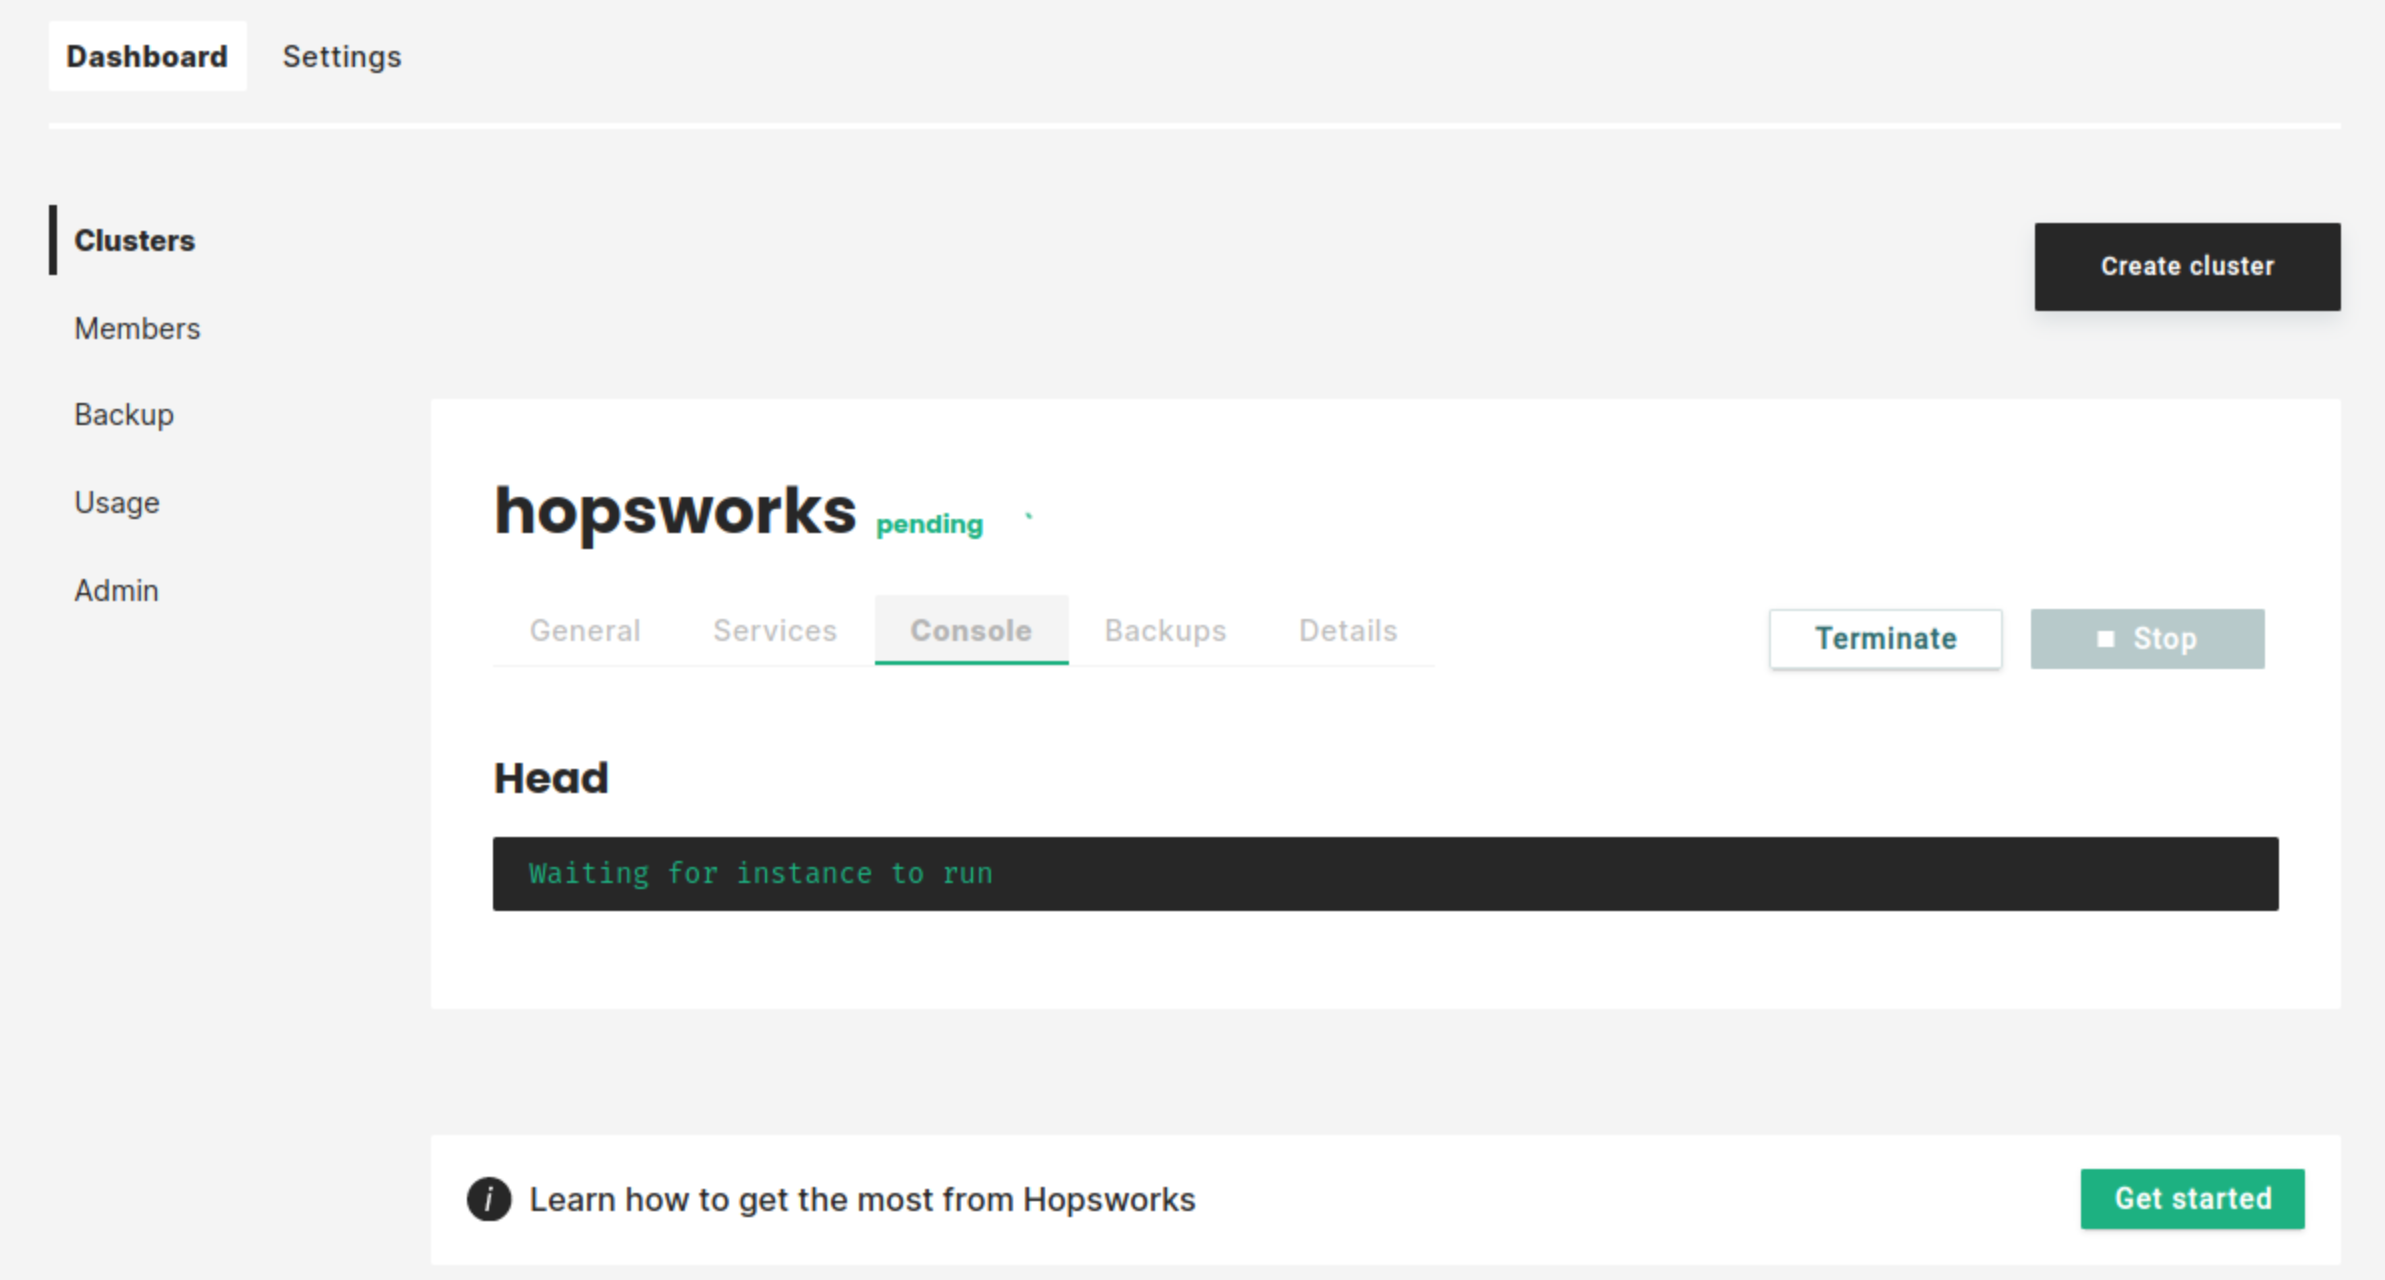
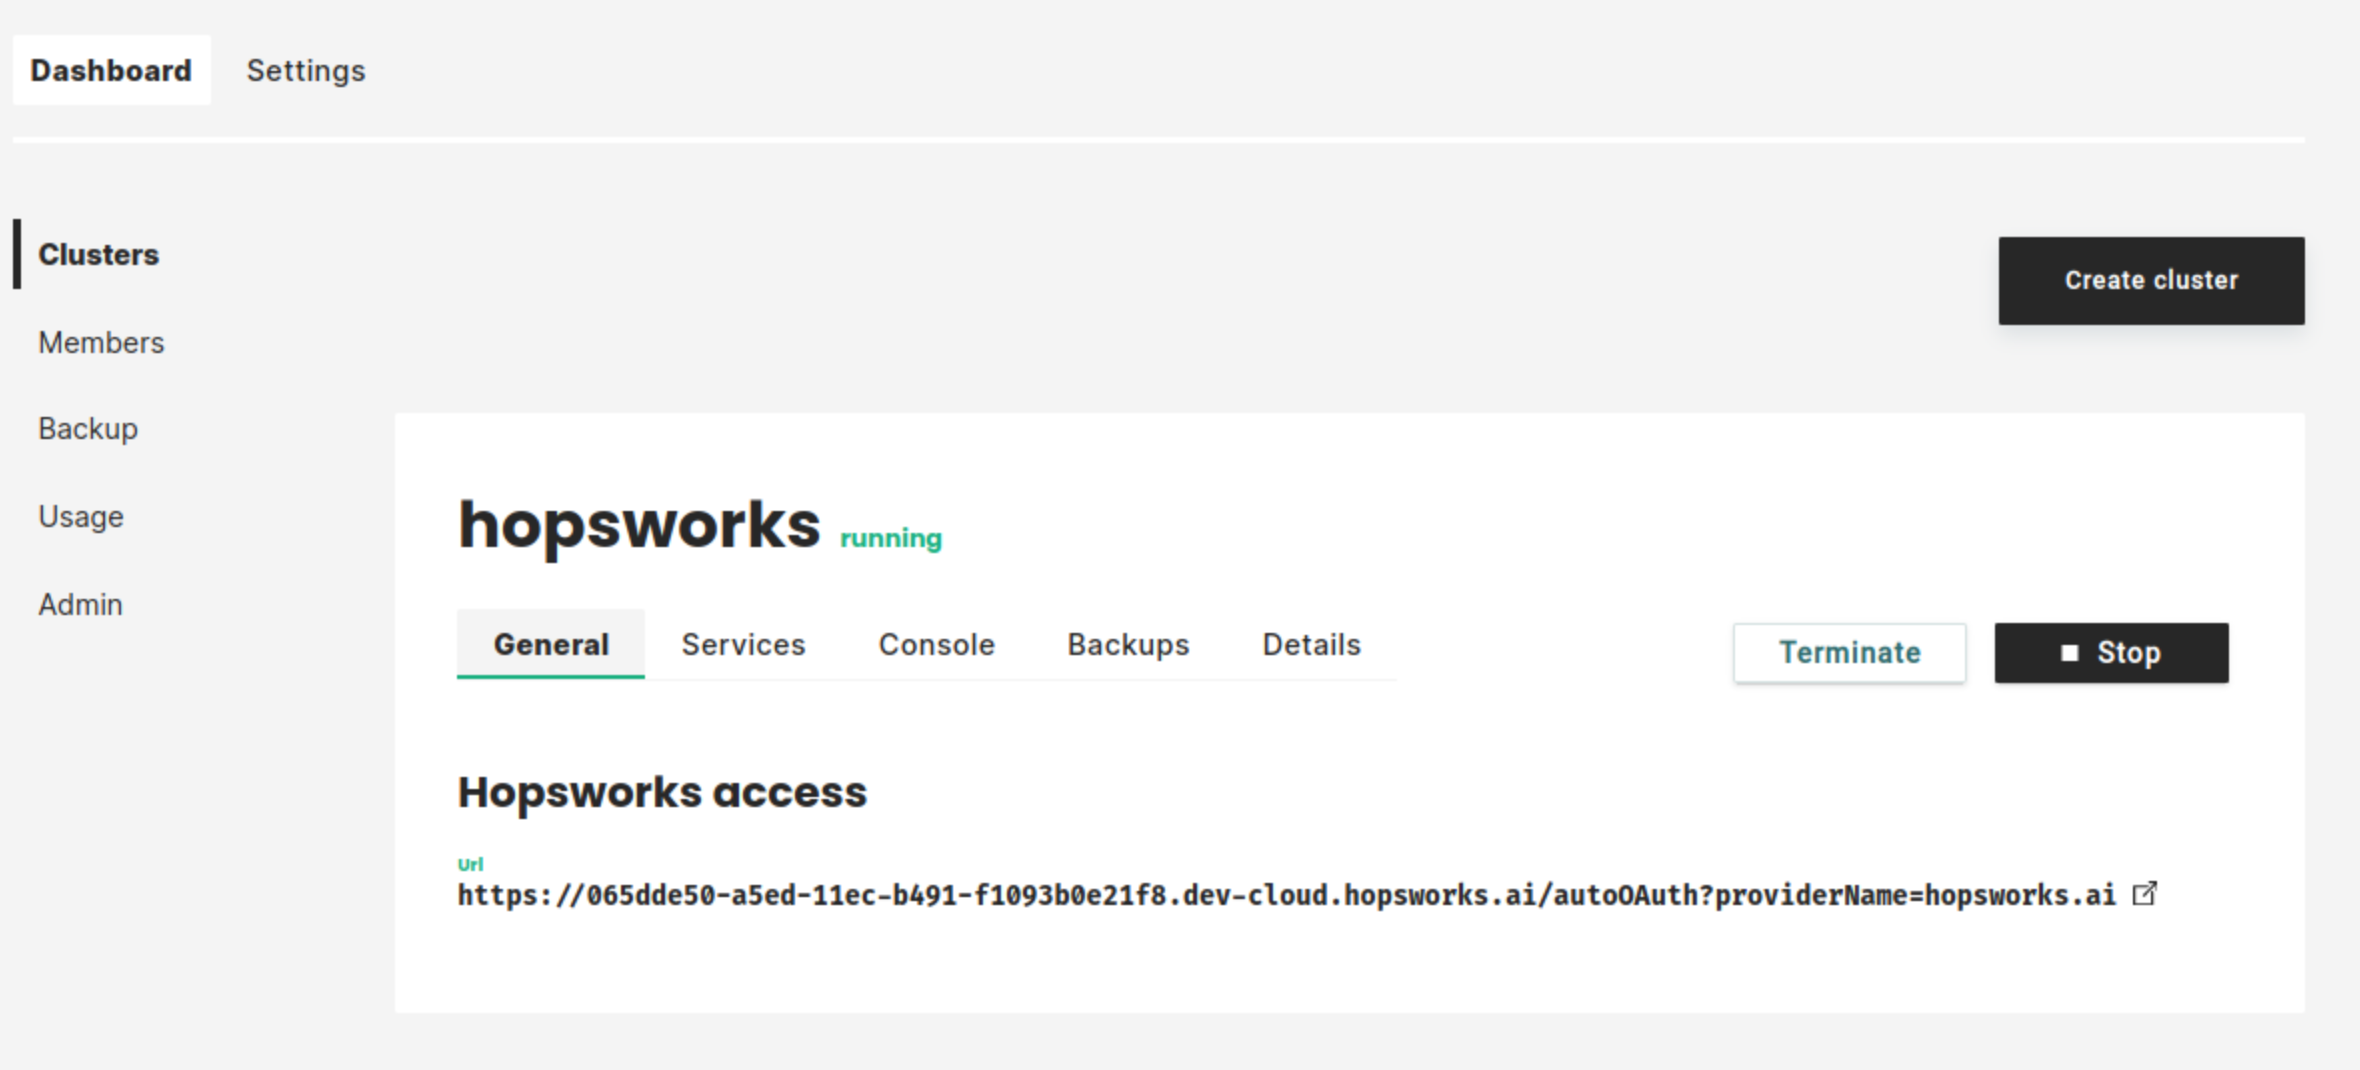
As soon as the cluster has started, you will be able to log in to your new Hopsworks cluster. You will also be able to stop, restart, or terminate the cluster.
Step 6: Next steps#
Check out our other guides for how to get started with Hopsworks and the Feature Store:
- Make Hopsworks services accessible from outside services
- Get started with the Hopsworks Feature Store
- Follow one of our tutorials
- Follow one of our Guide
- Code examples and notebooks: hops-examples