How To Configure A Transformer#
Introduction#
In this guide, you will learn how to configure a transformer in a deployment.
Transformers are used to apply transformations on the model inputs before sending them to the predictor for making predictions using the model. They run on a built-in Flask server provided by Hopsworks and require a custom python script implementing the Transformer class.
Warning
Transformers are only supported in deployments using KServe as serving tool.
A transformer has two configurable components:
See examples of transformer scripts in the serving example notebooks.
GUI#
Step 1: Create new deployment#
If you have at least one model already trained and saved in the Model Registry, navigate to the deployments page by clicking on the Deployments tab on the navigation menu on the left.
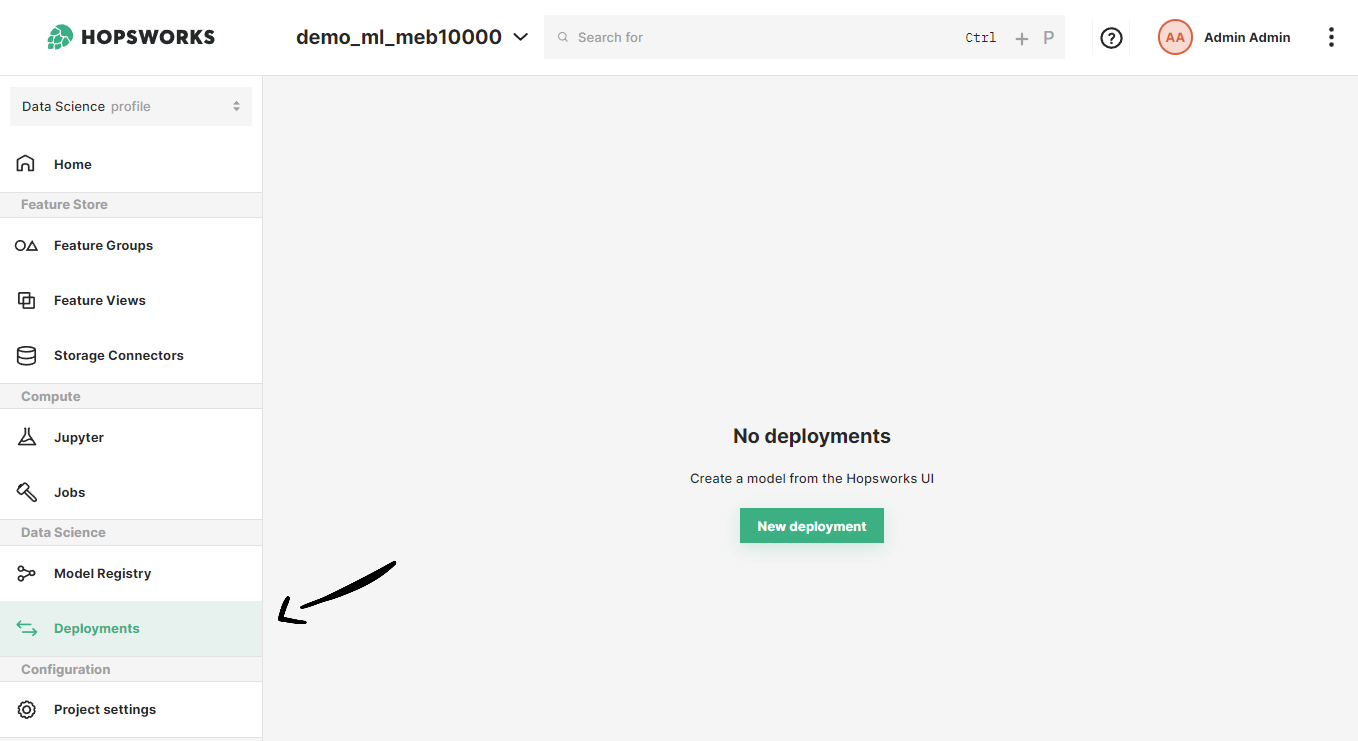
Once in the deployments page, click on New deployment if there are not existing deployments or on Create new deployment at the top-right corner to open the deployment creation form.
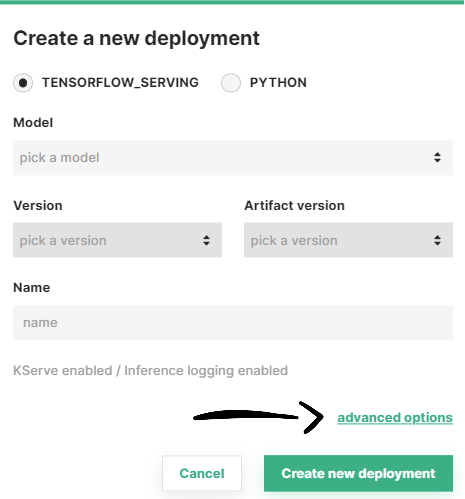
Step 2: Go to advanced options#
A simplified creation form will appear including the most common deployment fields among all the configuration possible. Transformers are part of the advanced options of a deployment. To navigate to the advanced creation form, click on Advanced options.
Step 3: Select a transformer script#
Transformers require KServe as the serving platform for the deployment. Make sure that KServe is enabled for this deployment by activating the corresponding checkbox.
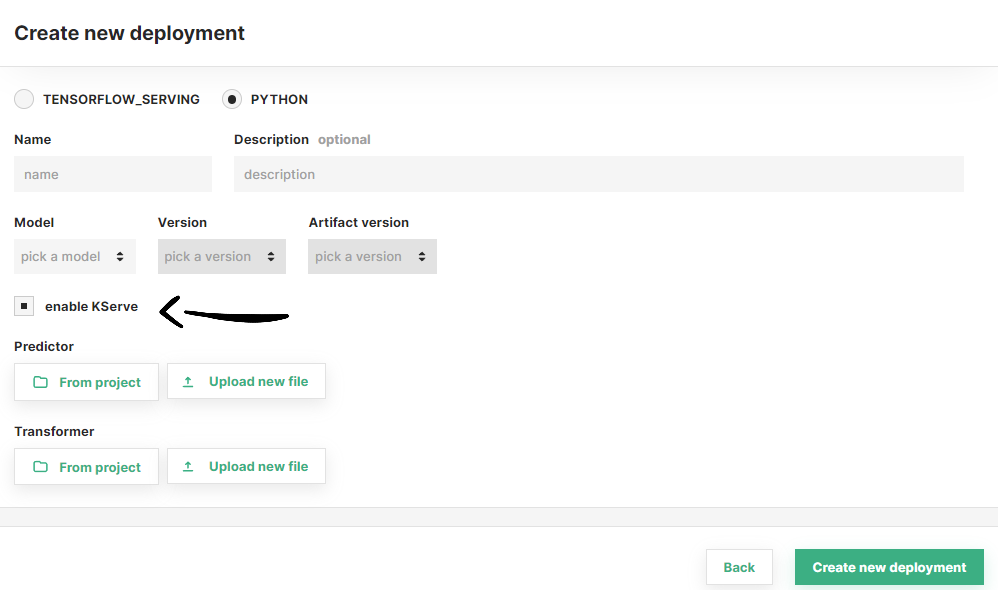
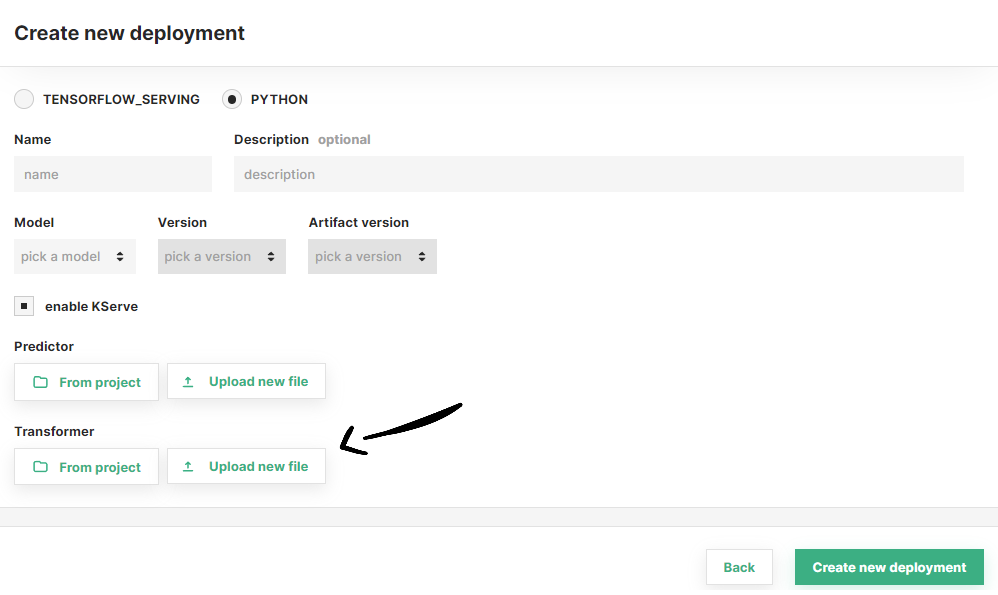
Then, if the transformer script is already located in Hopsworks, click on From project and navigate through the file system to find your script.
Otherwise, you can click on Upload new file to upload the transformer script now.
After selecting the transformer script, you can optionally configure resource allocation for your transformer (see Step 4). Otherwise, click on Create new deployment to create the deployment for your model.
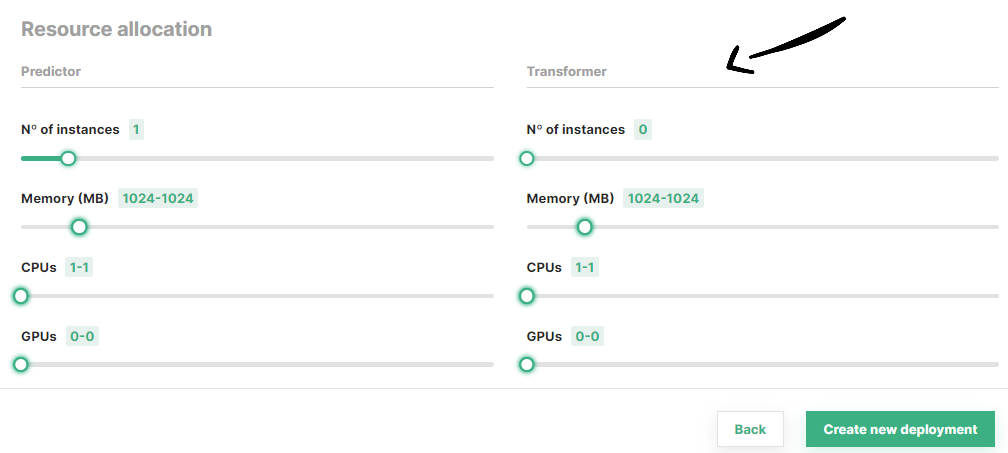
Step 4 (Optional): Configure resource allocation#
At the end of the page, you can configure the resources to be allocated for the transformer, as well as the minimum and maximum number of replicas to be deployed.
Scale-to-zero capabilities
Deployments with KServe enabled can scale to zero by choosing 0 as the number of instances.
Once you are done with the changes, click on Create new deployment at the bottom of the page to create the deployment for your model.
Code#
Step 1: Connect to Hopsworks#
import hopsworks

project = hopsworks.login()

# get Dataset API instance
dataset_api = project.get_dataset_api()

# get Hopsworks Model Serving handle
ms = project.get_model_serving()
Step 2: Implement transformer script#
class Transformer(object):
    def __init__(self):
        """ Initialization code goes here """
        pass

    def preprocess(self, inputs):
        """ Transform the requests inputs here. The object returned by this method will be used as model input to make predictions. """
        return inputs

    def postprocess(self, outputs):
        """ Transform the predictions computed by the model before returning a response """
        return outputs
Jupyter magic
In a jupyter notebook, you can add %%writefile my_transformer.py at the top of the cell to save it as a local file.
Step 3: Upload the script to your project#
You can also use the UI to upload your transformer script. See above
uploaded_file_path = dataset_api.upload("my_transformer.py", "Resources", overwrite=True)
transformer_script_path = os.path.join("/Projects", project.name, uploaded_file_path)
Step 4: Define a transformer#
my_transformer = ms.create_transformer(script_file=uploaded_file_path)

# or

from hsml.transformer import Transformer

my_transformer = Transformer(script_file)
Step 5: Create a deployment with the transformer#
my_predictor = ms.create_predictor(transformer=my_transformer)
my_deployment = my_predictor.deploy()

# or
my_deployment = ms.create_deployment(my_predictor, transformer=my_transformer)
my_deployment.save()
API Reference#
Resources#
Resources include the number of replicas for the deployment as well as the resources (i.e., memory, CPU, GPU) to be allocated per replica. To learn about the different combinations available, see the Resources Guide.
Environment variables#
A number of different environment variables is available in the transformer to ease its implementation.
Show environment variables
| Name | Description |
|---|---|
| ARTIFACT_FILES_PATH | Local path to the model artifact files |
| DEPLOYMENT_NAME | Name of the current deployment |
| MODEL_NAME | Name of the model being served by the current deployment |
| MODEL_VERSION | Version of the model being served by the current deployment |
| ARTIFACT_VERSION | Version of the model artifact being served by the current deployment |
Conclusion#
In this guide you learned how to configure a transformer.